4.
After you’ve examined all the tubes to make sure that they are firmly placed in their sockets, you
can put the protective cage back onto the amplifier unit. Tighten the screws to make sure that
the cage is securely fastened to the unit.
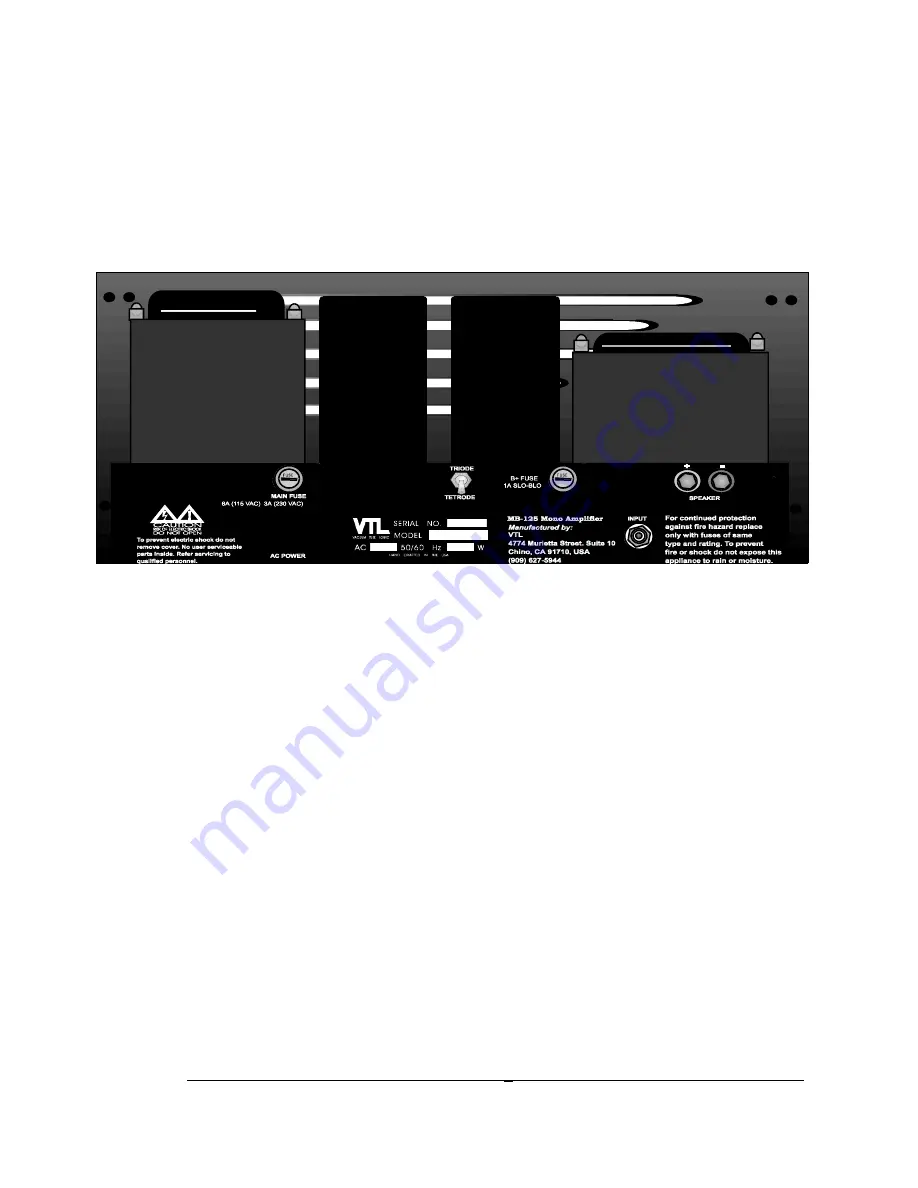
MB-125 Back Panel
The MB-125 Back View
Connecting Your Amplifier to your system
The MB-125 amplifier is a self-contained unit with the amplifier and power supply sections on one
chassis. The two sections are assembled together in the factory and connected to each other via power
cables. The amplifiers are setup to work in this configuration, and under no circumstances should you
attempt to take the amplifier apart.
1.
Connect all source components (e.g. CD, Tuner, Tape, DAT, Turntable etc.) to the preamplifier.
Follow the instructions on your preamplifier and source component manuals to connect these
components together.
2.
Connect the power amplifier to the output channel of the preamplifier.
The interconnect cable
between the amplifier and the preamplifier links the input channel of the power amplifier to the output
channel of the preamplifier. The monoblock amplifier which is going to drive the left channel of your
speaker system should be connected to the left output channel of the preamplifier. The same applies to
the right channel amplifier.
3.
Select the input connector type
. The amplifier supports only one type of input connector – the RCA
input. Place the interconnect cable firmly into the input jack which matches the type you have, and firmly
insert the interconnect cable into the input jack marked “INPUT”.
MB-125 Owner’s Manual
VTL
5


