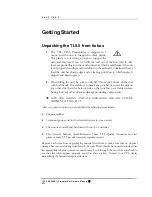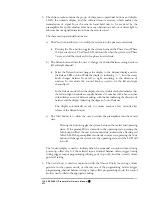
Step 5. Turn on the TL5.5 Preamplifier
Locate the Power Rocker switch at the back of the unit. Turn the switch to the “on” position.
You should see two blue “--“ displayed in the unit’s Numeric Display window.
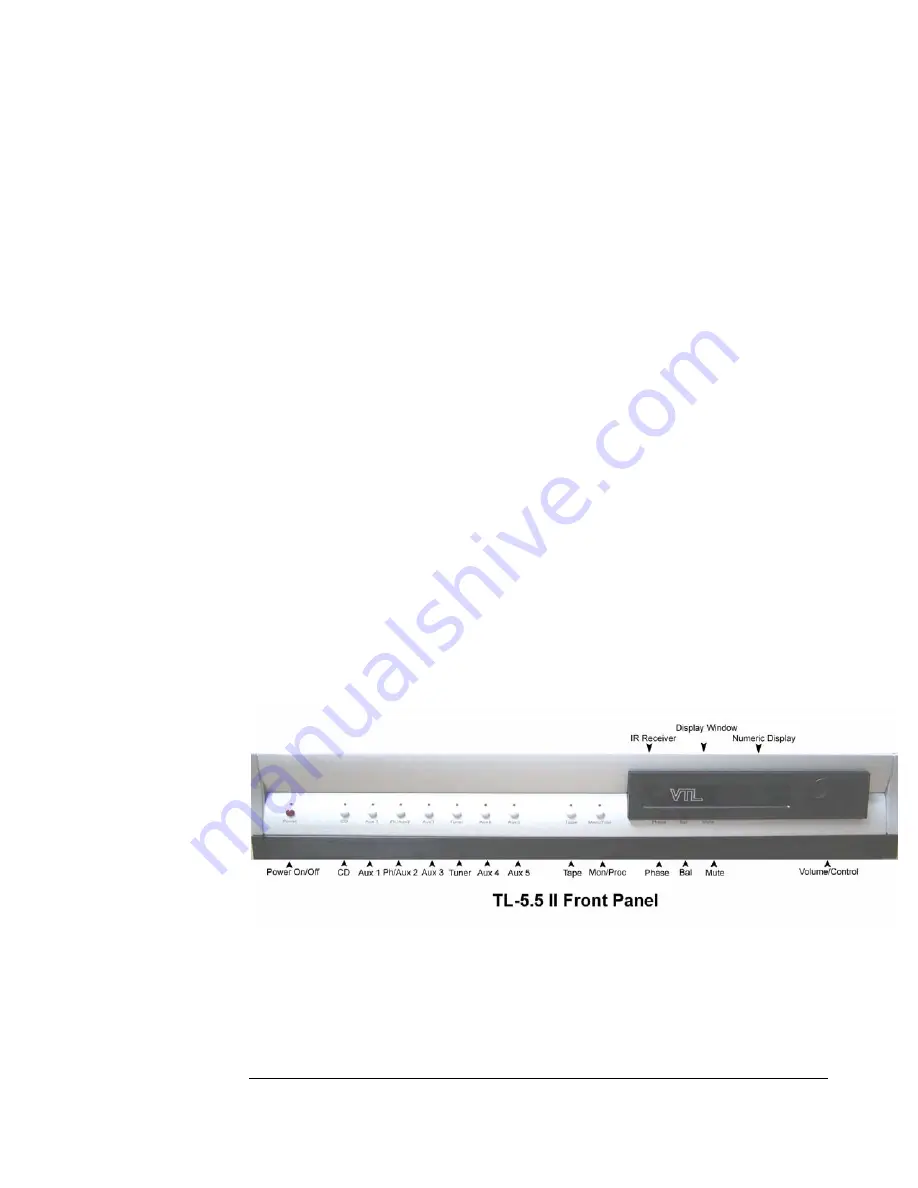
Locate the red Power button on the front panel of the unit located on the far left side of the
Preamplifier. Push the power button to turn on the Preamplifier. You will see the blue Power
on LED above the red Power button start to blink and the Numeric Display now displays the
90 to 0 warm-up countdown sequence.
Step 6. Turn on your Source component
Step 7. Turn on your Power Amplifier(s)
Step 8. Wait for the TL5.5 preamplifier to finish warmup
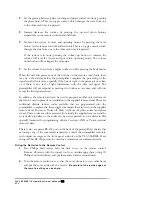
After the TL5.5’s warm-up countdown is completed, the Power on LED turns to a steady blue
indicating that the unit is now ready to play. Please note that the Numeric Display now
indicates 00 volume. CD is the selected source and the LED above CD is blue to indicate that
the default selection of CD is in balanced mode. If your Source component is setup in balanced
mode, you are now ready to play your music. Turn the volume to the appropriate level by
rotating the Volume/Control knob.
If your Source component is used in single-ended mode, change the CD input to single-ended
by holding down the CD button until the LED changes to green. Start playing your music and
turn the volume to the appropriate level by rotating the Volume/Control knob.
Congratulations! Your TL-5.5 Preamplifier is now beginning its break-in period. Now
please read the rest of this manual while relaxing and listening to your favorite music.
TL5.5 Front Panel Controls
From the front panel of the unit you can access all of the controls and program all the
functions of the preamplifier. All functions can also be accessed and programmed from
the rear-mounted RS-232 serial port, either via a central remote control system or simply
from a computer with serial capabilities.
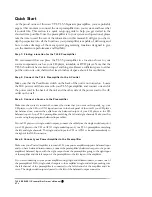
TL5.5 SERIES II Preamplifier Owner’s Manual
VTL
7
Summary of Contents for TL5.5 Series II Signature
Page 1: ...VTL TL5 5 Series II Signature Preamplifier Owner sManual...
Page 3: ......

