9
OIL
WARNING
!
This compressor requires oil of
the correct type and quantity to run. Do not
start it without first following all the steps in
this section.
1. Be sure the compressor is on a level
surface.
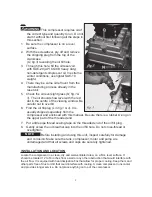
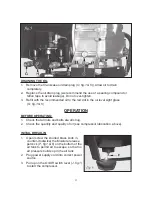
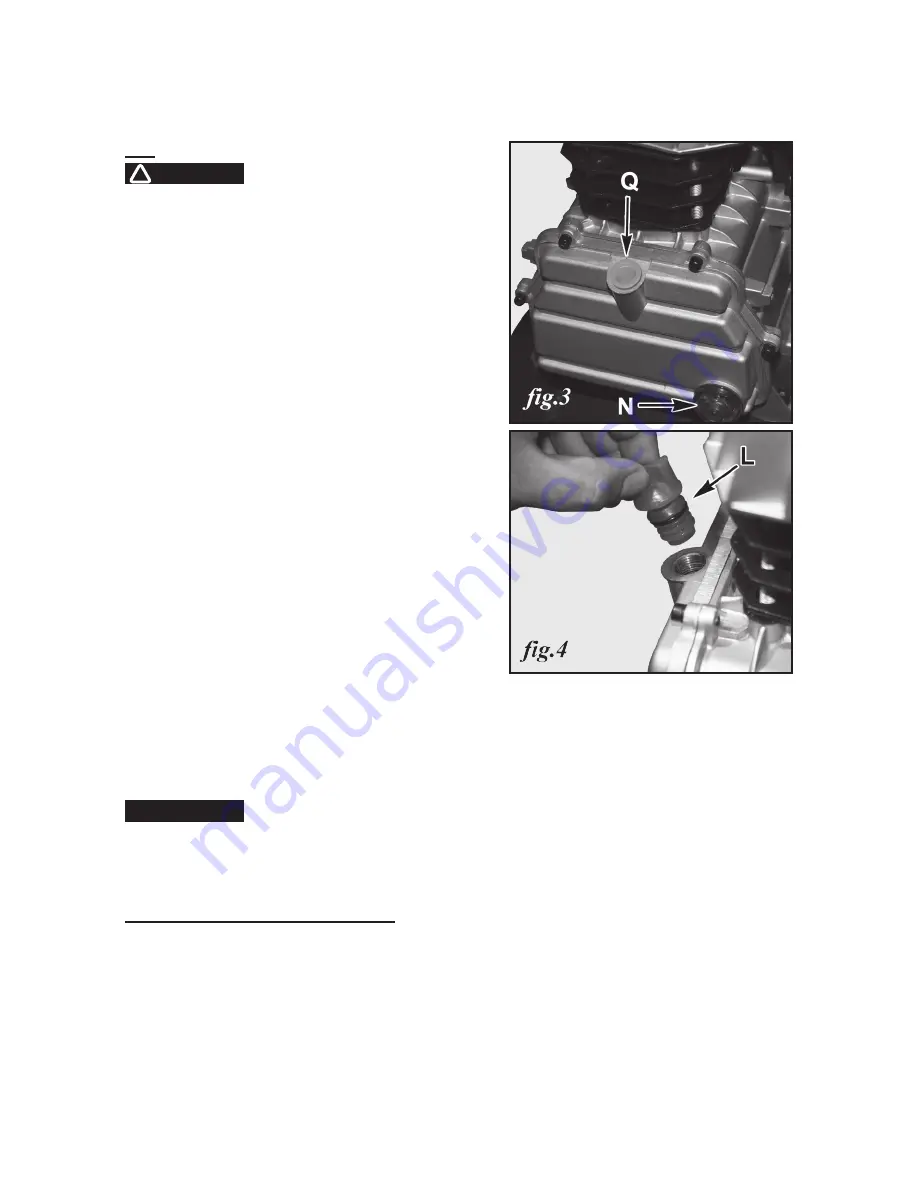
2. With the screwdriver, pry off and remove
the shipping plug from the top of the
crankcase
(
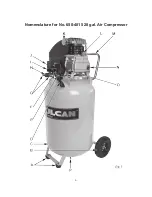
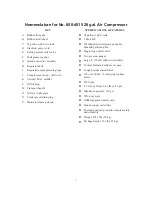
Q, fig.3
) revealing the oil fill hole.
3. Through this hole, fill the oil reservoir
with SAE-20 (API CG/CD heavy duty),
non-detergent compressor oil. In extreme
winter conditions, use lighter SAE-10
weight.
4. There may be some oil left over from the
manufacturing process already in the
reservoir.
5. Check the oil level sight glass (
N, fig.1 &
3
). The oil should show level with the red
dot in the centre of the viewing window. Be
careful not to overfill.
6. Find the oil fill plug (
L in fig.1 & 4
). It is
usually shipped separately from the
compressor and enclosed with this manual. Be sure there is a rubber O-ring on
the upper part of the threaded end.
7. Put a little pipe thread sealing tape on the threaded end of the oil fill plug.
8. Gently screw the oil breather cap into the oil fill hole. Do not cross-thread or
overtighten.
NOTE
Before installing and using this unit, inspect carefully for damage
and corrosion. Make sure the tank, compressor, motor and pump are
undamaged and that all screws and caps are securely tightened.
INSTALLATION AND LOCATION
Locate the compressor in a clean, dry and well-ventilated area; on a firm, level surface. It
should be located 12 to 18 inches from a wall or any other obstruction that would interfere with
the air flow. It is equiped with heat dissipation fins that allow for proper cooling. Keep them and
other parts free of dust or dirt that could interfere with cooling. A clean compressor runs cooler
and provides longer service. Do not place anything on top of the compressor.


