GAS SHUT-OFF VALVE (1SOL) -
TILTING MODELS ONLY
Disconnect the electrical power to
the machine and follow lockout /
tagout procedures.
Shut off the gas before servicing the
unit and follow lockout / tagout
procedures.
All gas joints disturbed during servicing must be
checked for leaks. Check with a soap and water
solution (bubbles). Do not use an open flame.
1.
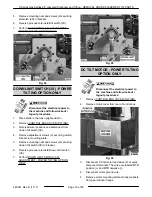
Remove CONTROL BOX COVER (TILTING).
2.
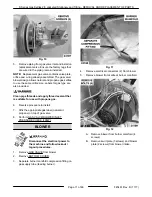
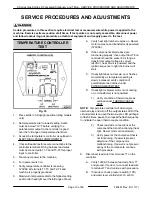
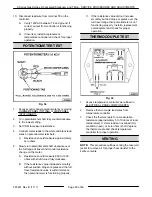
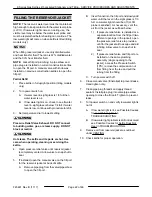
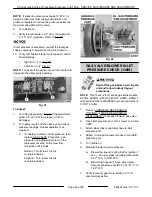
Disconnect lead wires for gas shut-off valve
(1SOL) at terminal strip in control box.
3.
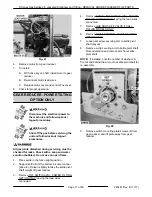
Remove piping from inlet side of valve.
4.
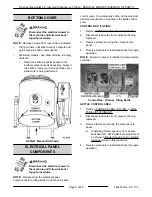
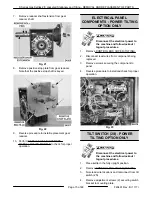
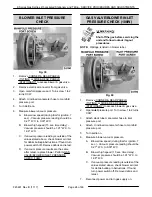
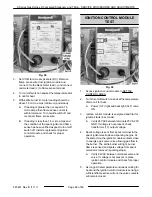
Remove threaded plug (NPT) from the ½” swivel
fitting secured to end of pivot shaft.
K20GLT Manual Tilt Shown
5.
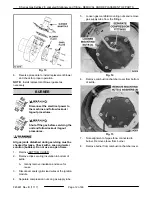
Remove gas shut-off valve from control box.
6.
Remove piping from outlet side of valve.
7.
Reverse procedure to install replacement gas
shut-off valve and check for proper operation.
Clean pipe threads and apply thread sealant that
is suitable for use with propane gases.
GEAR REDUCER - MANUAL
TILTING MODELS
Disconnect the electrical power to
the machine and follow lockout /
tagout procedures.
Shut off the gas before servicing the
unit and follow lockout / tagout
procedures.
All gas joints disturbed during servicing must be
checked for leaks. Check with a soap and water
solution (bubbles). Do not use an open flame.
1.
Place kettle in the fully upright position and
remove crank handle.
2.
Support kettle from the bottom in some manner
(2x4 etc). Raise it slightly to take the kettle arm
weight off gear reducer.
3.
Remove GAS SHUT-OFF VALVE (1SOL) -
TILTING MODELS ONLY.
4.
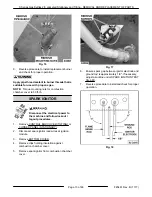
Remove tilt switch (2S) from bracket leaving the
lead wires connected.
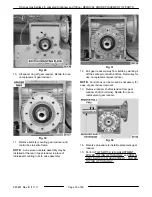
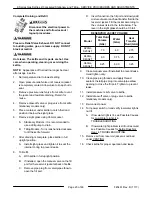
5.
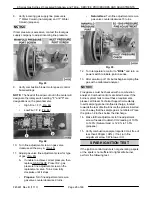
Remove bolts securing gear reducer and control
box to kettle frame.
Fig. 20
6.
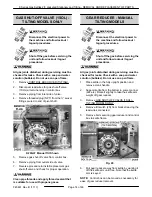
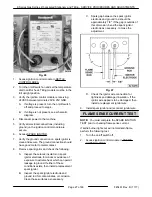
Pull gear reducer away from kettle by working it
off the kettle arm until free. Note that the kettle
arm is keyed.
NOTE:
Control box can be moved as necessary for
ease of gear reducer removal.
K Series Gas Kettles 2/3 Jacketed Stationary and Tilting - REMOVAL AND REPLACEMENT OF PARTS
F45461 Rev. B (1117)
Page 14 of 48


