53 vwr.com Instruction manual VWR
®
Imager Chemi Premium
Chemi blot (Single Image)
For users who would like to capture a single image of their chemiluminescent blot without ever saturating
their blot.
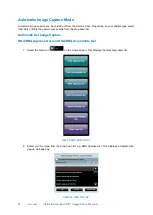
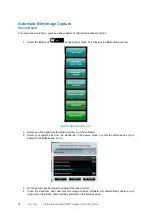
1. Select your Blot type from the drop-down list e.g. Chemi blot (Single Image).
2. Select your sample size from the standards in the pop-up menu, or enter the dimensions of your
sample in the
Size
boxes, in cm.
3. From the dye selection screen select the reagent you are using (this is for reference only).
4. Close the darkroom door and the software will automatically evaluate the optimal exposure times
and show an image preview.
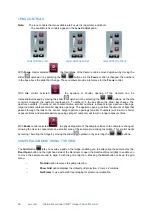
5. Adjust the lens controls.
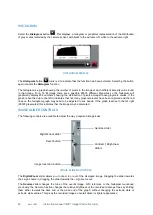
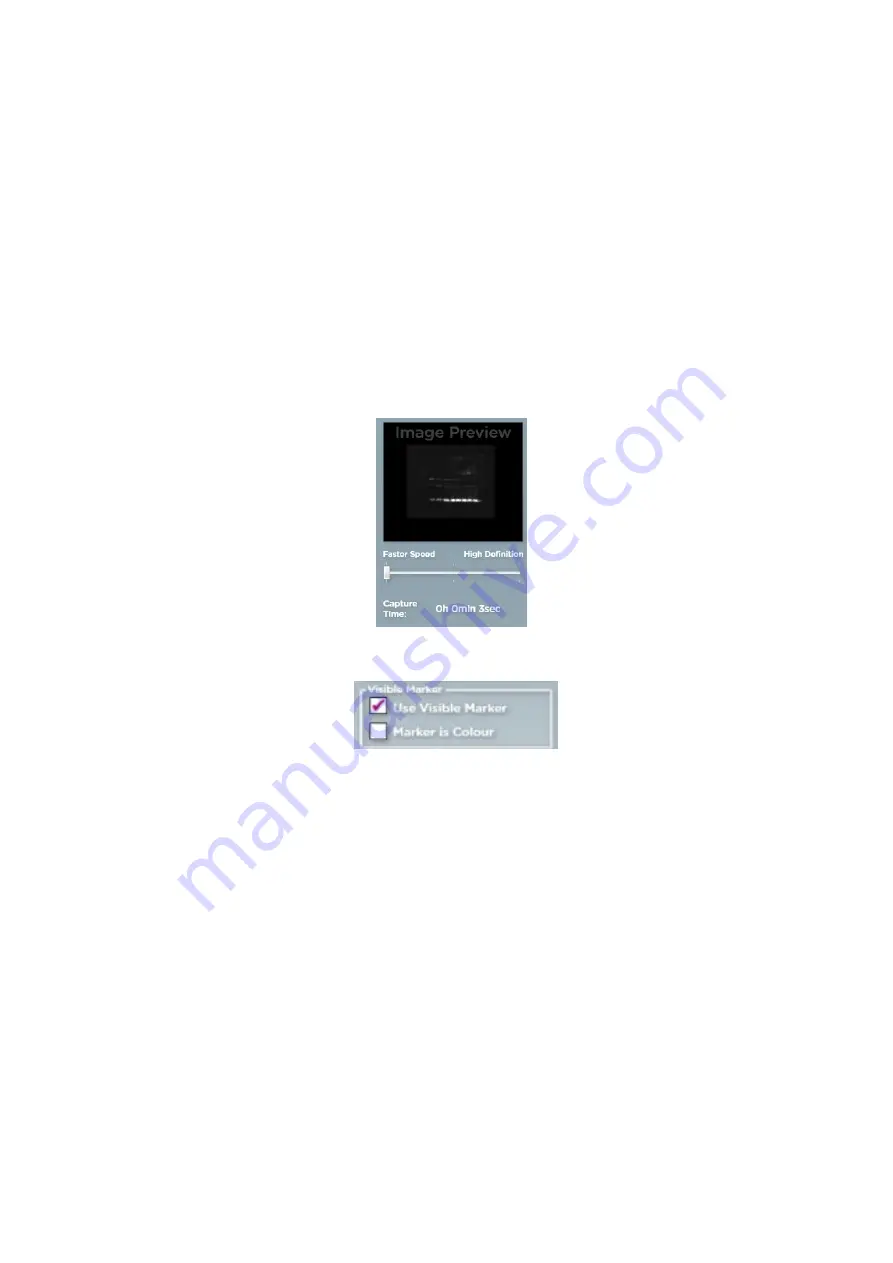
6. Under the ‘Image Preview’ use the slider bar to adjust the exposure time. Slide the bar towards
faster speed to decrease the exposure time (note: this will involve the use of binning. Binning
involves combining pixels on the camera sensor together to form a ‘super pixel’ letting more light
reach the sensor. When using binning, resolution of the image can be lost). Slide the bar towards
‘high definition’ for more publication quality images (this will require longer exposure times as less
binning will be used).
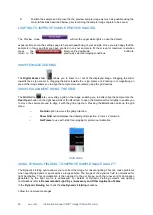
7. Check the box if you would like to image a visible marker. Choose between ‘visible marker’ and
‘marker is colour’.
8. Select ‘Auto Expose Area’ if required.
9. Press capture to capture an image.
Note:
If you have not pressed the capture button straight away
after the evaluation time then when you press capture a message will pop up ‘Preview time has
expired’ chemiluminescent signal may have decreased. Are you sure you would like to continue?’
Select ‘Yes’ to continue and capture the image. Select ‘No’ if you wish to stop capture and
reevaluate the capture time using the ‘Eval. time’ button.
10. Press the ‘stop’ button to stop the capture at any time.
Chemi Blot (Series)
1. Select your Blot type from the drop-down list e.g. Chemi Blot (Series).
2. Select your sample size from the standards in the pop-up menu, or enter the dimensions of your
sample in the
Size
boxes, in cm.
3. Select the reagent you are using (this is for reference only).
4. Check the box if you would like to image a visible marker. Choose between ‘visible marker’ and
‘marker is colour’.
5. Select the number of images you would like to capture and the level of binning.
6. Check the box to ‘add the contents of the previous image’. This can help to improve the signal to
noise ratio providing smoother backgrounds.
7. Input the exposure time for each image or you can check the box to ‘use the same exposure for all
images’.
8. Adjust the lens controls to focus sample.
9. Press the capture button to capture the images.


