55 vwr.com Instruction manual VWR
®
Imager Chemi Premium
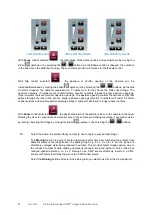
each dye as a composite image. Gel Doc image capture software will automatically colour the
bands for each dye in the composite image according to the emission filter used. You can change
the colour using the ‘arrow’ button at the side of the image.
Visible blot
For the visible blot place the ‘visible converter screen’ on top of the UV transilluminator. Using this screen
will give you a good background.
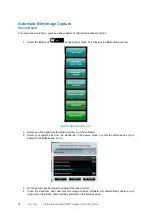
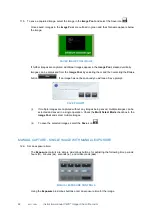
1. Select your Blot type from the drop-down list e.g. Visible Blot
2. Select your sample size from the standards in the pop-up menu, or enter the dimensions of your
sample in the
Size
boxes, in cm.
3. From the sample positioning page adjust the lens controls.
4. Press the capture button to capture the image.
Stain Free Blot
Use Stain Free blot when you are performing a western blot and you would like to use total protein values to
normalise your data. This feature will take an image of the membrane after a stain free activated gel has
been transferred to a membrane.
AUTOMATIC IMAGE CAPTURE - SAMPLE POSITIONING AND CAPTURE SCREEN
SAMPLE POSITIONING
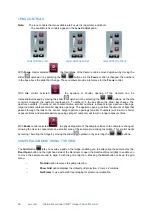
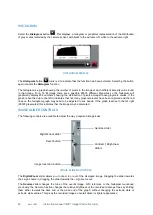
At this point the Camera is live and the image it is seeing of your sample is presented in the left hand pane.
Controls are provided for you to improve this live preview image of your sample, enabling you to improve
the image quality before the Instrument makes an image capture.
LIGHTING & FILTER OPTIONS TO IMPROVE SAMPLE IMAGING
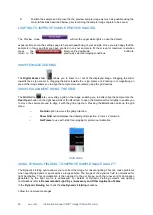
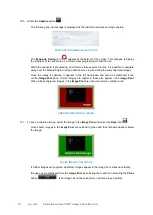
The
Lighting & Filter
function provides additional options for aligning the sample in the darkroom.
Selecting the
icon turns the interior white lights on, giving greater visibility of the sample in the
dackroom. Re-select the
icon to turn the white lights off again. Selecting the
icon informs the Gel
Doc image capture software to remove the emission filter so it is no longer in front of the Camera. The
sample image should now appear much clearer. The software will automatically place the emission filter
back in front of the Camera when the green bouncing arrow is pressed.

