58 vwr.com Instruction manual VWR
®
Imager Chemi Premium
USING A SELECTED AREA TO IMPROVE SAMPLE IMAGE QUALITY
The
Select AutoExpose Area
function allows you to define an area of interest to set the Camera exposure.
This can be used to improve an area of the image where the bands are very faint. The software determines
the correct exposure settings for the defined area, resulting in a good image of the defined area. However,
although this procedure may result in faint bands becoming more visible, more prominent bands may be
overexposed (saturated).
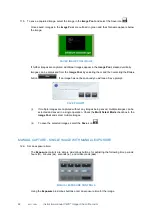
Select the
Select AutoExpose Area
button
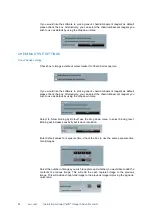
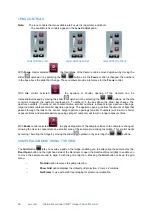
. This introduces a yellow selector
box onto the sample image. The yellow box can be dragged around and resized.
AUTOEXPOSE AREA SELECTOR BOX
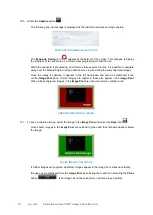
You also have the option to use the area outside of the yellow box to set the exposure. This is useful if the
bulk of the image is faint and only a small area contains prominent bands. The yellow box can be positioned
to contain the prominent bands and then the
Use Area Outside ROI
checkbox can be checked. Exposure
will then be based on the area outside the yellow box.
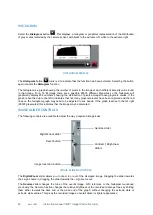
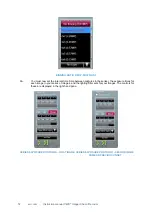
CURRENT PROTOCOL BOX
The
Current Protocol
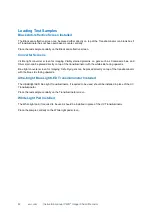
box summarises the lighting and filter combination being used, and displays the
exposure information; an exposure time if a manual exposure has been set, 'Automatic Exposure' if the
exposure is to be set automatically.
CURRENT PROTOCOL BOX
IMAGE CAPTURE
To capture an image using the entered selections, select the
Capture
button
.
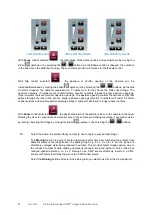
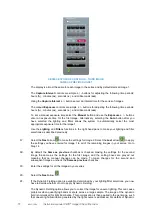
The following pop-up message is displayed as the Instrument makes an image capture:
AUTO EXPOSING MESSAGE POP-UP

