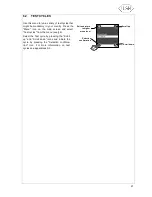


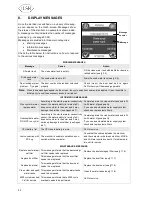
31
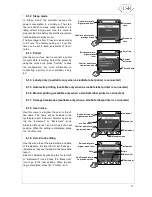
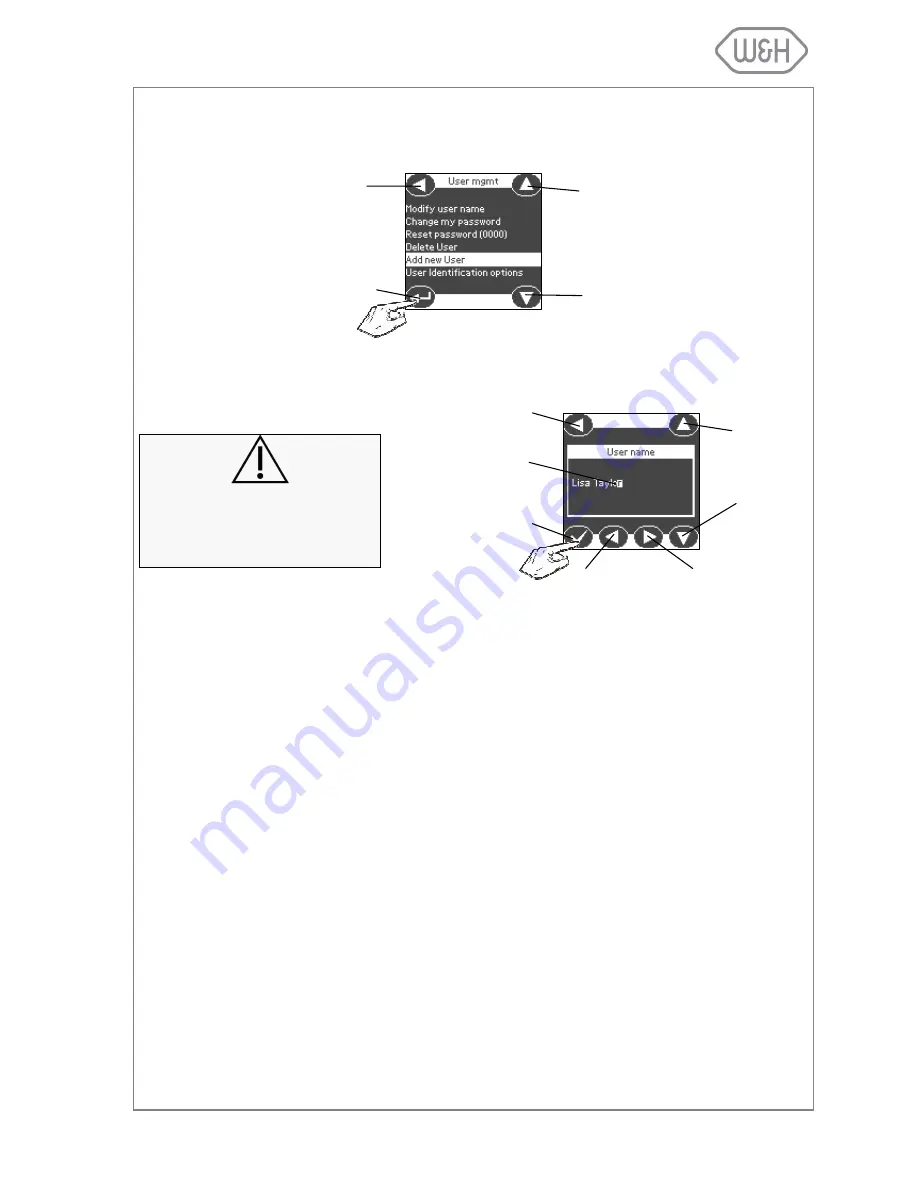
6.9.6 Adding a new user
This function allows to create a new user who is permitted to operate the sterilizer.
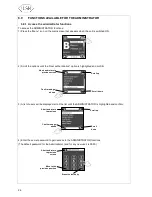
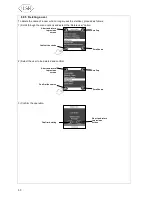
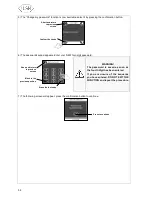
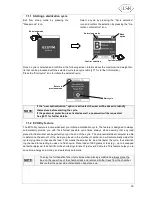
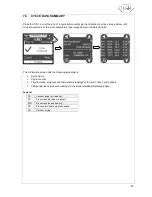
1) Scroll through the menu options, select the “Add new user” option and confirm.
2) Enter the user name using the UP and DOWN buttons to select the correct letter, and PREVIOUS and
NEXT buttons to move along the character positions.
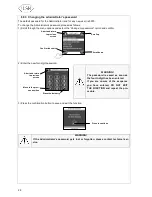
Once entered correctly, confirm the changes.
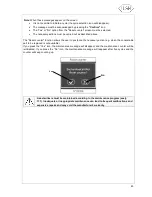
ATTENTION!
The new user will be created as
soon as the confirmation button
is pressed.
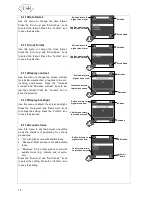
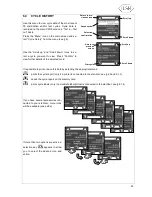
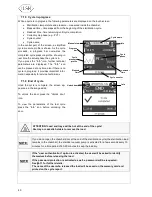
Abort and return
to previous
screen
Confirm the choice
Scroll down
Scroll up
Abort and return
to previous
screen
Confirm the name
Scroll
letters
down
Scroll
letters up
Move to pre-
vious position
Move to next position
or add a space
The letter being
introduced is
highlighted
Summary of Contents for Lisa
Page 1: ...Instruction for use UM009ENG LISA FULLY AUTOMATIC 201 10 Rev 4...
Page 2: ......
Page 77: ......


