52
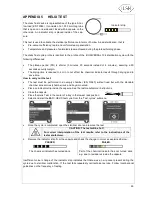
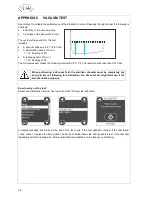
11.8 CLEANING THE WATER TANKS
•
Disconnect the mains cable.
•
Completely drain both tanks (see § 5.5).
•
Leave the drain tube attached to one of the drain
quick connectors.
•
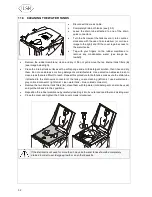
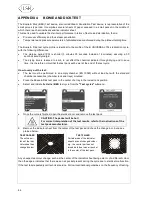
Turn the 5 screws of the tank cover a ½ turn counter-
clockwise with the use of a screwdriver (or coin; see
image to the right) and lift the cover to gain access to
the water tanks.
•
Tap with your fingers on the rubber membrane to
remove any condensation water (see image be-
low/left).
•
Remove the rubber membrane; clean and dry it. Do not yet remove the two internal tank filters (A)
(see image below/right).
•
Clean the internal tank surfaces with a soft sponge and a mild detergent solution, then rinse and dry
them. Do not use abrasive or strong detergents or disinfectants. Use a small non-abrasive brush to
clean areas that are difficult to reach. Repeat this procedure for both tanks; make sure the drain tube
it attached to the drain quick connector of the tank you are cleaning (left tank = used water tank –
gray colored connector; right tank = clean water tank – blue colored connector).
•
Remove the two internal tank filters (A), clean them with tap water (mild detergent can also be used)
and put them back into their positions.
•
Reposition the rubber membrane by carefully inserting it into its outer seat and the tank dividing wall.
•
Close the cover and tighten the 5 tank cover screws (clockwise).
If the sterilizer is not used for more than 3 days, both water tanks should be completely
drained in order to avoid algae growth or any other deposits.
Summary of Contents for Lisa
Page 1: ...Instruction for use UM009ENG LISA FULLY AUTOMATIC 201 10 Rev 4...
Page 2: ......
Page 77: ......

