Customizing
page 24
Adjusting the LCD monitor
Factory presets, auto-sync, and user settings
Factory presets:
For optimal display quality, set your video card to the DTF-521/PL-521’s native
resolution of 1024 x 768 pixels. See page 43 for signal specifications.
Auto-sync:
The DTF-521/PL-521 attempts to automatically synchronize to the incoming signal.
Auto-sync will function when the horizontal frequency is between 30 to 57 kHz and the vertical
frequency is between 45 to 70 Hz for XGA mode, or 45 to 75 Hz for other modes. If the pen display
does not automatically synchronize with the incoming signal, you can use the On Screen Display (OSD)
R
ESET
A
UTO
A
DJUST
option to initiate display synchronization. Further screen display adjustments can
be manually made using the OSD controls.
User settings:
When you manually set the display using the OSD function, the settings are stored
within the pen display for use the next time the unit receives a similar signal. This is applicable to all
display modes.
Working with on screen display settings
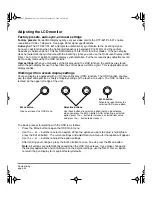
Your pen display is equipped with an On Screen Display (OSD) function. The OSD function enables
you to adjust and optimize a variety of display settings at the touch of a button. The OSD controls are
located on the upper left edge of the unit.
The basic process for working with the OSD is as follows:
•
Press the M
ENU
button to open the OSD main menu.
•
Use the + or – buttons to select an option. When the option you want to adjust is highlighted,
press the E
NTER
button. The current settings and adjustment sub-menu for that option will appear.
•
Use the + or – buttons to adjust the option settings.
•
After making your changes, press the E
NTER
button to save. To exit, press the M
ENU
button.
Note:
All settings are automatically saved when the OSD menu closes. If you make changes to
the display appearance and cannot return to the original settings, use the R
ESET
R
ECALL
option
to return the pen display to its original factory defaults.
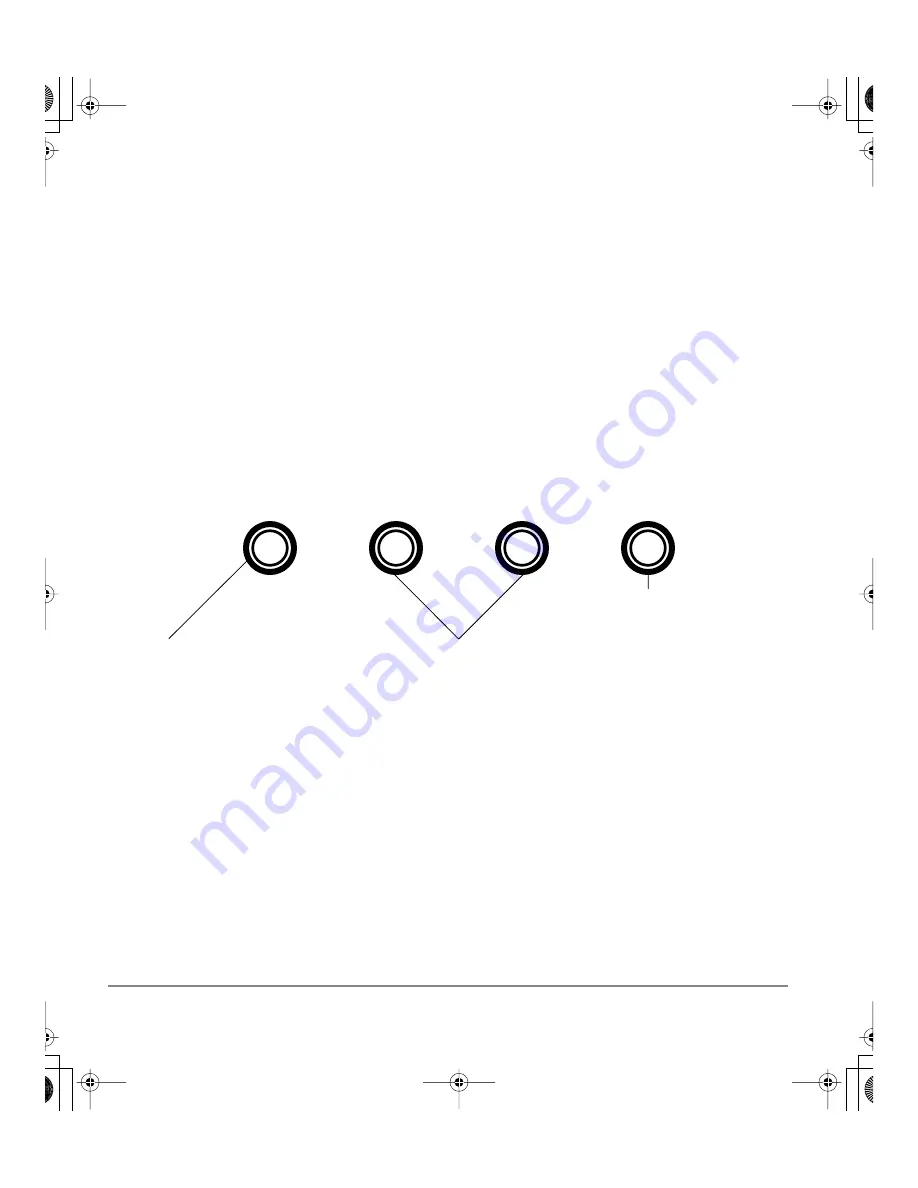
M
ENU
button
Opens or closes the OSD menu.
Selection buttons
Use these buttons to select an option that can be activated
when you press the E
NTER
button. After activating a selected
option, press the + button to increase a selected item value,
and press the – button to decrease it.
E
NTER
button
Activates or deactivates the
selected OSD menu option.
+
–
DTF521_Manual.fm Page 24 Tuesday, February 28, 2006 10:36 AM

