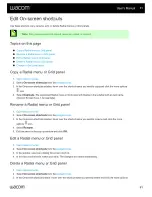
Note:
These instructions apply to multiple display setups only. These instructions are
recommended for advanced Wacom device users.
1.
.
.
3. Select
Mapping
and then click
Advanced
.
4. Turn the
Show advanced options
toggle "On" and make sure
Pen mode
is selected.
5. Close the
Advanced
settings.
6. In Mapping settings, choose "Select portion..." under
Display mapping
.
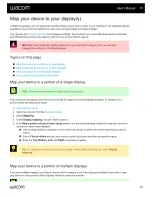
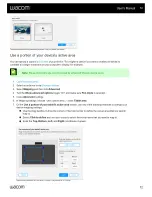
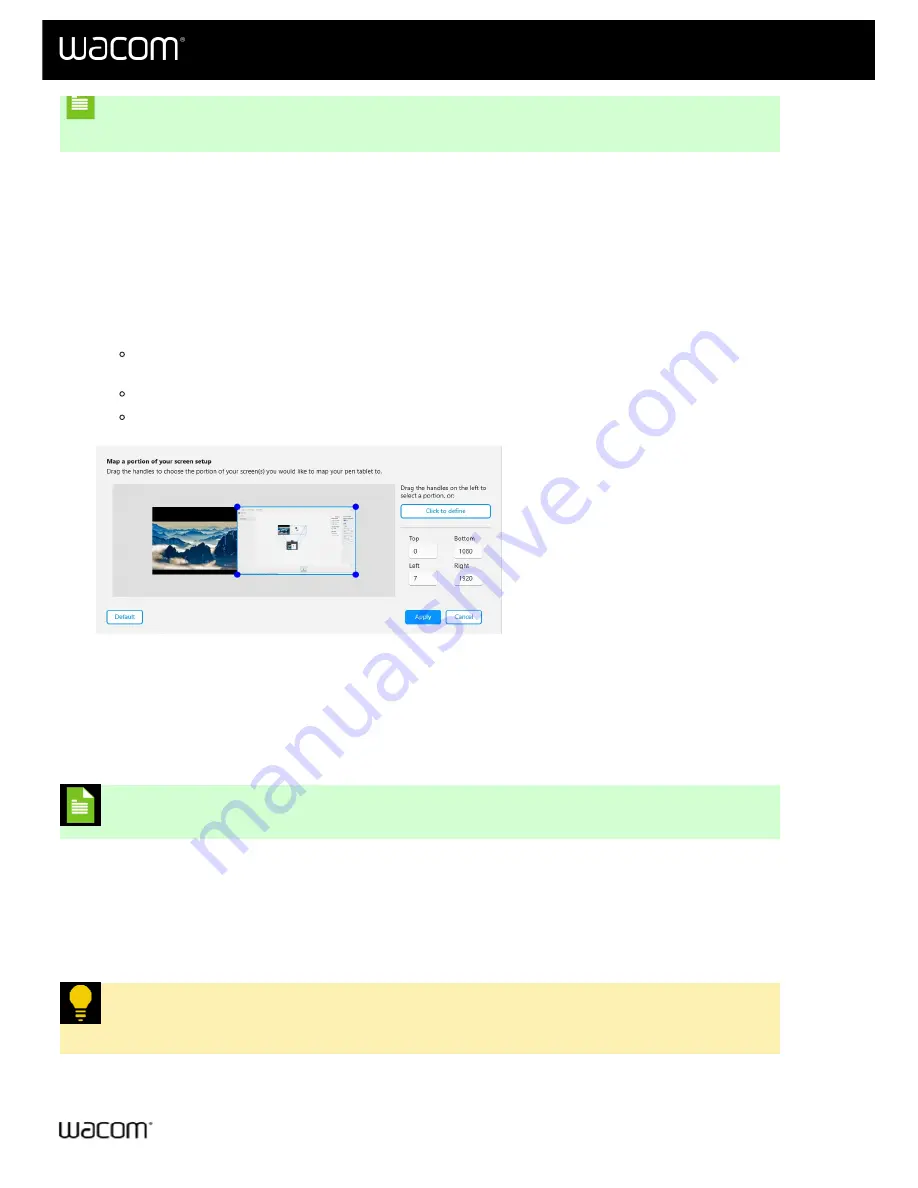
7. In the
Map a portion of your screen setup
window, use any of the following methods to map your device to
a portion of your screen displays:
Use the drag handles to drag the corners of the blue border to define the screen area that you want to
map to.
Select
Click to define
and use your cursor to select the screen area that you want to map to.
Enter the
Top, Bottom, Left,
and
Right
coordinates in pixels.
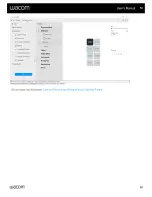
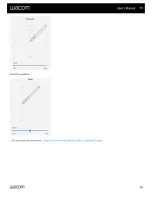
The above screenshot is for descriptive purposes; it may not match your screen.
Map your device to one of multiple displays
If you have multiple displays, your Wacom device will be mapped to all of the displays by default. If you wish to map
your device to a single one of the displays, follow the instructions below.
Note:
These instructions apply to multiple display setups only.
1.
.
2. Select your device from the
.
3. Select
Mapping
.
4. Under
Display mapping
, choose "Select one display".
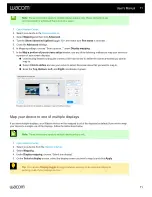
5. On the
Select a display
screen, select the display screen you wish to map to and click
Apply
.
Tip:
You can use
Display toggle
to toggle between working on an individual display to
working on all of your displays at once.
User's Manual
71
71

