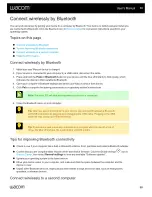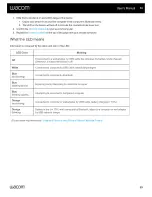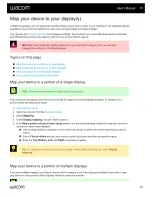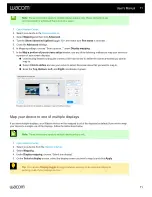
If your pen does not work as expected, check the assigned settings or reset them to their defaults. Also try the steps
outlined on the
page. If you are still having issues, use the diagnostic steps below.
Note:
The available features on your pen may vary depending on your device.
1.
.
2. If you have more than one device connected to your system, select the device you are using the pen with from
.
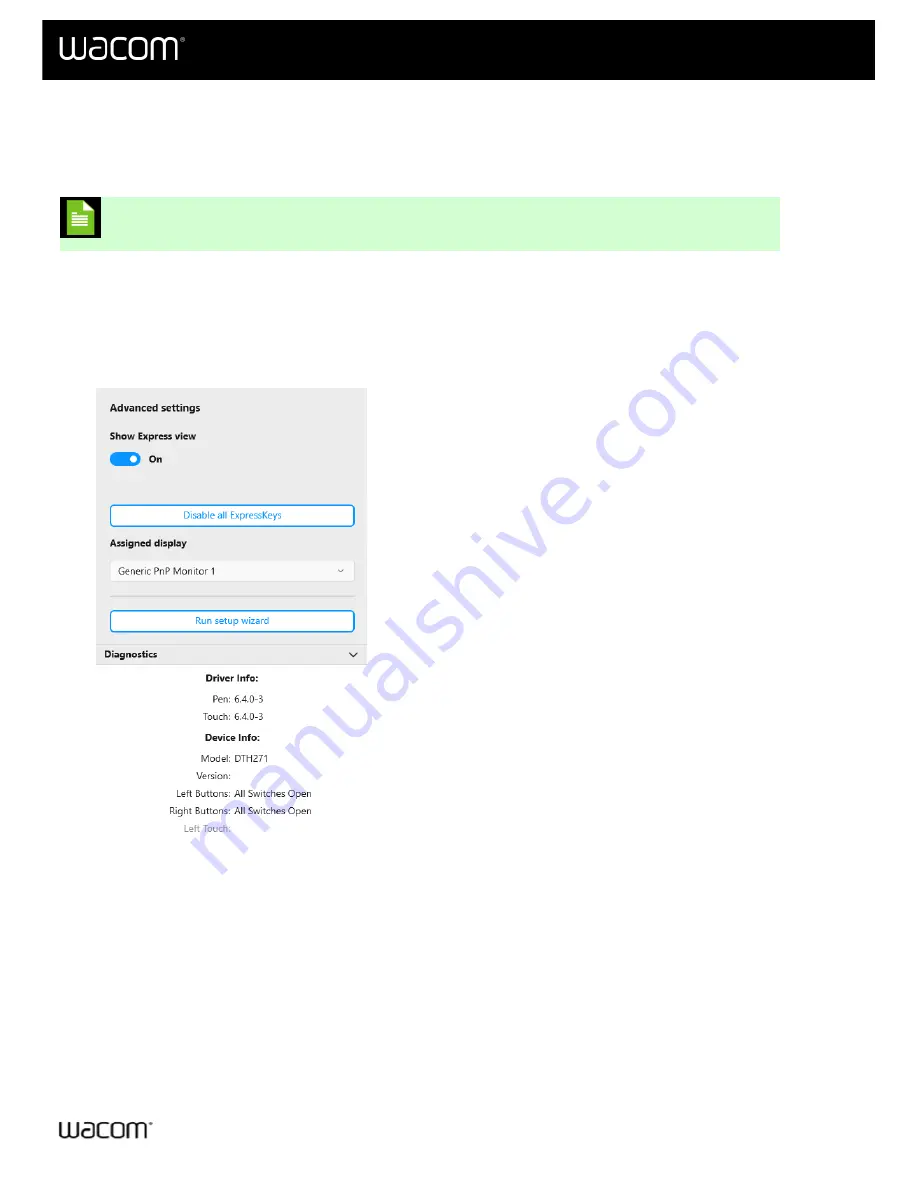
, click
Advanced
.
4. At the bottom of the Advanced settings window, click
Diagnostics
.
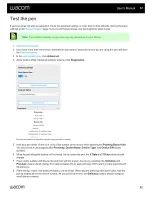
The above screenshot is for descriptive purposes; it may not match your screen.
5. Hold your pen within 10 mm (0.4 inch) of the surface of the device while watching the
Pointing Device Info
.
You should see a value appear after
Proximity
,
Device Name
,
Device Type
, and
Device S/N
(serial
number).
6. Move the pen along the surface of the device. As you move the pen, the
X Data
and
Y Data
values should
change.
7. Press on the surface with the pen tip and then with the eraser. As you are pressing, the
Switches
and
Pressure
values should change from approximately 0% to approximately 100% when you are pressing with
full pressure.
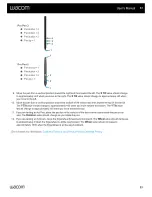
8. Press the tip, eraser, and each pen button, one at a time. When you are pressing each pen button, hold the
pen tip slightly above the device surface. As you press each item, the
Switches
number should change to
match these numbers:
User's Manual
82
82

