15
Remote Control until the Front Panel Display will
indicate “AUTO POWER OFF, : ENABLE”. Refer
to figure 59.
2. Then press and hold the ENTER Push-button a
second time and the display will then indicate
“AUTO POWER OFF, : DISABLE”. Refer to
figure 60.
3. The Auto Power Off feature is now disabled. To
re-activate the Auto Power Off feature repeat steps
1 and 2.
86%,QSXW2SHUDWLRQDQG'ULYHU,QVWDOODWLRQ
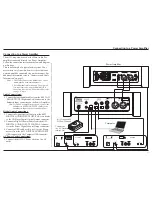
The di122 USB Input provides the capability to play
back music from a computer when the di122 Rear
Panel USB Connector is connected to a computer USB
Connector. Refer to figure 61.
1RWH7KH86%,QSXWLVIRUGLUHFWFRQQHFWLRQWRDFRP
-
SXWHURQO\7RSOD\EDFNPXVLFIURPD86%'ULYH
FRQQHFWWKH86%'ULYHWRDQRWKHU86%3RUWRQ
WKHFRPSXWHUDQGVHOHFWWKH86%'ULYHZLWKWKH
0HGLD3OD\EDFN3URJUDP
2. Press and release the Push-button on the
Remote Control to decrease the volume level of
the Left Channel in one decibel increments (up to
G%³%$/$1&(/G%5G%´DSSHDUV
on the Front Panel Display. Refer to figures 57
and 58.
After approximately 3 seconds, the Display returns to
indicate the Volume Level and Sampling Rate.
Note: The di122 will retain any changes made to the
&KDQQHO%DODQFHXQWLOLWLVFKDQJHGDJDLQ
'LVSOD\RI6DPSOLQJ5DWH
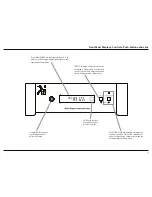
The Wadia di122 indicates the digital sampling rate
for all of the Input Sources connected to the Digital
Audio Decoder. Referring to figure 53, the second line
of the Front Panel Display is indicating the di122 is
receiving a DSD128 Digital Signal, via the USB Input.
When there is no digital signal present for the selected
Input Source the Front panel Display will indicate “ - -
-”. Refer to figure 50.
$XWR3RZHU2II
The di122 incorporates an Auto Power Off Feature,
which can automatically place the Digital Audio
Decoder into the Power Saving Standby/Off Mode.
This occurs approximately 2 hours after there has
been an absence of user activity. User activity includes
changes to any of the Operation Functions such as
source selection, volume adjustment, etc. If it is
desirable to disable the Auto Off Power Save Feature
perform the following steps:
1. Press and hold the ENTER Push-button on the
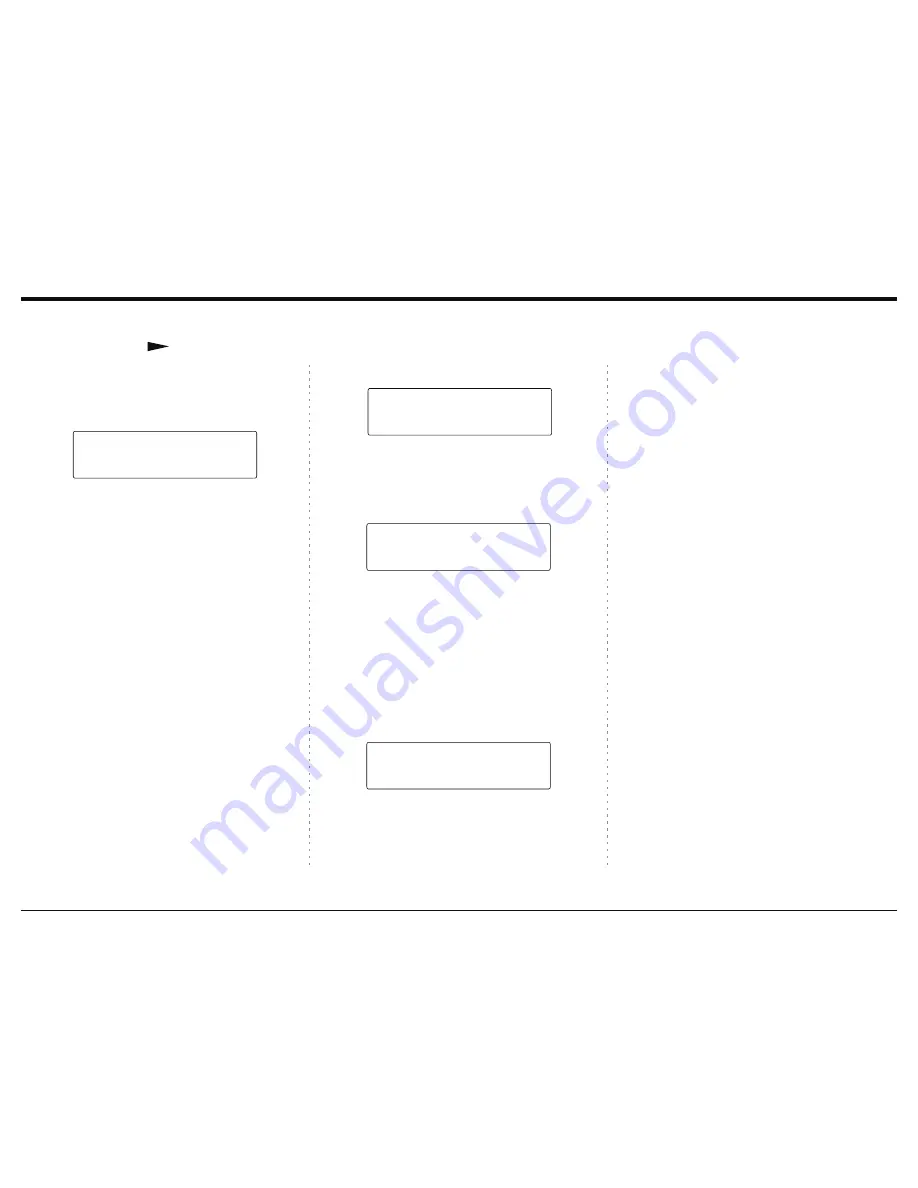
A U T O P O W E R O F F
: D I S A B L E
Figure 60
A U T O P O W E R O F F
: E N A B L E
Figure 59
Figure 61
I N P U T : U S B
1 9 2 k H z
The di122 USB Input is compatible with PC
&RPSXWHUVXVLQJ0LFURVRIW:LQGRZV9LVWD63
:LQGRZV63DQG:LQGRZV63,WLVDOVRFRP
-
patible with Apple® Macintosh® Computers using
OS-10.9 Mavericks or later.
When using a PC Computer with Windows, a spe-
cial Wadia USB Audio Software Driver needs to be
installed on the PC Computer. The driver needs to be
installed before connecting the di122 USB Input to the
USB Port on the computer.
Note: If an Apple Macintosh computer is used with the
GLQRDGGLWLRQDOGULYHULVUHTXLUHG
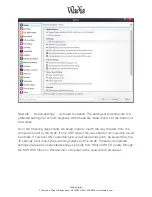
The Wadia USB Audio Windows Driver is avail-
able for download from the Wadia Web Site:
KWWSZZZ:DGLDFRPHQXVSURGXFWVGL
Under “Products” select “Wadia di122” then
scroll down to the bottom of the Wadia di122 to the
“DOWNLOAD AREA”. Select the “WADIA di122
PC DRIVER SETUP” and download the PC Windows
Driver. Follow the instructions below to install the
Wadia di122 Driver:
3XUSRVH
To Install the Wadia USB Audio Windows
Driver for use with Wadia Products with
an USB-Digital Audio Input.
5HTXLUHPHQWV
1. A functioning Wadia Product with
an USB-Digital Audio Input.
2. A PC Computer with a
JHQXLQH
Intel
Main Processor and a
functioning USB Port.
:LQGRZV9LVWD63:LQGRZV
63RUJUHDWHURU:LQGRZV
63RUJUHDWHU2SHUDWLQJ
System.
4. An USB Cable with Type A to
Type B Connectors.
B A L A N C E
L : - 3 0 d B R : 0 d B
Figure 57

