English
13.1 Shutdown in case of repair, emergencies and malfunctions
1. To ensure that the device is disconnected from the power supply for repairs, switch it off using the main
switch and also pull out the power plug.
2. To turn off the A/C service unit in an emergency or malfunction, turn off the main switch.
13.2 Short selection
A fully automatic air conditioning service is started using the
Short selection
menu. Included is a leak test that
must be carried out before working on the vehicle air conditioner. The vehicle air conditioner is filled with a sam-
ple refrigerant. The pressure in the vehicle air conditioner must remain constant over a period of 5 min. The vehi-
cle air conditioner can only be completely filled if this test has been successfully completed. The sample filling is
then drained and the vehicle air conditioner evacuated. The final filling quantity is completely filled up to ensure
high filling accuracy.You only have to enter the filling quantity as shown on the label in the vehicle.
The following actions are performed automatically in succession in the
Short selection
menu:
• Extraction of the refrigerant
• Recycling the refrigerant (purity = SAE J 2099)
• Pressure rise test
• Draining the used oil
• Evacuating the system
• Leak test/vacuum check
• Filling with new oil to the required quantity
• Filling with UV additive
• Filling of refrigerant
After each process has been performed a service report is printed. Subsequent actions are only initiated once the
preceding action has been completed successfully.
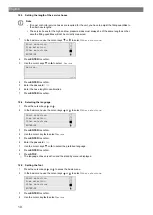
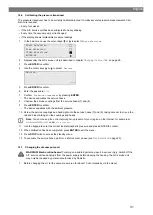
1. Fit the service hoses for the A/C service unit to the vehicle air conditioning system, and open the service
couplings.
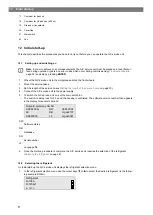
2. Press the cursor key or to acces the basic menu.
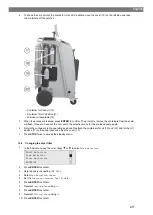
3. In the basic menu use the cursor keys or to select
Short selection
.
Short selection
Free selection
Other selections
ENTER-OK
4. Press
ENTER
to confirm.
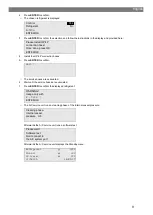
5. Use the keypad and the cursor keys to enter the vehicle data.
6. Press
ENTER
to confirm.
7. Enter the refrigerant filling quantity. Use the value shown on the filling quantities sticker in the vehicle and
enter it using the keypad and the cursor keys and press
ENTER
.
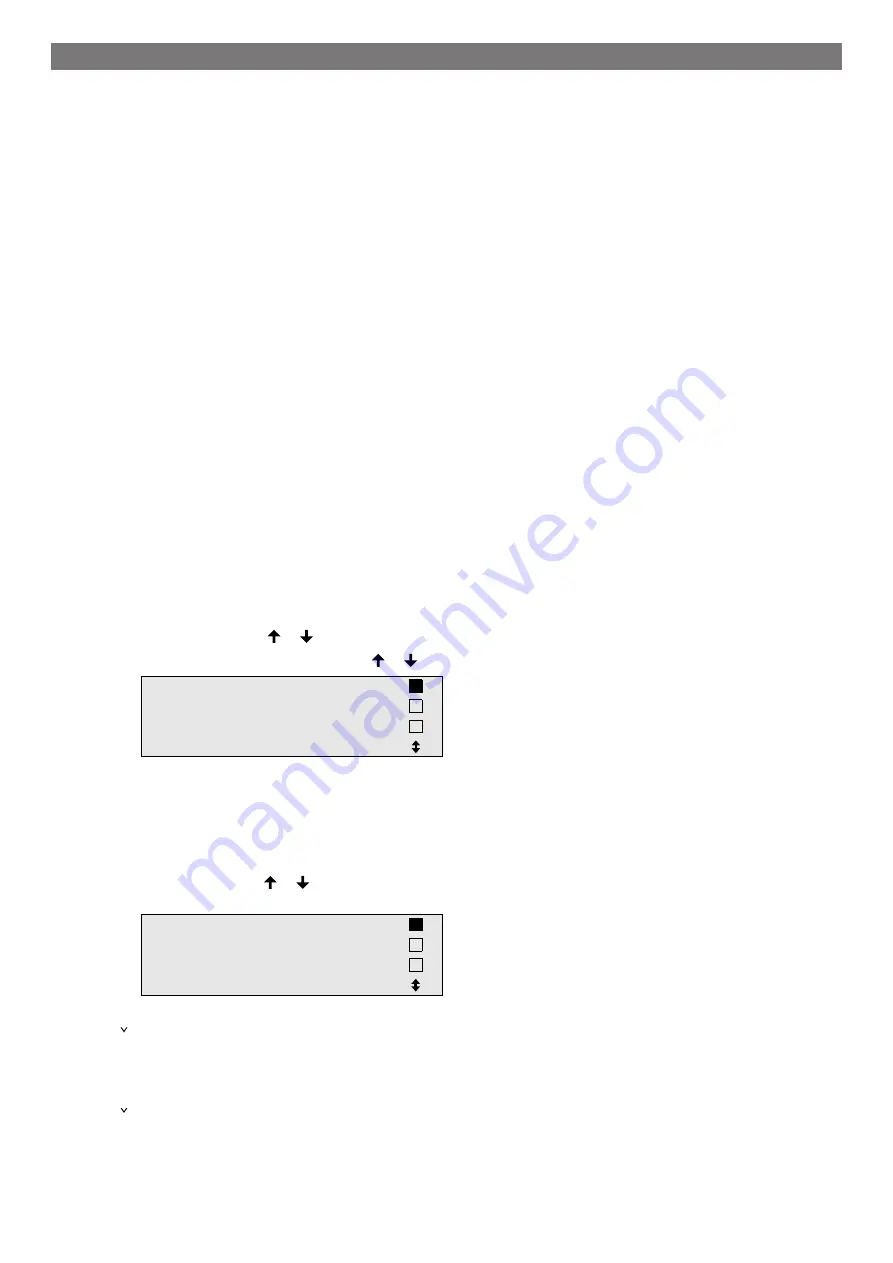
8. Use the cursor keys or to select whether the air conditioning system has two connections (high pres-
sure and low pressure) or only one connection (high pressure or low pressure).
HP/LP
PORT
HP
PORT
LP
PORT
ENTER-OK STOP-EXIT
9. Press
ENTER
to confirm.
The fully automatic air conditioning service is started.
After the air conditioning service has finished, you will be prompted to disconnect the A/C service unit's ser-
vice hoses of from the vehicle air conditioning system.
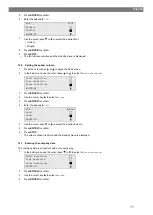
10. Disconnect the service hoses and press
ENTER
to confirm.
The service hoses will now be drained. The A/C service unit is then ready for further use.
11. Put the valve caps of the vehicle air conditioning system back on the connections.
16
Summary of Contents for AirCon Service 6300G
Page 9: ...English 16 USB port 7...
Page 42: ...English 17 1 Flowchart ASC6300 G Legend 40...
Page 45: ...English 17 2 Flowchart ASC6400 G Legend 43...
Page 48: ...English 17 3 Circuit diagram ASC6300 G 46...
Page 49: ...English 47...
Page 50: ...English 17 4 Circuit diagram ASC6400 G 48...
Page 51: ...English 49...
Page 93: ...French 17 1 Organigramme ASC6300 G L gende 91...
Page 96: ...French 17 2 Organigramme ASC6400 G L gende 94...
Page 99: ...French 17 3 Sch ma lectrique ASC6300 G 97...
Page 100: ...French 98...
Page 101: ...French 17 4 Sch ma lectrique ASC6400 G 99...
Page 102: ...French 100...
Page 143: ...German 17 1 Flussdiagramm ASC6300 G Legende 141...
Page 146: ...German 17 2 Flussdiagramm ASC6400 G Legende 144...
Page 149: ...German 17 3 Schaltplan ASC6300 G 147...
Page 150: ...German 148...
Page 151: ...German 17 4 Schaltplan ASC6400 G 149...
Page 152: ...German 150...
Page 154: ...4 4 Tel 49 0 2572 879 0 5 6 Domestic 152...
Page 155: ...Russian 6 1 153...
Page 156: ...Russian 6 2 R1234yf 405 C R134a 743 C R153A 6 3 154...
Page 158: ...10 10 10 1 230 V 50 Hz 10 2 10 3 10 4 Short selection Free selection Other selections 156...
Page 159: ...11 11 1 2 3 4 ECO 5 6 7 8 9 10 11 12 13 14 15 157...
Page 160: ...Russian 16 USB 158...
Page 185: ...Russian 2 D E 3 I 4 G 5 J 6 J 7 H G 8 9 10 Vacuum time 178 183...
Page 193: ...Russian 17 1 ASC6300 G 191...
Page 195: ...Russian X23 DO X3 UV X4 X5 Z2 X6 Z2 X7 HP X8 HP X9 RE 193...
Page 196: ...Russian 17 2 ASC6400 G 194...
Page 198: ...Russian X10 VC X16 CY X2 LP X23 DO X3 UV X4 X5 Z2 X6 Z2 X7 HP X8 HP X9 RE 196...
Page 199: ...Russian 17 3 ASC6300 G 197...
Page 200: ...Russian 198...
Page 201: ...Russian 17 4 ASC6400 G 199...
Page 202: ...Russian 200...
Page 244: ...Spanish 17 1 Diagrama de flujo ASC6300 G Leyenda 242...
Page 247: ...Spanish 17 2 Diagrama de flujo ASC6400 G Leyenda 245...
Page 250: ...Spanish 17 3 Esquema de conexiones ASC6300 G 248...
Page 251: ...Spanish 249...
Page 252: ...Spanish 17 4 Esquema de conexiones ASC6400 G 250...
Page 253: ...Spanish 251...
Page 254: ...4445103554 2022 05 02...

