46
With all other electrically controlled central locking systems, it is first
necessary to find out the mode of function. If possible, use original circuit
diagrams from an authorised vehicle dealer for this purpose.
If no original circuit diagrams are available, the function of the control
cables which run from the central locking control unit to the vehicle door
must first be determined.
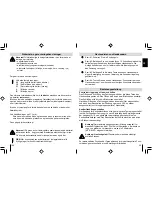
Caution!
Connection must only be made with the central locking
control cables and not with any other cables. Connection to other
cables than the control cables or the use of a wrong circuit layout
can result in defects in the central locking system and in the remote
control.
Check how your vehicle’s central locking system works.
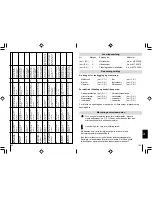
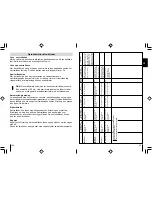
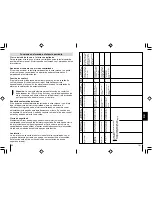
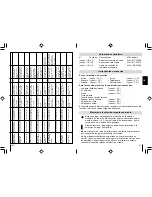
Connect the central locking system using the circuit diagrams
(see
✎
K
➀
–
➇
).
In the case of some vehicles, e.g. Mercedes, it is possible that the
actuation time of 0,6 sec. is not sufficient to fully operate the central locking
system.
In cases, set the actuation time to 3,5 secs. using selector switch 1
(see
✎
L
➀
).
Normally, selector switch 1 should be set to 0,6 sec.
Connection of the automatic relocking mechanism to the door contact can
be performed both in vehicles with electrically negative (-) door contacts
and for vehicles with +12V door contacts.
In the case of (-) door contacts, connect the yellow lead to the switch lead.
Should this function not be desired, the yellow lead must be connected to
ground.
If the vehicle has +12V door contacts, connect the green lead to the switch
lead (see circuit diagram on page 11). Should this function not be desired,
do not connect the green lead but insulate it instead.
Connecting on the central locking
155
S
Obs!
Anslut aldrig båda kablarna (grön och gul kabel).
Isolera alltid de kablar som inte används.
Kopplingsschema nr. 1
(se
✎
K
➀
)
Obs!
Detta kopplingsschema gäller endast för fordon utam
servomotor i förardörren eller för undertyrcks-centrallås utan
elektronisk styrledning.
Kopplingsschema nr. 2: Två ledningar för aktivering med +12 V,
varav en med minusimpuls och en med plusimpuls
(se
✎
K
➁
)
Kopplingsschema nr. 3: Två ledningar för aktivering, båda med
+12 V impuls
(se
✎
K
➂
)
Kopplingsschema nr. 4: Två ledningar för aktivering, båda med
minusimpuls
(se
✎
K
➃
)
Kopplingsschema nr. 5: En öppen ledning med minusimpuls
(se
✎
K
➄
)
Kopplingsschema nr. 6: En ledning med omvä12 V och
minusimpuls
(se
✎
K
➅
)
Kopplingsschema nr. 7: För anslutning till WAECO centrallås
ML-44(22) IR
(se
✎
K
➆
)
Viktigt!
Kontrollera att körriktningsvisarna blinkar endast en gång
när du låser med fjärrkontrollen. Om de blinkar två gånger måste
den blå-röda kabeln skiftas till den svarta kabeln och den grå-röda
kabeln skiftas till den röda kabeln i styrenheten.
Kopplingsschema nr. 8: För anslutning till WAECO centrallås
ML-44(22)
(se
✎
K
➇
)
Viktigt!
Kontrollera att körriktningsvisarna blinkar endast en gång
när du låser med fjärrkontrollen. Om de blinkar två gånger måste
den grå-röda kabeln skiftas till stift 5 och den blå-röda kabeln
skiftas till stift 10 i styrenheten.
Ansluta till centrallåset

