47
VERSION 03/2018
ORDER NUMBER DOC 2369735
6.4
ASSEMBLY AND INSTALLATION
Check the individual components of the AquaCoat spraying system against the consignment
note. Familiarize yourself with the mode of functioning of the individual components,
reading the enclosed operating manuals thoroughly. Note the special requirements of the
designated electrostatic air spray procedure.
6.4.1 ASSEMBLING THE AQUACOAT SYSTEM
Accessories (option)
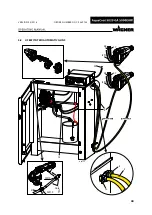
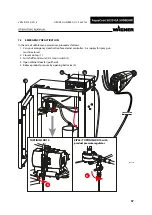
1. – Mount underframe with rolls, according to the assembly manual 2367143.
– Place tub insert into AquaCoat cabinet.
Pump set
All required parts are included in the scope of delivery of the pump set (see Chapter
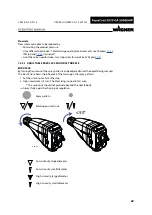
The cabinet contains two air hoses:
– The air hose 10 mm; 0.39 inch is connected with the control unit, pump air connection.
– The air hose 8 mm; 0.32 inches is connected with the control unit, product pressure
regulator connection.
Procedure:
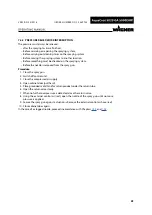
2. Screw the pump to pump support (see Chapter
3. Screw the orange potential equalization line (see Chapter
) to pump's grounding
connection. (Grounding connection see pump's operating manual.)
4. Mount suction hose on pump inlet.
5. Pump's air supply: Connect air hose 10 mm; 0.39 inches (see Chapter
) to pump's
compressed air inlet.
6. DD10-/ZIP52 pump with product pressure regulator: Connect air hose 8 mm; 0.32 inches
(see Chapter
) to product pressure regulator.
Mount the product hose to the cabinet
Netzeingang
Main power
Prim. 1AT
Pistole
Gun
Spannung:
Voltage:
Strom:
Current:
max. 20Vpp
max. 1,0A
B_05957
9
5
8
5
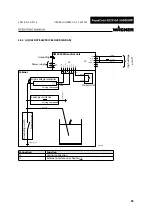
7. Mount the product hose to the cabinet in accordance with Chapter
(assembly).
Secure the product hose to the side wall with the hose holder toward
the outside.
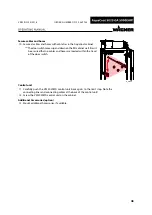
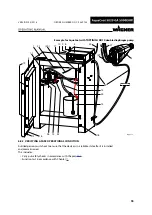
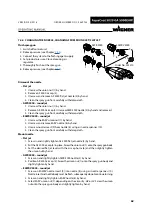
Connect the control cable to the control unit externally
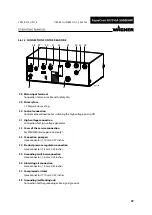
8. Dismount the VM 5020WA control unit in accordance with Chapter
9. Guide the control cable (5) through the bushing (8). Connect the control
cable (5) to the control unit (control connection (9)). Secure with knurled
nut. Attach strain relief grommet (8).

