ProSpray 39 Select
37
GB
Starting operation
4.
Starting operation
4.1
High-pressure hose, spray gun and separating
oil
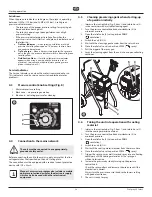
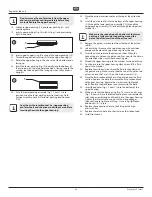
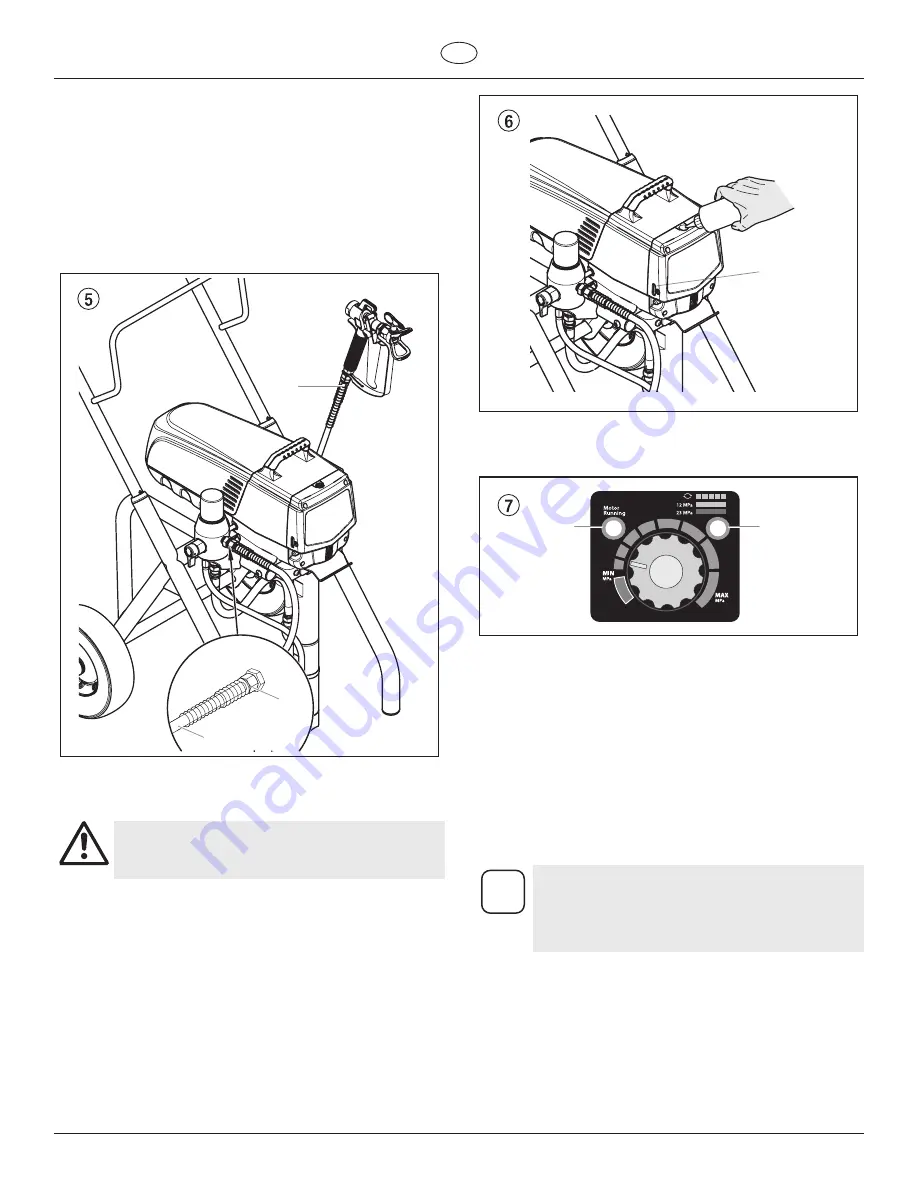
1. Screw the high-pressure hose (2) to the coating material
outlet (Fig. 5, Item 1).
2. Screw the spray gun (3) with the selected tip onto the high-
pressure hose.
3. Tighten the union nuts at the high-pressure hoses firmly so
that coating material does not leak.
2
1
3
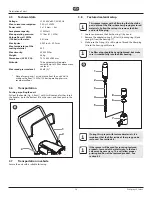
4. Remove the oil cup cap with a straight-slot screwdriver.
5. Fill the oil cup with EasyGlide (Fig. 6) until the oil gauge (4) is
showing that it is full.
Attention
EasyGlide prevents increased wear and tear to the
packings.
6. Replace oil cup cap.
7. Press oil button 2-5 times to prime the oiler. Press once for
every eight hours of usage to lubricate the fluid section.
4
4.2
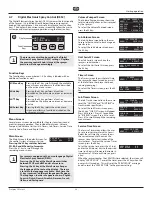
Control Panel Indicators
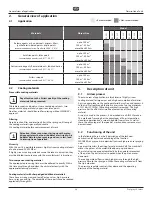
The following is a description of the control panel indicators.
Pressure
Indicator
Service
Indicator
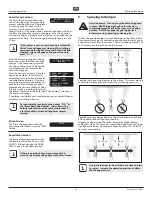
Pressure Indicator
The pressure indicator shows the current operating pressure of the
sprayer. It has three different indications: blinking yellow, solid
yellow, and solid green.
Blinking Yellow
When the pressure indicator is blinking yellow, the sprayer is
operating between 0 and 1.4 MPa (14 bar). A blinking yellow
pressure indicator means:
• The sprayer is plugged in and turned “ON”
• The sprayer is at priming pressure (little or no pressure)
• It is safe to move the relief valve between positions
• It is safe to change or replace the spray tip
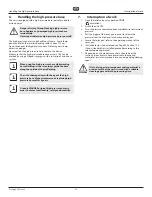
i
If the pressure indicator begins blinking yellow when
the pressure control knob is set at a higher pressure
and the relief valve is in the SPRAY position, either
the spray tip is worn or the sprayer is in need of
service/repair.
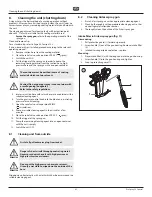
Solid Yellow
When the pressure indicator is solid yellow, the sprayer is operating
between 1.4 MPa (14 bar) and 12 MPa (120 bar). A solid yellow
pressure indicator means:
• The sprayer is at the proper pressure setting for spraying stain,
lacquer, varnish, and multi-colors
Summary of Contents for Brillux PROSPRAY 39 SELECT
Page 102: ...100 ProSpray 39 Special...

