English
Priming the Pump
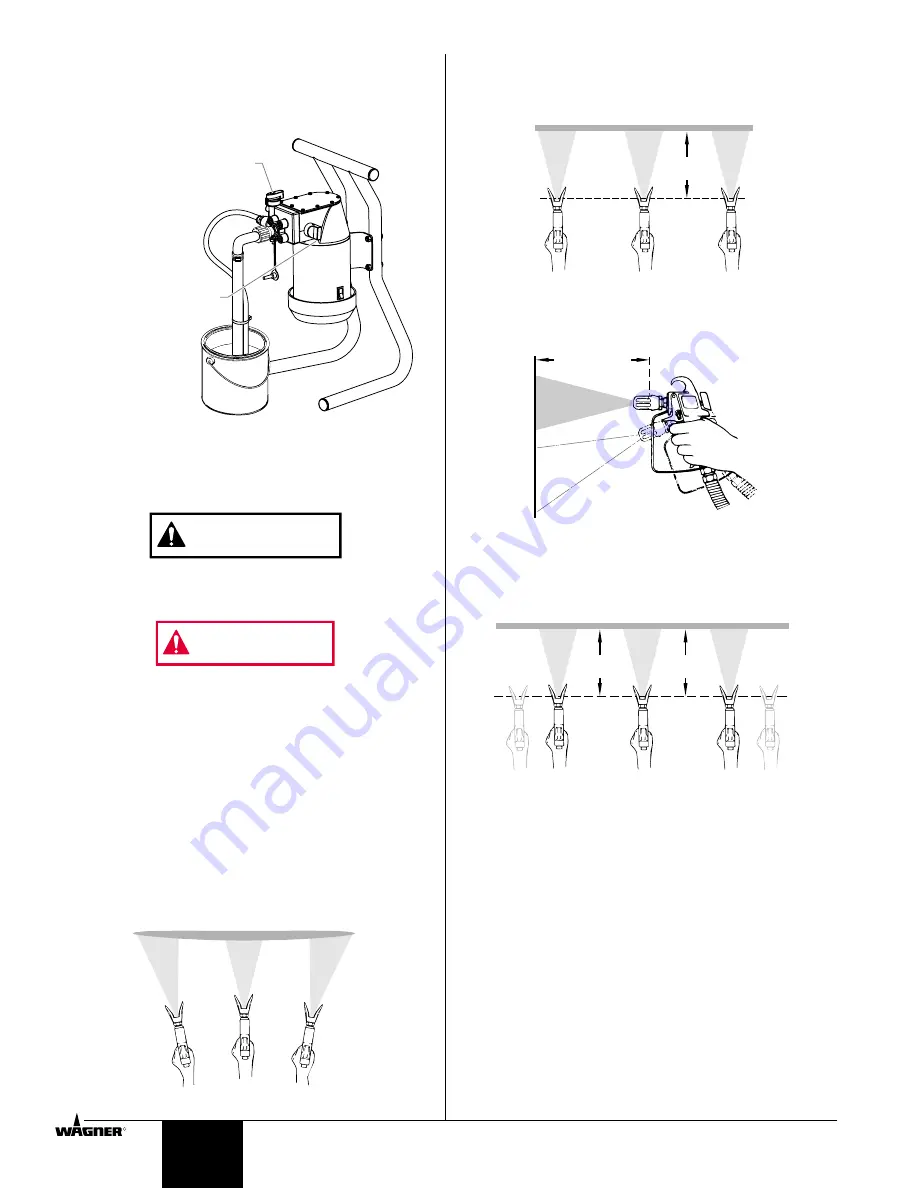
1. Turn the pressure control knob counterclockwise to its
lowest pressure setting.
2. Turn the PRIME/SPRAY knob to PRIME.
3. Turn the motor switch to ON.
4. Turn the pressure control knob clockwise to between half
and full pressure. You should see the paint move through
the suction tube to the pump. Let the unit prime 1 to 2
minutes after paint begins to flow through the return tube.
Always reduce the pressure to zero before changing the
position of the priming knob. Failure to do so may cause
damage to the paint pump diaphragm.
If the pressure control knob is reduced to zero and the
PRIME/SPRAY knob is still on SPRAY while the sprayer is
operating, there will be high pressure in the hose and
spray gun until the priming knob is turned to PRIME or
until the spray gun is triggered to relieve the pressure.
SPRAYING
Spraying Technique
The key to a good paint job is an even coating over the entire
surface. This is done by using even strokes. Keep your arm
moving at a constant speed and keep the spray gun at a
constant distance from the surface. The best spraying
distance is 10 to 12 inches between the spray tip and the
surface.
Heavy Coat
Do not flex wrist while spraying.
Light Coat
Light Coat
WARNING
CAUTION
Pressure Control Knob
PRIME/SPRAY Knob
6
© 1999 Wagner Spray Tech - All rights reserved.
R
Keep the spray gun at right angles to the surface. This means
moving your entire arm back and forth rather than just flexing
your wrist.
Keep the spray gun perpendicular to the surface, otherwise
one end of the pattern will be thicker than the other.
The spray gun should be triggered by turning it on and off with
each stroke. This will save paint and avoid paint buildup at the
end of the stroke. Do not trigger the gun during the middle of a
stroke. This will result in an uneven spray and splotchy
coverage.
Overlap each stroke by about 30%. This will ensure an even coating.
When you stop painting, lock the gun trigger lock, turn the
pressure control knob counterclockwise to its lowest setting
and set the priming knob to PRIME. Turn the motor switch to
OFF and unplug the sprayer.
If you expect to be gone more than 1 hour, follow the short
term clean up procedure described in the CLEANUP section of
this manual.
Practice
1. Be sure that the paint hose is free of kinks and clear of
objects with sharp cutting edges.
2. Turn the pressure control knob counterclockwise to its to
its lowest setting.
3. Turn the PRIME/SPRAY knob to SPRAY.
4. Turn the pressure control knob clockwise to its highest
setting. The paint hose should stiffen as paint begins to
flow through it.
5. Unlock the gun trigger lock by turning the switch so that it
is parallel to the handle.
Proper way to trigger the spray gun
Approximately
10 to 12 inches
Keep stroke
even
Start stroke
End stroke
Pull trigger
Release trigger
Keep steady
Approximately
10 to 12 inches
Wrong way
Right way
Keep stroke smooth and at an even speed.
Even coat throughout
Approximately
10 to 12 inches


