27
W 590 Flexio
EN
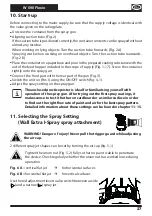
10. Start-up
Before connecting to the mains supply, be sure that the supply voltage is identical with
the value given on the rating plate.
•
Unscrew the container from the spray gun.
•
Aligning
suction
tube.
(Fig.
2)
If the suction tube is positioned correctly, the container contents can be sprayed without
almost
any
residue.
When working on lying objects: Turn the suction tube forwards. (Fig. 2 A)
Spraying work when working on overhead objects: Turn the suction tube rearwards.
(Fig. 2 B)
•
Place the container on a paper base and pour in the prepared coating substance with the
aid of the feed hopper included in the scope of supply (Fig. 1, 17). Screw the container
tightly onto the spray gun.
•
Connect the front part with the rear part of the gun (Fig. 3).
•
Switch the unit on (Pos. I) using the ON/OFF switch (fig. 4, 1).
•
Adjust the spray setting on the spray gun.
i
The enclosed practice poster is ideal for familiarising yourself with
The enclosed practice poster is ideal for familiarising yourself with
operation of the spray gun.
operation of the spray gun. After trying out the first spray coatings, it
After trying out the first spray coatings, it
makes sense to test it further on cardboard or a similar surface in order
makes sense to test it further on cardboard or a similar surface in order
to find out the right flow rate of paint and air for the best spray pattern.
to find out the right flow rate of paint and air for the best spray pattern.
Detailed information about these settings can be found in chapter 11-15.
Detailed information about these settings can be found in chapter 11-15.
11.
Selecting the Spray Setting
(Wall Extra I-Spray spray attachment)
WARNING! Danger of injury! Never pull the trigger guard while adjusting
the air cap.
2 different spray jet shapes can be set by turning the air cap (fig. 5, 1)
Tighten the union nut (Fig. 5, 2) fully so that no paint is able to penetrate
the device. Check regularly whether the union nut has worked loose during
operation.
Fig. 6 A
= vertical flat jet
for horizontal surfaces
Fig. 6 B
= horizontal flat jet
for vertical surfaces
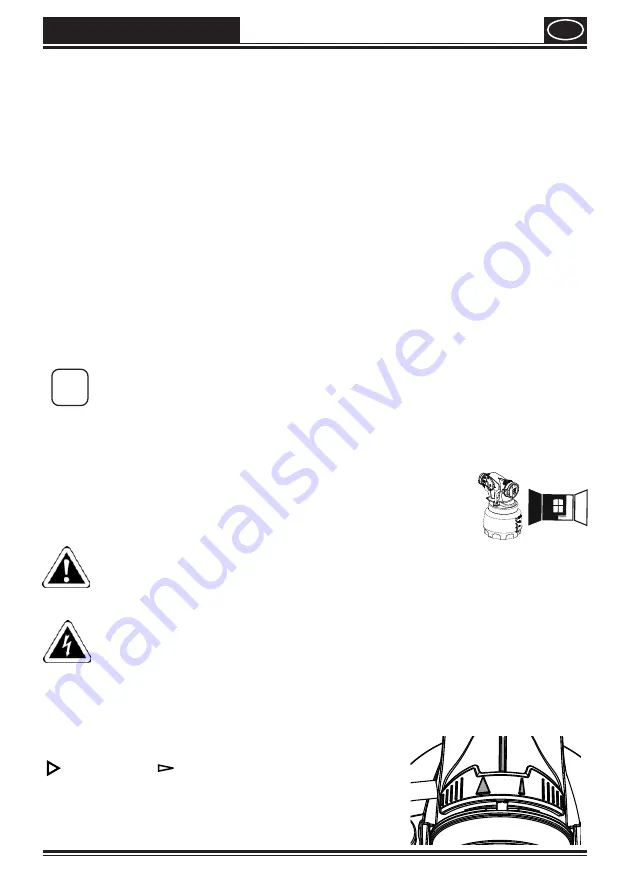
Use the red adjustment lever to also switch between a wide
( ) and a narrow ( ) spray jet.
Summary of Contents for W 590 FLEXIO
Page 1: ...wagner group com DE EN NL FR UNIVERSAL SPRAYER W 590 FLEXIO ORIGINAL BETRIEBSANLEITUNG...
Page 3: ...W 590 Flexio click c a b 1 2 1 I ON 0 OFF...
Page 4: ...W 590 Flexio 2 1 A B C 1 A B W OOD METAL WALL CEILI N G 2 3 4 5 6 7 8 max min 1...
Page 5: ...W 590 Flexio 5 15 cm 20 30 cm A B C 1 1 2 3 1 2 3...
Page 6: ...W 590 Flexio 4 2 1 2 2 1 2 3...
Page 7: ...W 590 Flexio 1 2 3 4 5 6 7 1 2 7 8 3 4 5 6 9 1 1 2...

