26
W 690 Flexio Extra Kit
GB
Tighten the union nut (Fig. 8, 2) fully so that no paint is able to penetrate
the device. Check regularly whether the union nut has worked loose during
operation.
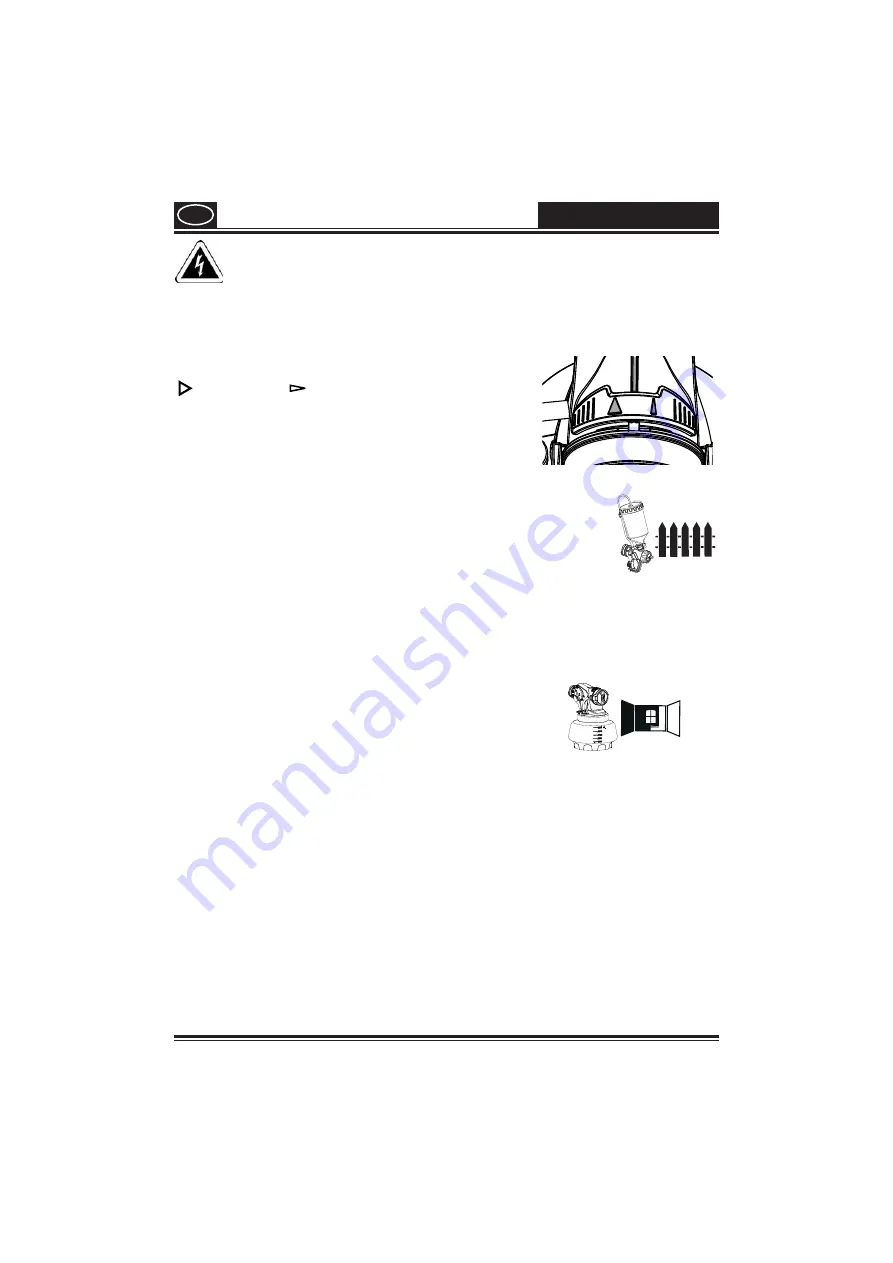
Fig. 11 A
= vertical flat jet
Æ
for horizontal surfaces
Fig. 11 B
= horizontal flat jet
Æ
for vertical surfaces
Use the red adjustment lever to also switch between a wide
(
) and a narrow (
) spray jet.
11. Adjusting the Material Volume
(Gravity spray attachment) (Fig. 12)
Set the material volume by turning the regulator on the trigger guard of the spray gun.
- turn to the left
Æ
lower material volume
+ turn to the right
Æ
higher material volume
12. Adjusting the Material Volume
(Wall Extra I-Spray spray attachment)
The volume of material can be set by turning the material volume control (Fig. 13, 1) in
steps from 1 (minimum) to 12 (maximum).
13. Setting the Amount of Air (Fig. 14)
Depending on the viscosity of the material to be sprayed and the finish of the object to
be coated, it may be advisable to vary the amount of air. Very low viscosity materials, such
as watery glazes do not have to be atomised with the maximum amount of air.
This also applies for the use of the Detail and Corner&Reach spray attachment (accessory).
- turn to the right
Æ
lower amount of air
+ turn to the left
Æ
higher amount of air
Summary of Contents for W 690 Flexio
Page 1: ...wagner group com D GB NL F UNIVERSAL SPRAYER W 690 FLEXIO EXTRA KIT ORIGINAL BETRIEBSANLEITUNG...
Page 2: ...W 690 Flexio Extra Kit 11 10 12 17 8 9 7 4 6 3 1 2 16 14 15 20 13 21 18 19 5 22...
Page 3: ...W 690 Flexio Extra Kit A B 1 2 3 B A...
Page 4: ...W 690 Flexio Extra Kit A B C A B 1 2 1 2 1...
Page 5: ...W 690 Flexio Extra Kit A 20 30 cm B A C A B C D...
Page 6: ...W 690 Flexio Extra Kit 1 2 3 4 2 1 1 1 3 2 1...
Page 7: ...W 690 Flexio Extra Kit A B 1 2 3 4 5 6 7 4 5 3 1 2 7 8 3 4 5 6 4 4...
Page 81: ...73 W 690 Flexio Extra Kit...


