16
ASSEMBLY & ADJUSTMENTS (cont.)
4.
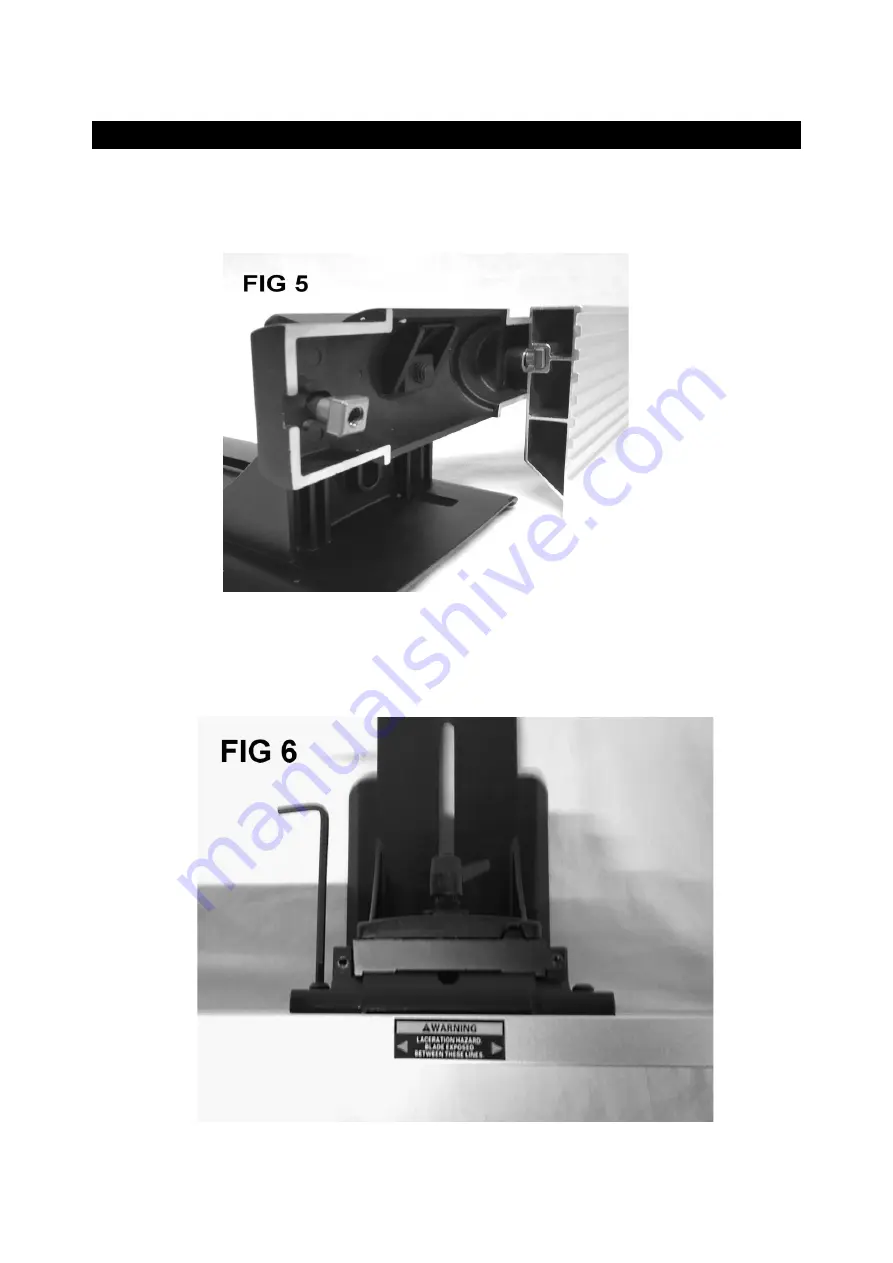
Locate Fence (See page 13) and slide from end, with the back of fence facing bracket, over
the square nuts as shown in FIG 5. Note that the bottom of the fence is beveled and the
square nuts have flats on them so you may have to rotate them slightly to slide the fence on.
5.
Slide the fence on until centered on the bracket and then tighten the 2 screws used in step 3
using the 4mm Hex Wrench. The arc shaped cut out on the bottom edge of the fence should
be centered over cutterhead. See FIG 6
Summary of Contents for 50180CC-WHD
Page 13: ...13...
Page 34: ...34 TROUBLESHOOTING GUIDE cont...
Page 35: ...35 TROUBLESHOOTING GUIDE cont...
Page 43: ...43 PARTS DIAGRAM...


