Quick Start Guide SECTION 4: WINDOWS VISTA
(32-bit)
P/N 180273 Rev. N April 2017
40
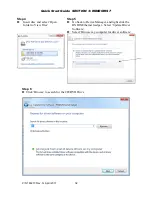
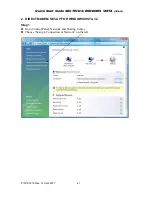
Step
3
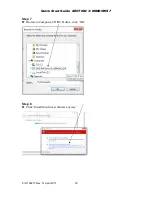
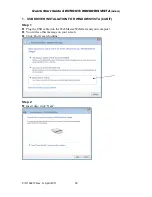
► You will see this message.
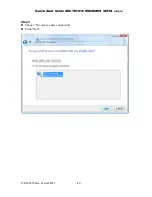
► Click on ‘Install this driver software anyway’
► You’ll get a message confirming the software
installation.
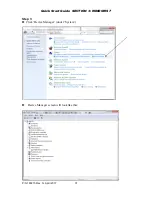
Step
4
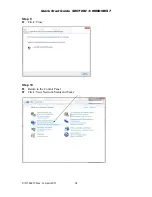
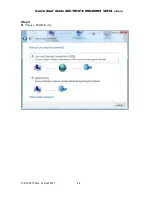
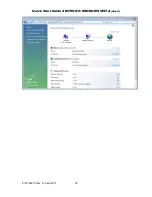
► Next you’ll need to change the IP settings for the
LAN connections and right-click on the new one.
► It is labeled ‘Local Area Connection 2’ or similar.
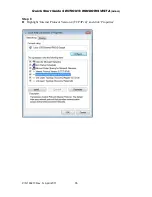
► Right-click and choose ‘Properties’.
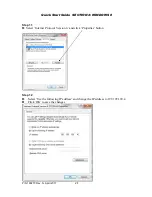
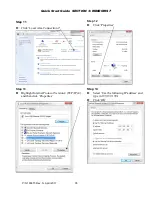
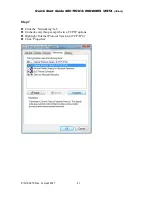
Step 5
► Choose ‘Internet Protocol Version 4’ and click
‘Properties’.
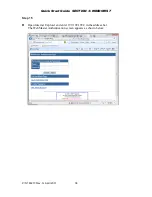
Step 7
► Open your browser and type in 199.199.199.2 to
access the WebMaster Login Screen
Step 6
► Check ‘Use the following IP address’ and type
199.199.199.1 for the IP address and 255.255.255.0
for subnet mask.
► Click ‘OK’ and you’re done!


