11
12
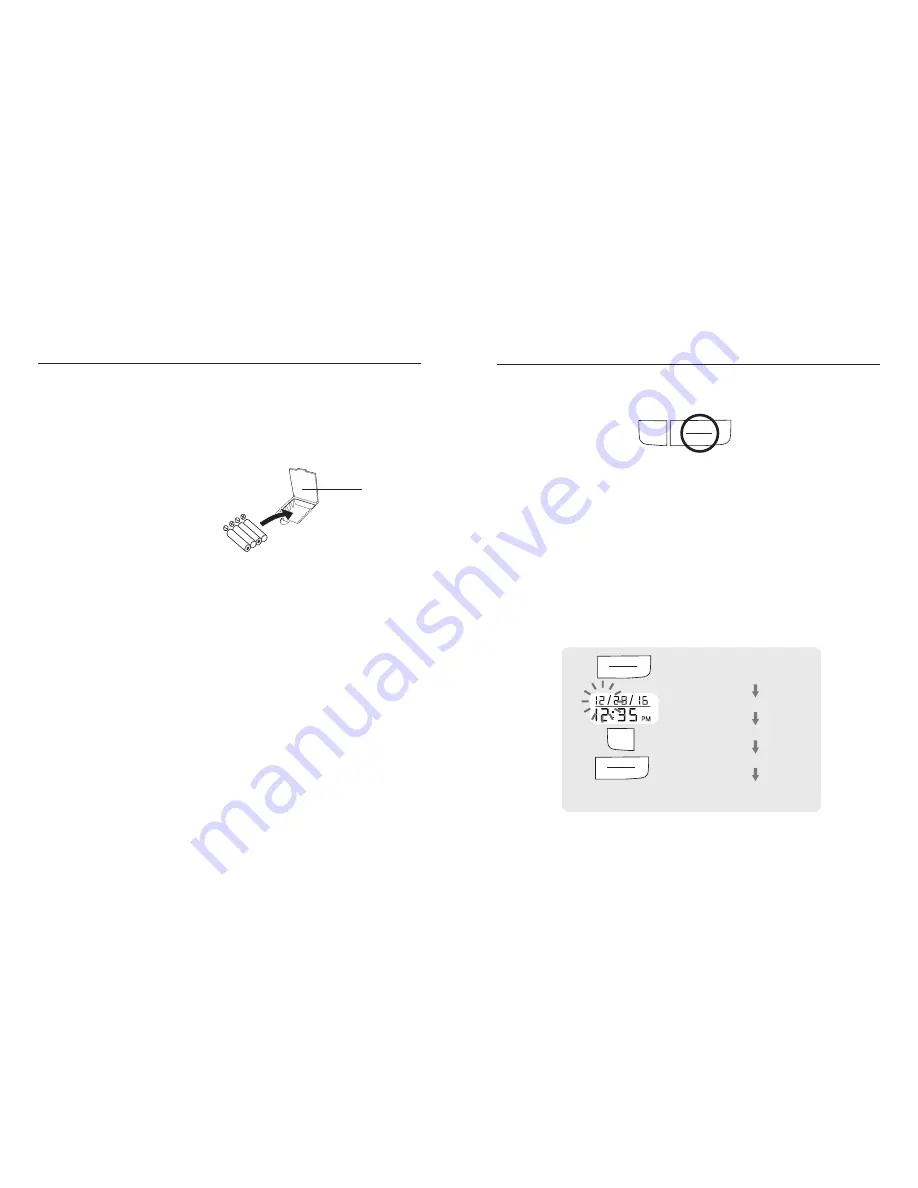
INSTALLING BATTERIES
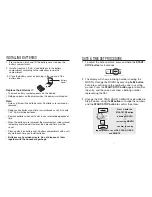
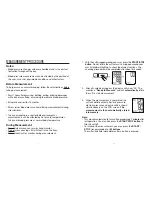
1. Press down on latch and lift the battery cover to open the
battery compartment.
2. Install or replace 4 “AAA ” sized batteries in the battery
compartment according to the indications inside the
compartment.
3. Close the battery cover by pushing in the top end of the
battery door.
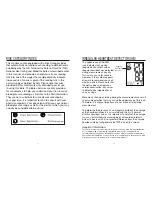
Replace the batteries if:
• The weak battery symbol appears on the display.
• Nothing appears on the display when the power is switched on.
Note:
• Date and time will need to be reset if batteries are removed or
replaced.
• Replace all batteries at one time (as simultaneous set). Use only
1.5V “AAA” alkaline batteries.
• Remove batteries when unit is not in use for extended periods of
time.
• When the batteries are removed, the measurement values stored
in memory are retained. However, the date and time must be
re-set.
• Clean contacts on battery and in battery compartment with a soft
dry cloth each time you install batteries.
• Batteries are hazardous waste. Do not dispose of them
together with the household garbage.
DATE & TIME SET PROCEDURE
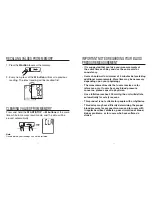
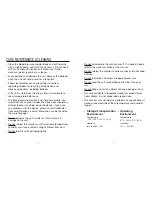
1. To adjust the date and time, press and hold the
START/
STOP button for 3 seconds.
2. The display will show a blinking number showing the
MONTH. Change the MONTH by pressing the
M
button.
Each press will increase the number by one in a cycling
manner. Press the
START/STOP button again to confirm
the entry, and the screen will show a blinking number
representing the DAY.
3. Change the DAY, YEAR, HOUR, & MINUTE as described in
Step 2. above, using the
M
button to change the numbers
and the
START/STOP button to confirm the entries.
Battery
Cover
START
STOP
M
Press & hold the
START/STOP button
blinking MONTH
increasing MONTH
confirm the entry
repeat process to set DAY, YEAR, HOUR
and MINUTE
START
STOP
M
START
STOP

