background image

23

Contents

Introduction
Walka Handheld TV

Walka Components

Charging your Walka
Activate your Walka

Basic Functions


Advanced 

Functions

Settings
Aspect Ratio
Channel Scan
Resetting your Walka
Updating the firmware
Setting  the Time Zone

4
5
6

10
11
13
15
17
18
19
20
22
23

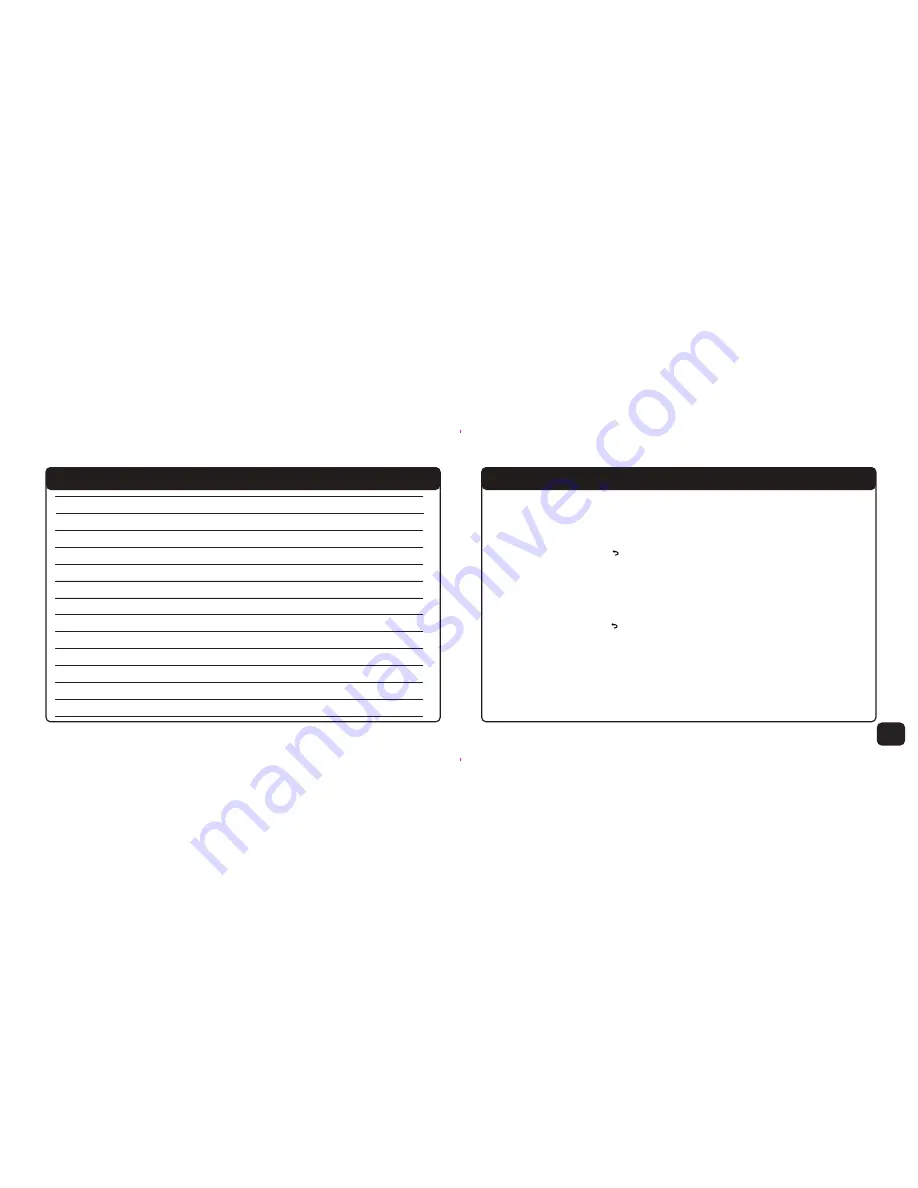
Setting the Time Zone

Please note that the default time zone in set for South Africa.

To change your time zone settings do the following;

1.

  Click on the menu/     button.

2.

  Using the channel up/down buttons to select the settingsmenu item.

3.

  Click on time zone.

4.

  Select the time zone for the country that you are located in.

5.

  Click okay to accept.

6.

  Click on the menu/     button to exit the menu.

Summary of Contents for Handheld TV

Page 1: ...USER GUIDE 1 2 HANDHELD TV...

Page 2: ...ime Zone 4 5 6 10 11 13 15 17 18 19 20 22 23 Setting the Time Zone Please note that the default time zone in set for South Africa To change your time zone settings do the following 1 Click on the menu...

Page 3: ...frica com 13 22 3 Updating the Firmware 1 On your computer go to dstvmobile com or gotvafrica com select the country you are located in from the available map or drop down menu 2 Click on the get DStv...

Page 4: ...device Then release the power button and remove the paper clip from the reset hole The device will power up and you will see the Walka screen Accept the terms and conditions and the device will perfo...

Page 5: ...locate the reset point on the right side of the device Insert a paper clip into the hole Once the device screen goes to black remove the paperclip and the device will restart Walka Handheld TV Include...

Page 6: ...o the following 1 Extend the antenna 2 Click on the menu button 3 Click the channel up down buttons to select the channel scan option 4 Click OK to select channel scan 5 You will be prompted to confir...

Page 7: ...the height and width of the video on the screen You are able to change the aspect ratio settings on the Walka To adjust the aspect ratio do the following 1 Click on the menu button 2 Using the channel...

Page 8: ...following 1 Click on the menu button 2 Using the channel up down buttons to scroll to the settings menu item 3 Choose brightness contrast or colour from the list of available items 4 Use the channel u...

Page 9: ...eset button 11 Charge status LED if the LED is green then the device is charged If the LED is red the device is charging 12 USB port for charging the device or upgrading firmware 13 Menu button 14 Cha...

Page 10: ...w the list of programmes on a specific channel for the next 24 hours Access the TV guide by doing the following 1 Short click on the menu button A menu will appear on the screen 2 Use the channel up c...

Page 11: ...Choice customer care see customer care numbers on the next page and provide the customer service representative with the CA number and the device serial number found on the bottom of the Walka Basic O...

Page 12: ...is device use the channel up or channel down button to navigate the Electronic Programme Guide EPG Clicking the OK button will select the highlighted channel and the Walka will then connect to the cha...

Reviews: