Maintenance Instructions
LUBRICATION/CLEANING
47
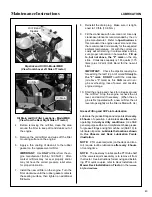
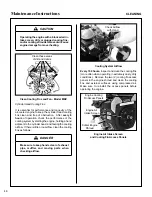
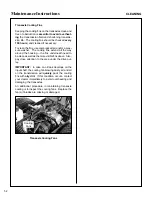
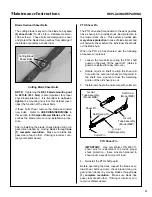
Oil Filter
Guard
Oil Drain
Plug
Oil Filter
Transaxle Oil Drain Plug, Filter, and
Guard Location
(Shown with Deck Support Arms
Removed for Clarity)
3. Reinstall drain plugs.
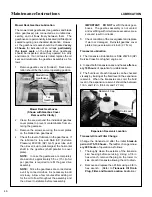
4. Remove the oil reservoir hose attached to the
elbow on top of the transaxles and remove the
elbows to access the oil fill openings.
5. Fill the transaxles with 20W-50 (API Service
Class SL or higher) oil through the opening
where the elbows were. Fill up to the opening.
6. Before reinstalling the elbows, screw the lock-
ing nut on the elbows down until they are snug
(the o-ring on the elbow will be to the bottom of
the o-ring groove).
7. Reinstall the elbows. When the elbow begins to
be snug, position the elbow as it was when re-
moved and tighten the locknut.
8. Fill reservoir to 1/4-1/2 in. (6-13 mm) with
20W-50 (API Service Class SL or higher) oil.
9. Start and drive the unit for 1 - 2 minutes.
10. If the transaxles sound noisy or have poor steer-
ing response, recheck oil level in both transax-
les by removing the elbows (check oil level at fill
opening).
11. If oil needs to be added refer back to steps 4-10.
CLEANING
CAUTION
If a pressure washer is used on the ex-
posed working parts, avoid water on the
electrical parts and the engine cooling sys-
tem.
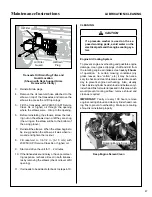
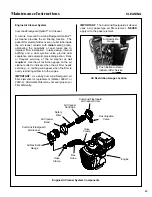
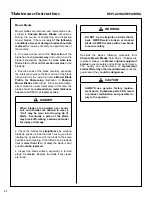
Engine Air Cooling System
To prevent engine overheating and possible engine
damage, clean grass clippings, chaff and dirt from
the rotating engine air intake screen
every 8 hours
of operation. In certain mowing conditions (dry
grass, leaves, tree “cotton”, etc.) it may be neces-
sary to check and clean this area several times each
day to prevent engine overheating. Also, visually
check inside cylinder head shroud and between cyl-
inder head fins for material packed in this area which
would prevent cooling airflow; remove shroud and
clean as required.
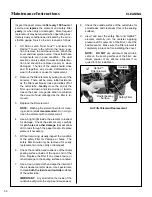
IMPORTANT:
Yearly or every 100 hours, remove
engine cooling shroud and clean cylinder head cool-
ing fins to prevent overheating. Make sure cooling
shroud is reinstalled properly.
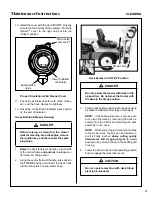
Rotating Engine Screen
Keep Engine Screen Clean


