background image

- 29 -

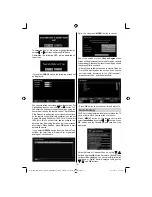
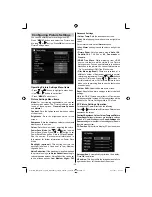
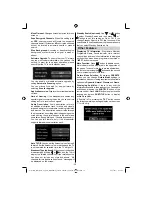
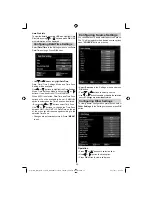
Hard Disk Info 

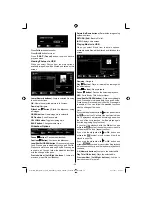
To view the details about the USB disk, highlight Hard 
Disk Info by using “ ” or “ ” key and press 

OK

. USB 

disk information will be displayed:

Con

fi

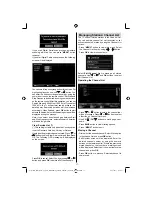
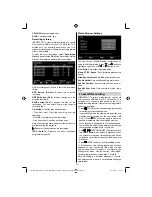
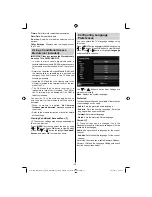
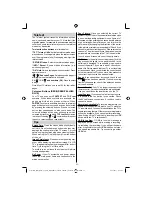
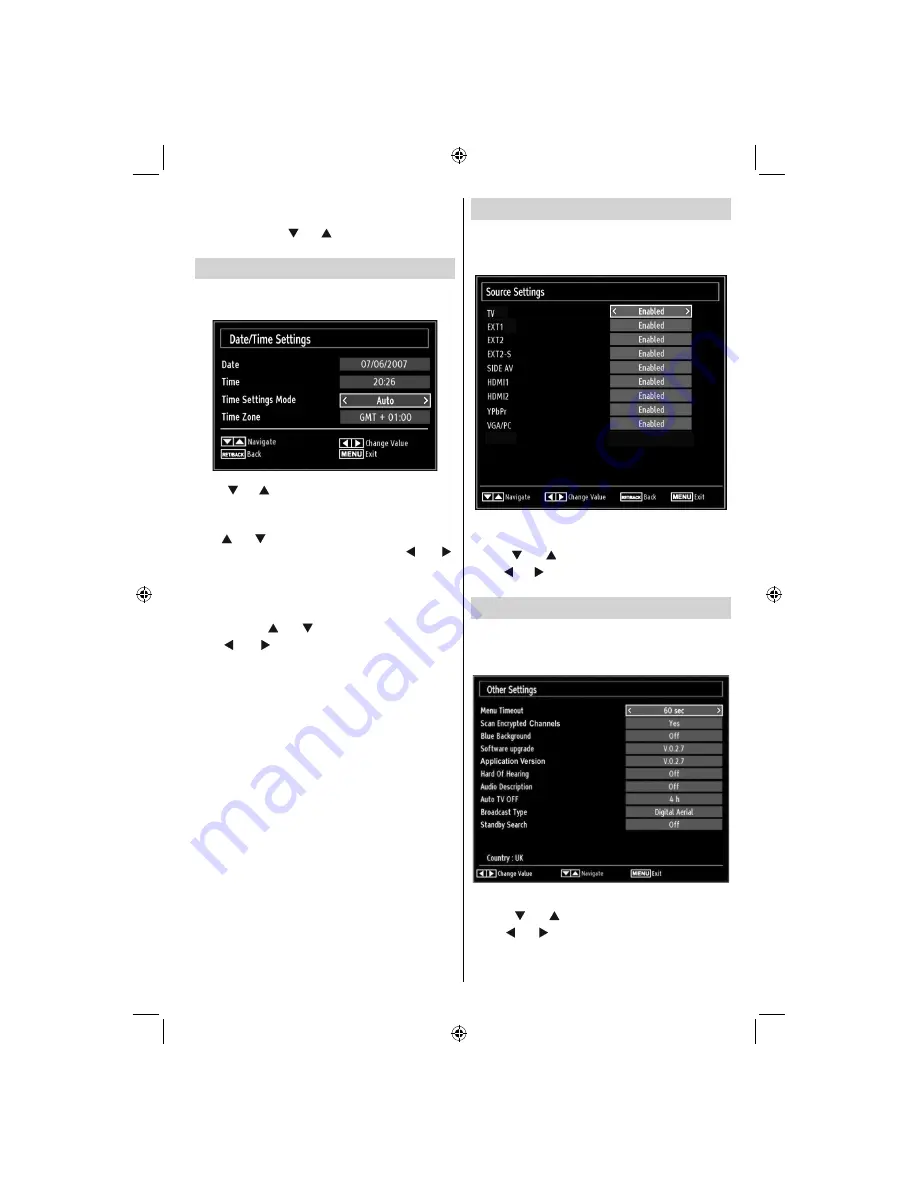
 guring Date/Time Settings

Select 

Date/Time

 in the Settings menu to con

fi

 gure 

Date/Time settings. Press 

OK 

button.

Use “

• 

” or “ ” buttons to highlight 

Date

/

Time.

Date, Time, Time Settings Mode and Time Zone 
Setting  will be available.
Use “ ” or “ ” buttons to highlight the Time Settings 
Mode. Time Settings Mode is set using “ ” or “ ” 
buttons. It can be set to AUTO or MANUAL.
When AUTO is selected, Date/Time and Time Zone 
options will not be available to be set. If MANUAL 
option is selected as the Time Zone can be altered:
• By pressing “ ” or “ ” buttons select Time Zone.
Use “ ” or “ ” buttons to change the Time Zone 
between GMT-12 or GMT+12. Date/Time on the top 
of the menu list will then change according to the 
selected Time Zone.

Changes are automatically stored. Press 

• 

“MENU” 

to exit.

Con

fi

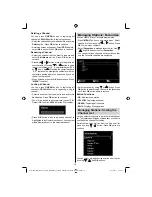
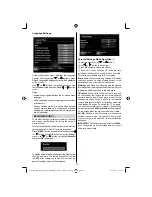
 guring Source Settings

You can enables or disable selected source options. 
The TV will not switch to the disabled source options 
when 

“SOURCE”

 button is pressed.

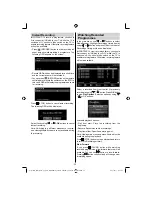
Select 

• 

Sources

 in the Settings menu and press 

OK

 button.

Press“

• 

” or “ ” buttons to select a source.

Use “

• 

” or “ ” button to enable or disable the selected 

source. Changes are automatically stored. 

Con

fi

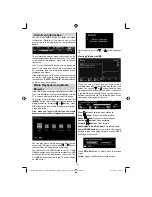
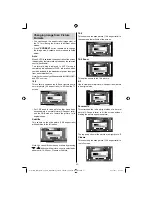
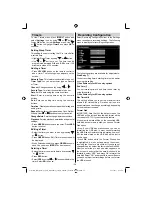
 guring Other Settings

To view general con

fi

 guration preferences, select 

Other Settings

 in the Settings menu and press 

OK 

button.

Operation

Press “

• 

” or “ ” buttons to select an item.

Use “

• 

” or “ ” button to set an option.

Press

• 

 OK

 button to view a sub-menu.

01_MB65_[GB]_DVB-TC_PVR_BRONZE18_1910UK_42843W_10076242_50202610.indd   29

01_MB65_[GB]_DVB-TC_PVR_BRONZE18_1910UK_42843W_10076242_50202610.indd   29

04.11.2011   11:18:58

04.11.2011   11:18:58

Summary of Contents for WP4212LCD

Page 1: ...COLOUR TELEVISION WITH REMOTE CONTROL OPERATING INSTRUCTIONS WP4212LCD BE WALKER WISE logon to www walker ie...

Page 2: ...Media Playback Using Media Browser 19 Viewing Videos via USB 19 Viewing Photos via USB 20 Slideshow Options 20 Playing Music via USB 20 Recordings Library 21 Media Browser Settings 21 Timeshift Recor...

Page 3: ...suitable for dry indoor use This appliance is intended solely for private domestic use and may not be used for industrial and commercial purposes We exclude liability in principle if the device is no...

Page 4: ...harge batteries there is a danger of explosion Replace batteries only with the same or equivalent type This symbol on the product or on its packaging means that your electrical device should be dispos...

Page 5: ...mains connection or through other apparatus with a connection to protective earthing and to a television distribution system using a coaxial cable may in some circumstances create a fire hazard Connec...

Page 6: ...r disconnect the TV from the mains plug This will also reduce energy consumption Note that annually using the TV set in Power Save Mode has more power efficiency than disconnecting the TV from the mai...

Page 7: ...Red button 19 Green button 20 Picture mode selection 21 No function 22 Teletext Mix in TXT mode 23 Subtitle on off in DVB channels 24 Previous programme 25 AV Source selection 26 Menu on off 27 Okay...

Page 8: ...TS on on the TV and the component video outputs of your device While connecting be sure that the letters on your TV Y Pb Pr correspond with your device s connectors PC YPbPr Audio Inputs 4 are used fo...

Page 9: ...nal hard disk drives to this input Headphone jack is used for connecting an external headphone to the system 3 Connect to the HEADPHONE jack to listen to the TV from headphones optional Video Input is...

Page 10: ...quickly plug and unplug the drive This may cause physical damage to the USB player and especially the USB device itself Do not pull out USB module while playing or recording a file Programme Recordin...

Page 11: ...irst partition of usb disk is used for PVR ready features And also it must be formatted as primary partition to be used for PVR ready features Some stream packets may not be recorded because of signal...

Page 12: ...en it will not be used for a long period Otherwise it can be damaged due to any leakage of batteries Remote range is approximately 7m 23ft Switching On Off To Switch the TV On Connect the power cord t...

Page 13: ...volume level scale slider will be displayed on the screen Programme Selection Press P CH buttontoselectthenextprogrammeor P CH button to select the previous programme Viewing Main Menu Press the V V b...

Page 14: ...tly via numeric buttons OK Options views records or sets timer for future programs TXT button Filter Views filtering options INFO Details Displays the programmes in detail RECORD the TV will start to...

Page 15: ...t a timer for future programmes To cancel an already set reminder highlight that programme and press the OK button Then select Delete Timer option The timer will be cancelled Note It is not possible t...

Page 16: ...U button to cancel End of the search process Choose Region menu screen will be displayed if any multiple region variants are detected Please select country and region choice then press OK to continue...

Page 17: ...nnels After selecting search type as Digital Aerial you can enter the multiplex or frequency number using the numeric buttons and press OK button to search Digital Cable Manual Search In cable manual...

Page 18: ...OK to cancel Select Yes by pressing or button and press OK to delete all of the channels Managing Stations Channel List The TV sorts all stored stations in the Channel List You can edit this channel...

Page 19: ...when the desired channel is highlighted to lock unlock the channel Lock symbol will be displayed next to the selected channel Managing Stations Favourites You can create a list of favourite programmes...

Page 20: ...play music picture and video files from the connected USB memory stick Use or button to select Videos Photos Music or Settings You can connect two USB devices to your TV If both USB devices include mu...

Page 21: ...n up Navigate Play button Plays all media files starting with the selected one Stop button Stops playback Pause button Pauses the selected playback RED Sorts files by Title Artist or Album Loop Shuffl...

Page 22: ...e Show Subtitle Sets subtitle enabling preference Subtitle Position Sets subtitle position as up or down Subtitle Font Size Sets subtitle font size max 54pt Timeshift Recording IMPORTANT To record a p...

Page 23: ...tem by using or button and press OK button to enter Recordings Library will then be displayed IMPORTANT To view recordings library you should first connect a USB disk to your TV while the TV is switch...

Page 24: ...ure 4 3 aspect ratio use the 16 9 mode to restore the picture to its original shape Subtitle This zooms up the wide picture 16 9 aspect ratio with subtitles to the full screen Note You can shift to sc...

Page 25: ...slight red stress Picture Zoom Sets the picture size to Auto 16 9 Subtitle 14 9 14 9 Zoom 4 3 Panoramic or Cinema HDMI True Black While watching from HDMI source this feature will be visible in the Pi...

Page 26: ...be changed manually only when the Equalizer Mode is in User Balance This setting is used for emphasizing left or right speaker balance Headphone Sets headphone volume Sound Mode You can select Mono St...

Page 27: ...change depending on the service provider Press MENU button and select the icon by using or button Press OK button to view Settings menu Use or button to highlight Conditional Access and press OK to vi...

Page 28: ...r button to set an item Press OK button to view more options If you set Country option as UK in the first time installation Maturity Lock option will not be visible This setting is available only for...

Page 29: ...ancel Recording Configuration Select Recording Configuration item in the Settings menu to configure recording settings The following menu is displayed for recording configuration The following options...

Page 30: ...n GMT 12 or GMT 12 Date Time on the top of the menu list will then change according to the selected Time Zone Changes are automatically stored Press MENU to exit Configuring Source Settings You can en...

Page 31: ...hen you set the desired broadcast type by using or button the TV will display the related channel list If the related source has does not include any stored channels No channels for this type have bee...

Page 32: ...d the correct TV system Is your TV set or house aerial located too close to a non earthed audio equipment or neon lights etc Mountains or high buildings can cause double pictures or ghost images Somet...

Page 33: ...z O 1080I 50Hz O 1080I 60Hz O 1080P 50Hz O 1080P 60Hz O 1080P 24 HZ O X Not Available O Available In some cases a signal on the LCD TV may not be displayed properly The problem may be an inconsistency...

Page 34: ...12 1024x768 72Hz 13 1024x768 75Hz 14 1152x864 75Hz 15 1280x768 60Hz 16 1360x768 60Hz 17 1280x768 75Hz 18 1280x960 60Hz 19 1280x960 75Hz 20 1280x1024 60Hz 21 1280x1024 75Hz 22 1400x1050 60Hz 23 1600x1...

Page 35: ...MPEG2 MPEG4 PCM MP3 MAX 1920x1080 30P 20Mbit sec Xvid 1 00 Xvid 1 01 Xvid 1 02 Xvid 1 03 Xvid 1 10 beta1 2 H 264 PCM Music mp3 MPEG 1 Layer 1 2 MP3 32Kbps 320Kbps Bit rate 32KHz 48KHz Sampling rate Ph...

Page 36: ...sion Note on reboot operation Reboot is the last step in software upgrade operation if download of new software is finished successfully During reboot TV makes final initializations In reboot sequence...

Page 37: ...compliant with ISO IEC 135818 6 and UK DTT profile UK only Frequency range 474 850 MHz for UK models II VIDEO H 264 MPEG 4 part 10 main and high profile level 4 1 MPEG 2 MP HL video decoder HD displa...

Page 38: ...inal which is marked with the letter N or coloured Black The wire which is coloured brown or red must be connected to the terminal which is marked with the letter L or coloured Red For continued prote...

Page 39: ...50202610...
Reviews: