


- 3 -
If any solid object or liquid falls into the cabinet, unplug
the TV and have it checked by quali
fi
ed personnel
before operating it any further.
Cleaning
Before cleaning, unplug the TV set
from the wall outlet. Do not use liquid
or aerosol cleaners. Use a soft and
dry cloth.
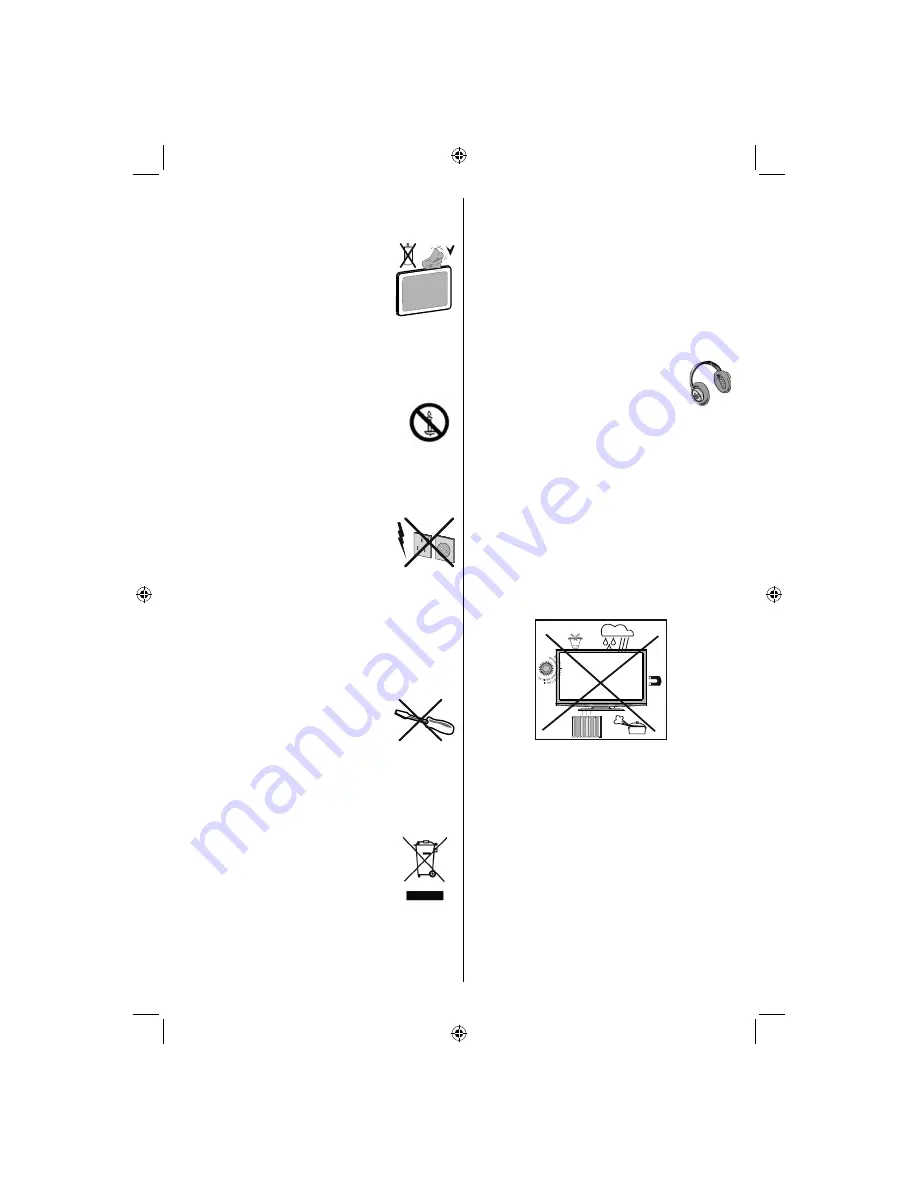
Ventilation
The slots and openings on the TV set are intended for
ventilation and to ensure reliable operation. To prevent
overheating, these openings must not be blocked or
covered in anyway.
Heat and Flames
The set should not be placed near to
open
fl
ames or sources of intense heat
such as an electric heater. Ensure that
no open
fl
ame sources, such as candles,
are placed on top of the TV. Batteries should not be
exposed to excessive heat such as sunshine,
fi
re or
the like.
Lightning
In case of storm and lightning or when
going on holiday, disconnect the power
cord from the wall outlet.
Replacement Parts
When replacement parts are required, make sure that
the service technician has used replacement parts,
which are speci
fi
ed by the manufacturer or have the
same speci
fi
cations as the original one. Unauthorized
substitutions may result in
fi
re, electrical shock or
other hazards.
Servicing
Please refer all servicing to quali
fi
ed
personnel. Do not remove the cover
yourself as this may result in an electric
shock.
Waste Disposal
Instructions for waste disposal:
• Packaging and packaging aids are recyclable and
should principally be recycled. Packaging materials,
such as a foil bag, must be kept away
from children. • Batteries, including those
which are heavy metal-free, should not
be disposed of with household waste.
Please dispose of used batteries in an
environmentally friendly manner. Find
out about the legal regulations which
apply in your area.
• Do not try to recharge batteries, there is a danger
of explosion. Replace batteries only with the same
or equivalent type.
This symbol on the product or on its packaging means
that your electrical device should be disposed at the
end of its service life, separately from your household
wastes. There are separate collection systems for
recycling in the EU. For more information, please
contact the local authority or the dealer where you
purchased the product.
Disconnecting the Device
The mains plug is used to disconnect the TV set
from the mains and therefore it must remain readily
operable.
Headphone Volume
Excessive sound pressure from earphones
and headphones can cause hearing loss.
Installation
To prevent injury, this device must be securely
attached to the wall in accordance with the installation
instructions when mounted to the wall (if the option
is available).
LCD Screen
The LCD panel is a very high technology product with
about a million thin
fi
lm transistors, giving you
fi
ne
picture details. Occasionally, a few non-active pixels
may appear on the screen as a
fi
xed blue, green or
red point. Please note that this does not affect the
performance of your product.
Warning! Do not leave your TV in standby or operating
mode when you leave your house.
The Standby / On button does not fully switch off this
product. Moreover the device continues to consume
power in standby mode. In order to separate the
device completely from mains, the mains plug has to
be pulled from the mains socket. Because of that the
device should be set up in a way, that an unobstructed
access to the mains socket is guaranteed, so that
in case of emergency the mains plug can be pulled
immediately. During periods of prolonged non-use,
the TV should be disconnected from the mains power
supply.
01_MB65_[GB]_DVB-TC_PVR_BRONZE18_1910UK_42843W_10076242_50202610.indd 3
01_MB65_[GB]_DVB-TC_PVR_BRONZE18_1910UK_42843W_10076242_50202610.indd 3
04.11.2011 11:18:39
04.11.2011 11:18:39
Summary of Contents for WP4212LCD
Page 39: ...50202610...


