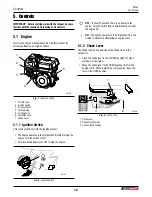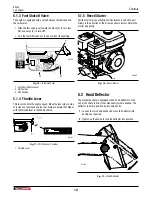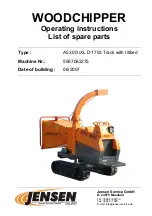
Operating Instructions
BXC34
Cart Chipper
22
6.3 Pre-operation Checklist
Check the following each time the chipper is used:
Pre-operation Checklist
Check the rotor main shaft bearings have been
lubricated. See
Check the tension and alignment of the drive belt.
Adjust as required. See
Check the rotor housing and discharge chute.
Remove any blockages, twine, wire or other material
that has become entangled.
Check the condition and clearance of the twig
breaker, rotor blades and ledger knife. Adjust or
replace as required. See
Check and ensure that all covers, guards and shields
are in place, secured, and can function as designed.
Check and tighten all fasteners. Make sure the
equipment is in good condition.
Check that appropriate equipment for personal
protection is available and being used.
Check that jewelry, loose-fitting clothing are not
worn. Make sure long hair is tied back.
6.4 Machine Break-in Period
Although there are no operational restrictions on Wallenstein
chippers when used for the first time, it is recommended that
the following items be checked:
After 1–5 hours:
1.
Torque all fasteners and hardware.
2.
Check condition of rotor bearings.
3.
Check the condition and clearance of the knives, chop-
block and stationary blades. Adjust or replace as required.
4.
Check drive belt tension and pulley alignment.
5.
Check the condition of the hopper flap in the shredder
feed hopper. The hopper flap must move freely back into
position to ensure the safety of the operator by preventing
wood from flying out.
6.
Check for entangled material. Remove all entangled material
before resuming work.
7.
Check engine fluid levels. Top up as required.
After 10 hours:
8.
Repeat all previous steps.
9.
Perform all the checks in the Pre-operation Checklist.
After 20 hours:
10.
Change engine oil. Refer to engine manufacturer's manual
included in the manual tube.
6.5 Engine Oil Level Check
Check engine oil level before each use.
Check with the
machine parked on level ground and the engine stopped.
IMPORTANT! Running the engine with a low oil level can
cause engine damage that is not covered by warranty.
1.
Remove the oil level dipstick and wipe it clean.
2.
Fully insert the oil level dipstick, then remove it to check the
oil level.
The proper level is when the oil is visible at the
full (upper) mark on the dipstick.
3.
If the oil level is low, add oil until the level is at the full mark.
SAE 10W-30 or 5W-30 is recommended for general use.
Refer to the engine owner's manual included in the manual
tube for further information on engine oils.
4.
Reinstall the oil level dipstick.
2
1
01188
Fig. 16 –
Engine Oil Level check
1. Oil Level Dipstick
2. Oil Filler


