BX36S
3PH Self-feed Chipper
Attaching Chipper to Tractor
23
3.
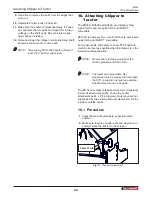
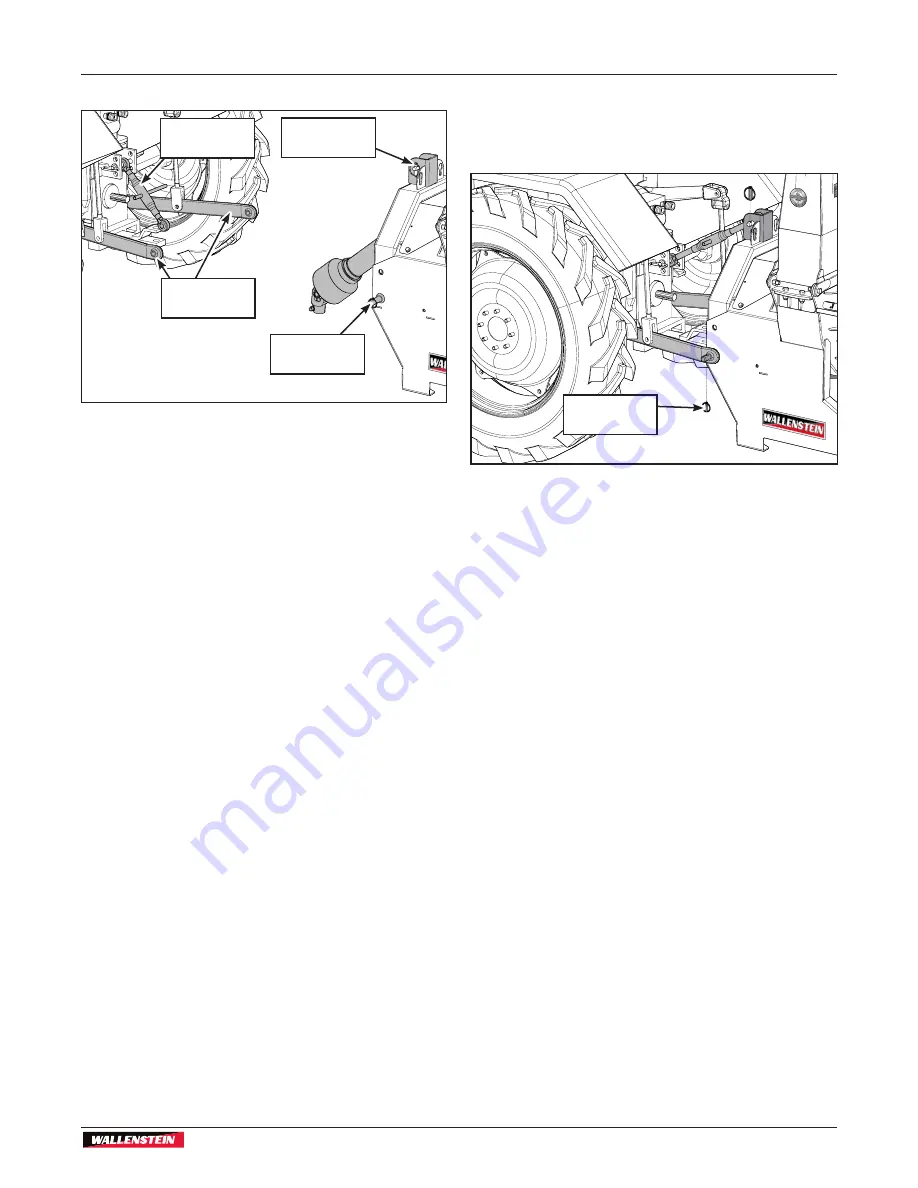
Place the tractor arms in their full sway position.
Lower Link
Arms
Top Link
Arm
Lower Link
Pins
Top Link
Point
Fig. 10 –
Clevis style lower link
4.
At the slowest speed possible, back the tractor up
towards the chipper with the tractor “square” to the
chipper.
5.
Engage the tractor park/lock brake, dismount
the tractor and inspect the link and pin alignment
(vertical and horizontal).
6.
Raise or lower the lower link arms to align them to
the pins on the chipper.
7.
Return to tractor, make any necessary adjustments
(up / down).
8.
Slowly back up the tractor until the lower arm holes
are lined up with the link pins.
9.
Engage the tractor park/lock brake, dismount the
tractor, make any final adjustments, and slide the
left and right lower arm holes onto the link pins.
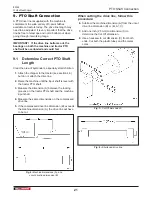
10.
Install the retainers on the link pins.
11.
Remove the top pin and install the top link.
12.
Use the turnbuckle to align the top link. Insert the
pins and install the retainers.
13.
Return the turnbuckle to its original length and
lock.
14.
Engage the tractor park/lock brake, dismount the
tractor, make any final adjustments, and slide the
left and right lower arm holes onto the link pins.
15.
Install the retainers on the link pins.
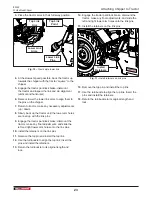
Fig. 11 –
Install retainers on link pins
Install
Retainers
16.
Remove the top pin and install the top link.
17.
Use the turnbuckle to align the top link. Insert the
pins and install the retainers.
18.
Return the turnbuckle to its original length and
lock.
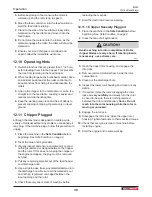
Summary of Contents for BX36S
Page 1: ...OPERATOR S MANUAL 3PHSelf feedChipper BX36S BX52S BX72S BX102S...
Page 51: ......
Page 52: ...www wallensteinequipment com...


