BXM32, BXM42
3-point Hitch Chipper-Shredder
Controls
27
6. Controls
Before starting to work, all operators should be familiar with the
location and function of all controls.
6.1 PTO Control
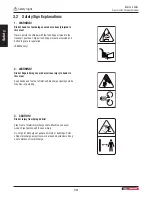
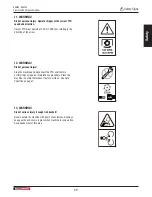
WARNING!
Risk of entanglement in rotating drive line!
Stay clear of the PTO shaft when the chipper is
operating. Do not operate chipper with PTO shaft
cover removed. Keep hands, loose clothing, and
long hair away from drive line while it is rotating.
W064
The PTO on the tractor drives the chipper rotor. There is no
control on the chipper to engage/disengage the rotor, or control
rotor speed. Engaging the PTO starts the rotor to turn.
•
Always engage the PTO control slowly with the tractor
engine rpm at low idle.
•
Disengage the PTO control slowly with the tractor engine
rpm at low idle so the rotor slows to a stop before engaging
PTO brake.
6.2
Discharge Chute
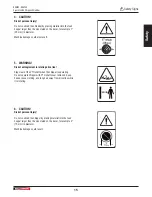
CAUTION!
Risk of injury from ejected wood chips. Chipper
rotor can expel wood chips fast enough to cause
injury or damage. Direct chute discharge away
from work area, people, animals, and objects.
W024
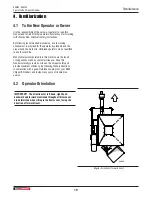
The discharge chute has a spring-loaded latch handle that
allows the chute to be positioned at any angle, then locked into
position with the latch.
1.
Lift the latch handle up until the chute lock pin disengages.
2.
Use the handle to turn the chute, then release to latch it.
Make sure the chute locks into position at the next nearest
lock point.
00896
Fig. 21 –
Discharge Chute
6.3
Discharge Chute Deflector
The discharge chute is used to direct the wood chips.
•
Loosen both hand knobs, adjust the hood to the preferred
angle then tighten the knobs.
00897
Fig. 22 –
Chute Deflector
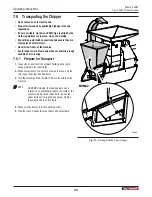
6.4 Shredder Feed Gate Lever
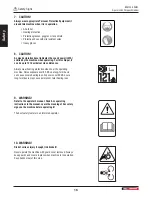
CAUTION!
Risk of personal injury! Do not overload the
shredder by placing material into the feed hopper
larger than the size stated on the decal.
Machine damage could also result.
W063

