BXM32, BXM42
3-point Hitch Chipper-Shredder
Operating Instructions
33
7.7
Clearing a Plugged Chipper
The wood chipper is designed to handle a wide range of material
sizes without any problem. However, in the event material
gets lodged in the chipper, follow this procedure to clear the
blockage.
WARNING!
Never reach into the feed hopper. Doing so risks
hands getting caught. Use a stick or branch to
push in any material that does not move on its
own.
If jammed, stop the engine, wait for the rotor to
stop, then clear the jam.
W004
1. Shut down the tractor and place the machine in a Safe
Condition before proceeding further.
.
2.
Disengage the PTO and shut the tractor off. Remove the
ignition key and wait for all moving parts to stop.
3.
Pull any material out from the chipper and shredder
hoppers. Make sure all the material is out and nothing is
jammed or wedged between the input opening and the
rotor.
4.
Pull any material out of the discharge hood. Use a stick to
loosen any material jammed inside. Do not leave anything
in this area.
5.
Visually inspect to make sure nothing is jammed or wedged
in the rotor. Try restarting to see if the jam is cleared.
If the chipper is still plugged, the jammed material must be
removed by hand.
CAUTION!
Be aware. Rotor continues to turn for a few
revolutions after the PTO is disengaged. Wait
for all parts to stop moving before opening any
machine access.
W005
CAUTION!
Avoid reaching into rotor compartment. Rotor
chipper blades are very sharp. If reaching inside
is necessary, use extreme care.
W003
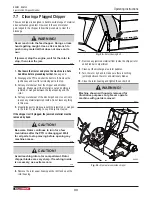
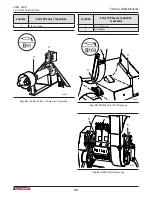
6.
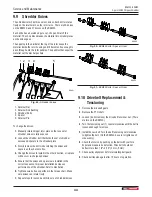
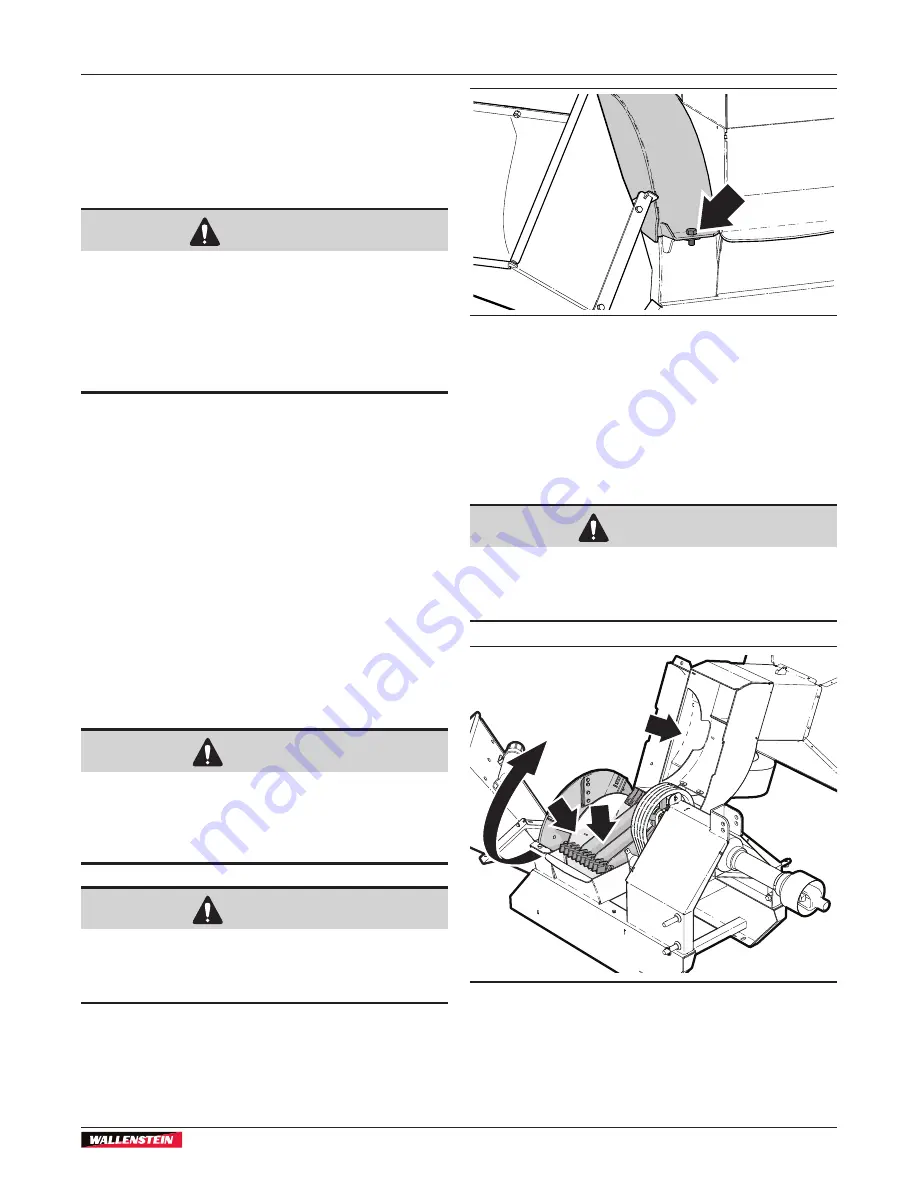
Remove the rotor upper housing anchor bolt and open the
rotor housing.
00904
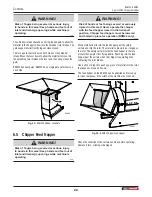
Fig. 29 –
Rotor Housing Bolt
7.
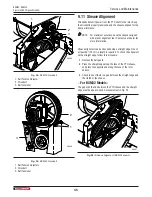
Remove any jammed material from inside the chipper rotor
and shredder compartment.
8.
Clean out the discharge area rotor paddles.
9.
Turn the rotor by hand to make sure there is nothing
jammed between the rotor and stationary blades.
10.
Close the rotor housing and tighten the anchor bolt.
WARNING!
Machine shown with guards removed for
illustrative purposes only. Never operate
machine with guards removed.
W001
00905
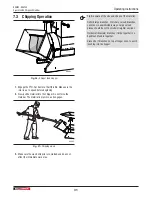
Fig. 30 –
Clear out areas inside chipper

