7.6 Drive Belt Replacement
The chipper has a centrifugal clutch mounted on the engine
shaft used to drive the rotor plate sheave. When the drive belt
is in disrepair or loose, the ability to efficiently drive the rotor
may be affected. Therefore, it is important to periodically check
belt condition and tension. A frayed, cracked or worn drive belt
should be replaced.
IMPORTANT! If changing or removing drive belt, always set
correct belt tension. Make sure engine and rotor sheaves
align properly.
Check drive belt tension every 100 hours of operation.
Make sure the engine is off and components are cool to touch
beforehand.
1.
On the side of the chipper, remove the belt guard.
2.
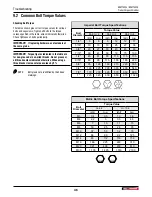
Loosen (do not remove) the four engine mount bolts—two
per side.
3.
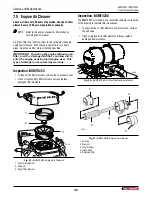
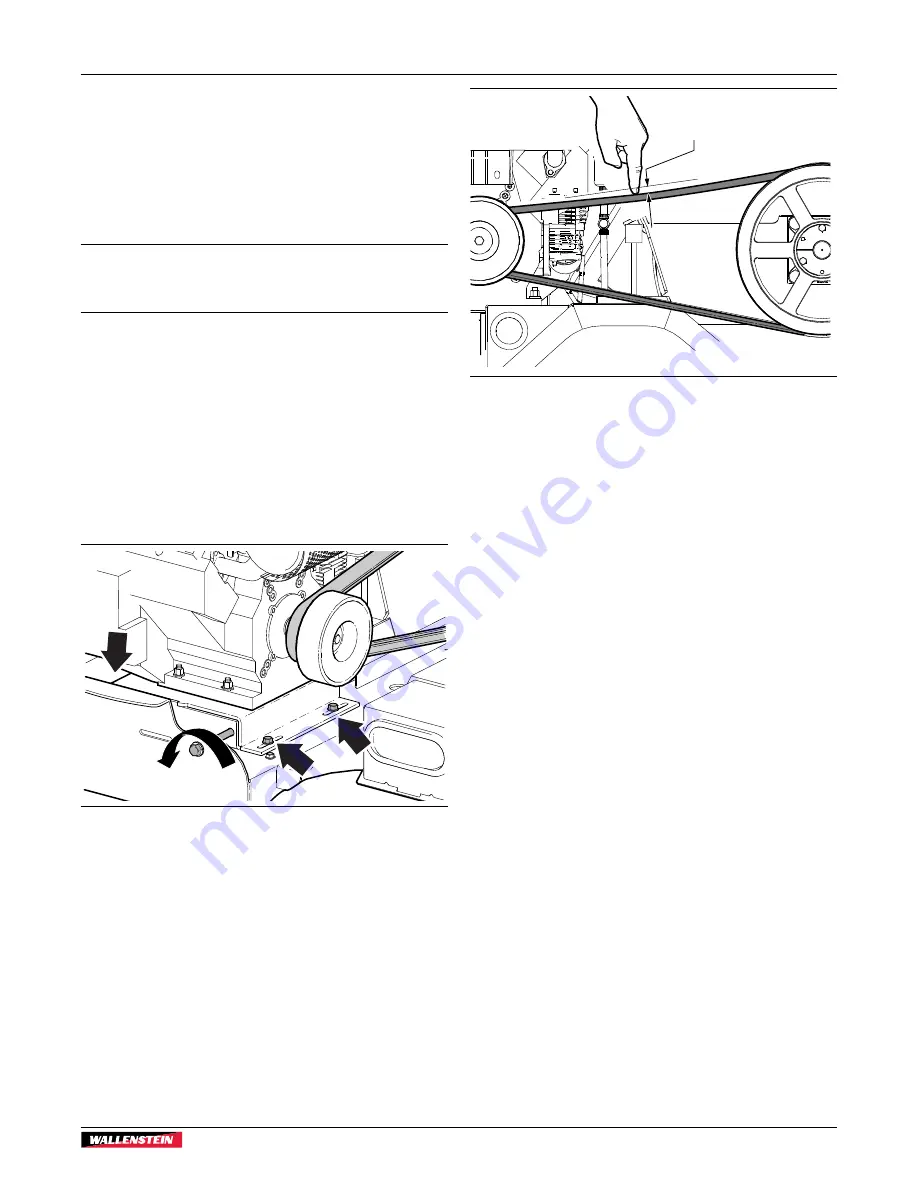
Turn the belt tensioning bolt counterclockwise to loosen the
belt. Loosen enough so that the engine can be slid back,
and the belt can be removed.
01122
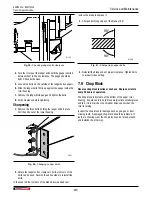
Fig. 28 –
Drive Belt Tension Adjuster Bolt
4.
Install the new belt and slide the engine forward.
Tensioning
For accurate measurement use a drive belt tension gauge. If one
is not available, the following method can be used.
5.
Turn the belt tensioning bolt clockwise pulling the engine to
tighten the belt.
6.
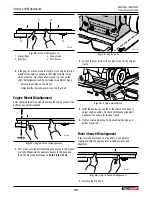
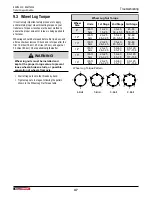
Use your hand to check belt deflection by pressing on
the top, center of the belt. Correct belt tension is when it
does not deflect more than 1/2–5/8" (12–16 mm). Adjust
accordingly.
1/2"–5/8"
(12–16 mm)
01123
Fig. 29 –
Rotor drive belt tension
7.
Turn adjuster accordingly. Be aware of belt alignment when
adjusting belt tension. See
Alignment
to follow.
8.
When belt tension is correct, tighten all four engine mount
bolts.
9.
Reinstall the belt shield.
10.
Recheck belt tension after 10 hours of operation.
7.6.1 Alignment
Observe drive belt alignment every 8 hours of operation.
For accurate measurement use a laser alignment tool. If one is
not available, the following method can be used.
The maximum offset (misalignment) is 1/32" (1 mm).
1.
Remove the belt guard.
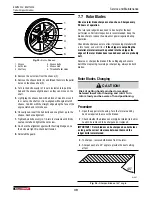
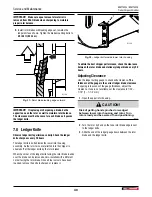
2.
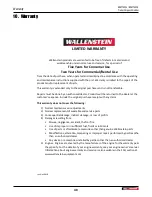
Place a straight edge along the inner face of the engine
clutch and back side of the rotor sheave. Check the space
between the drive belt and the straight edge. The gap
should be even along the length of the straight edge.
BXMT4224 / BXMT4238
Trailer Chipper-Shredder
Service and Maintenance
37
Summary of Contents for BXMT4224
Page 51: ......
Page 52: ...www wallensteinequipment com...

