WX900 Series
Log Splitter
Safety Labels
Safety
13
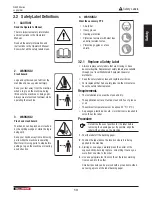
3.2 Safety Label Definitions
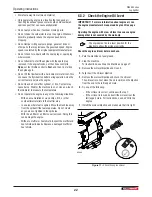
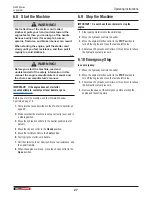
1. CAUTION!
Read the Operator's Manual
There is important safety information
and instructions in the Operator's
Manual.
Read all the safety information and
instructions in the Operator's Manual.
Know what all the safety labels mean.
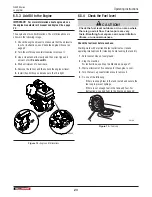
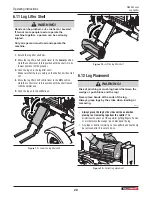
2. WARNING!
Crush hazard
Logs and split wood can fall from the
machine and cause personal injury.
Keep your feet away from the machine
when a log is on the machine, being
lifted onto the machine, or being split.
Always wear steel-toed footwear while
operating the machine.
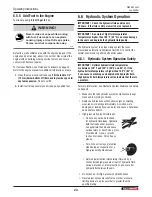
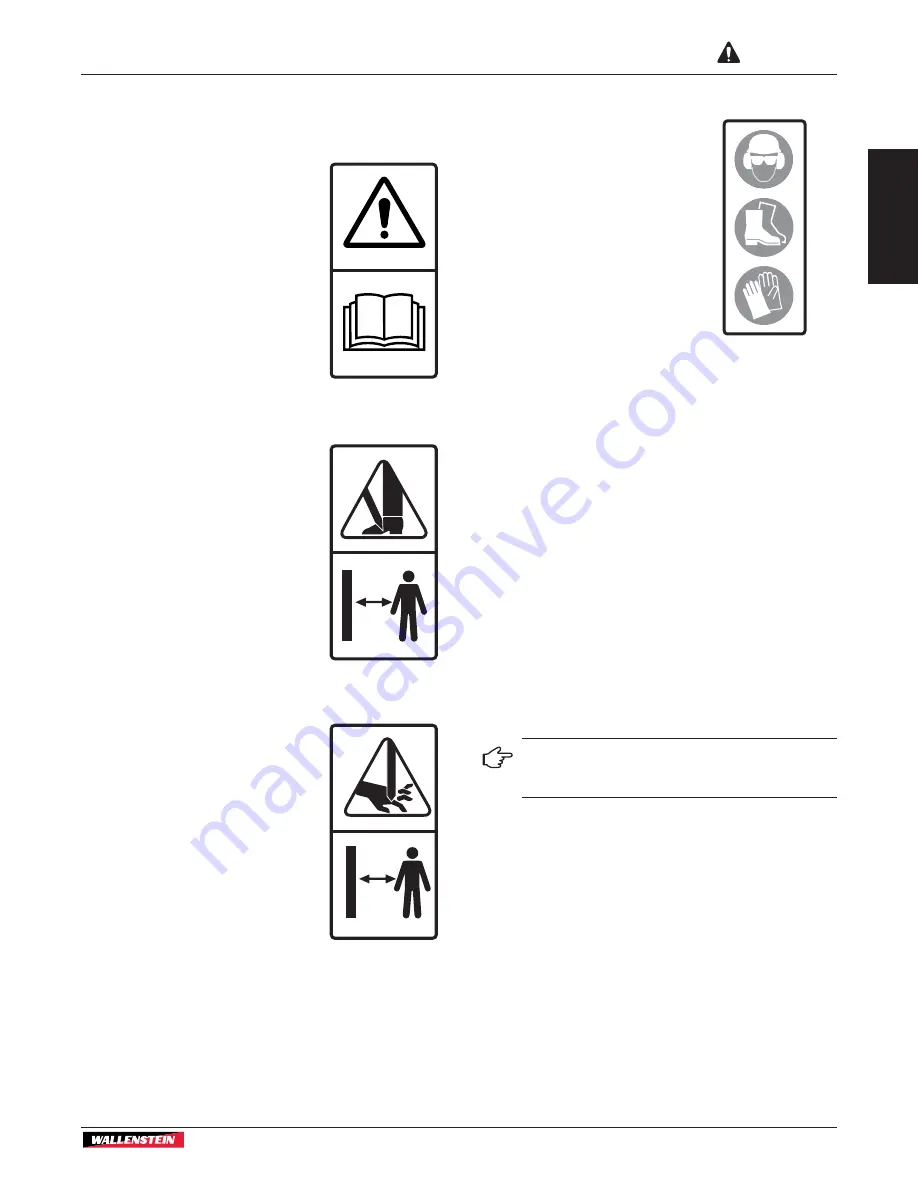
3. WARNING!
Pinch and crush hazard
Your hands can be pinched or crushed
by the spliting wedge or while the log is
being split.
Keep your hands away from all moving
parts while the machine is operating.
Wait for all moving parts to stop before
putting a log on the machine or clearing
an obstruction.
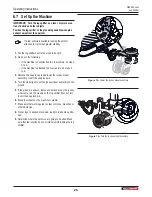
4. WARNING!
Wear the necessary PPE
•
A hard hat.
•
Heavy gloves.
•
Hearing protection.
•
Protective footwear with steel toes
and slip resistant soles.
•
Protective goggles or a face
shield.
3.2.1 Replace a Safety Label
•
Always replace safety labels that are missing or have
become illegible. Replacement safety labels are available
through your local Wallenstein Equipment dealer or
distributor.
•
Keep the safety labels clean and legible at all times.
•
Parts replaced that had a safety label on them must also
have the safety label replaced.
Requirements
•
The installation area must be clean and dry.
•
The application surface must be clean and free of grease
or oil.
•
The ambient temperature must be above 50 °F (10 °C).
•
A squeegee, plastic bank card, or similar tool is required to
smooth out the label.
Procedure
Determine the exact position for the label before
removing the backing paper. If possible, align the
label with an edge on the machine.
1.
Peel the label off the backing paper.
2.
Position the label above the location where it is being
applied to the machine.
3.
Starting at one edge, carefully press the center of the
exposed sticky-backing in place, smoothing it out as you
work from one side to the other.
4.
Use an appropriate tool to smooth out the label, working
from one end to the other.
Small air pockets can be pierced with a pin and smoothed
out using a piece of the label backing paper.
Summary of Contents for WX900 Series
Page 48: ...WallensteinEquipment com...


