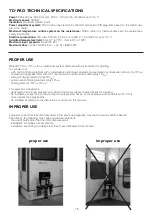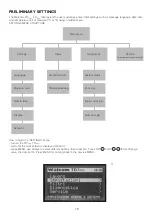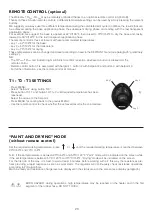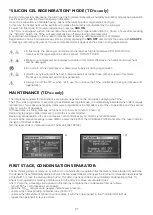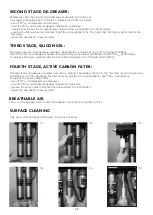
16
INSTALLATION
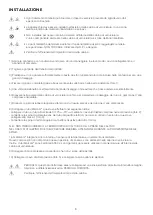
• Any packaging fragment may burn during operations causing unpleasant odours and fire hazards.
• The equipment must be installed outside the spraybooth, in a ventilated area away from flammable or
explosive materials.
• Do not install the system inside the spraybooth for any reason. The only component admitted in the
spraybooth in the heated air tube.
• During operations, metallic system parts may reach hazardous temperatures. DO NOT TOUCH.
Use adequate personal protection devices.
• Check booth grounding system efficiency.
HAZARD: This product must be connected to the electrical mains protected by a magnetothermic switch
and differential circuit breaker. HAZARD OF DEATH.
Check booth grounding system efficiency.
1) Carefully open the packaging making sure not to damage connection wires and the control panel in any way.
2) Remove all packaging parts from the product.
3) Drill two holes in a sufficiently robust wall (using the template included in the packaging) and install two fastening
hooks.
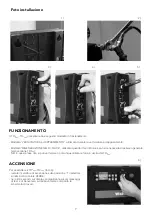
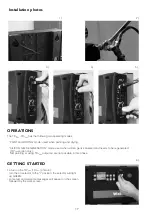
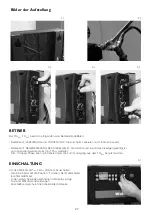
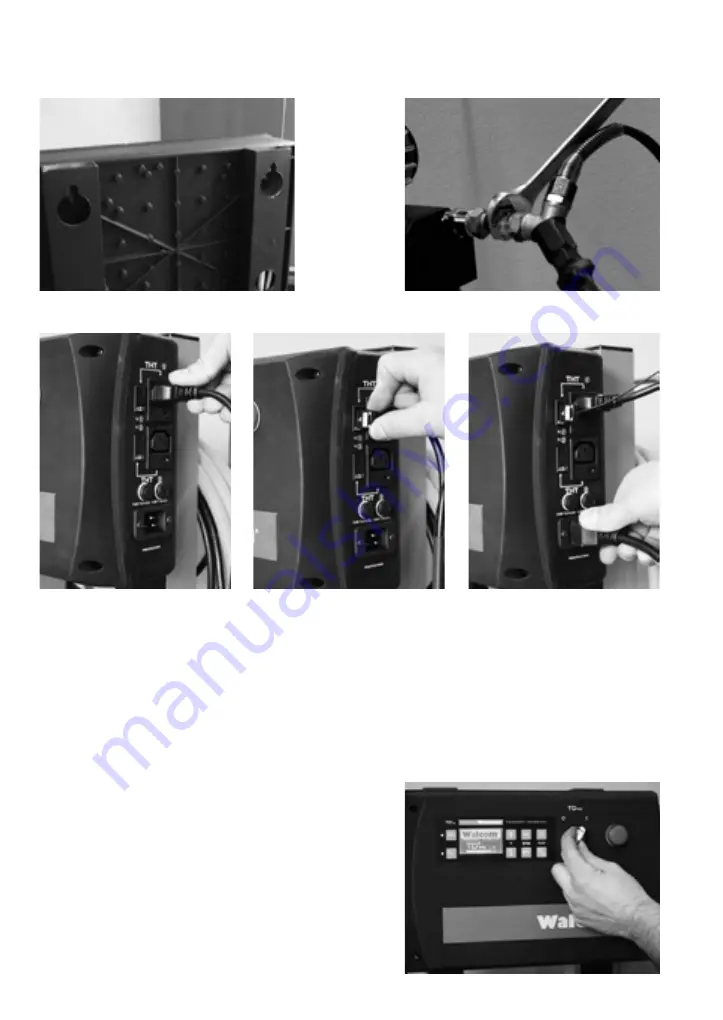
4) Secure the complete unit using the slots on the bars at the rear (photo 1).
5) Once positioned, check fastening security to prevent accidental falls.
6) Drill a hole in the wall of the spraybooth to permit the heated compressed air rubber hose to pass through.
7) Cover sharp plate parts to prevent premature compressed air hose wear.
8) Connect the Walcom
®
tube. This should be performed in the following order:
- connect the tube or tubes to the TD
3
PRO
-TD
1
PRO
outlet using the threaded fittings included in the package
(photo 2);
- connect the rube power plug to the switchboard, if using a single tube, this should be connected to plug 1
(photo 3);
- connect the thermocouple plug to the respective tube connector (photo 4);
N.B.: NEVER CROSS ONE TUBE THERMOCOUPLE OVER THE PLUG OF ANOTHER! IF TWO TUBES ARE USED,
PAY CAREFUL ATTENTION WHEN CONNECTING PLUGS!
A temperature sensor and heating element are installed in Walcom
®
tubes.
These components do not represent shock hazards and are admitted in the spraybooth.
Furthermore, all Walcom
®
tubes are ATEX certified and are guaranteed for safe use in the spraybooth.
9) Connect compressed air and make sure there are no leaks.
10) Connect the power cord (photo 5) and connect the plug to the mains.
17
Installation photos
1)
3)
4)
5)
2)
6)
OPERATIONS
The TD
3
PRO
-TD
1
PRO
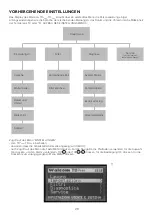
has the following two operating modes:
- “PAINT and DRYING” mode: used when painting and drying;
- “SILICON GEL REGENERATION” mode: used when silicon gel is saturated and needs to be regenerated
(TD
3
PRO
version only).
NB: painting or using TD
3
PRO
output air are not possible in this phase.
GETTING STARTED
To turn on the TD
3
PRO
-TD
1
PRO
(photo 6):
- turn the on selector to the “I” position: the selector will light
up GREEN;
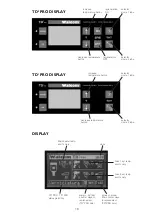
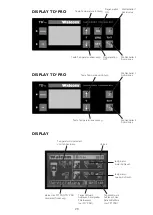
- some test and welcome messages will appear on the screen
followed by the work screen.
Summary of Contents for TD1 PRO
Page 66: ...66 Note ...

