47
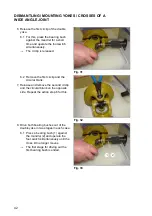
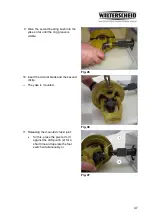
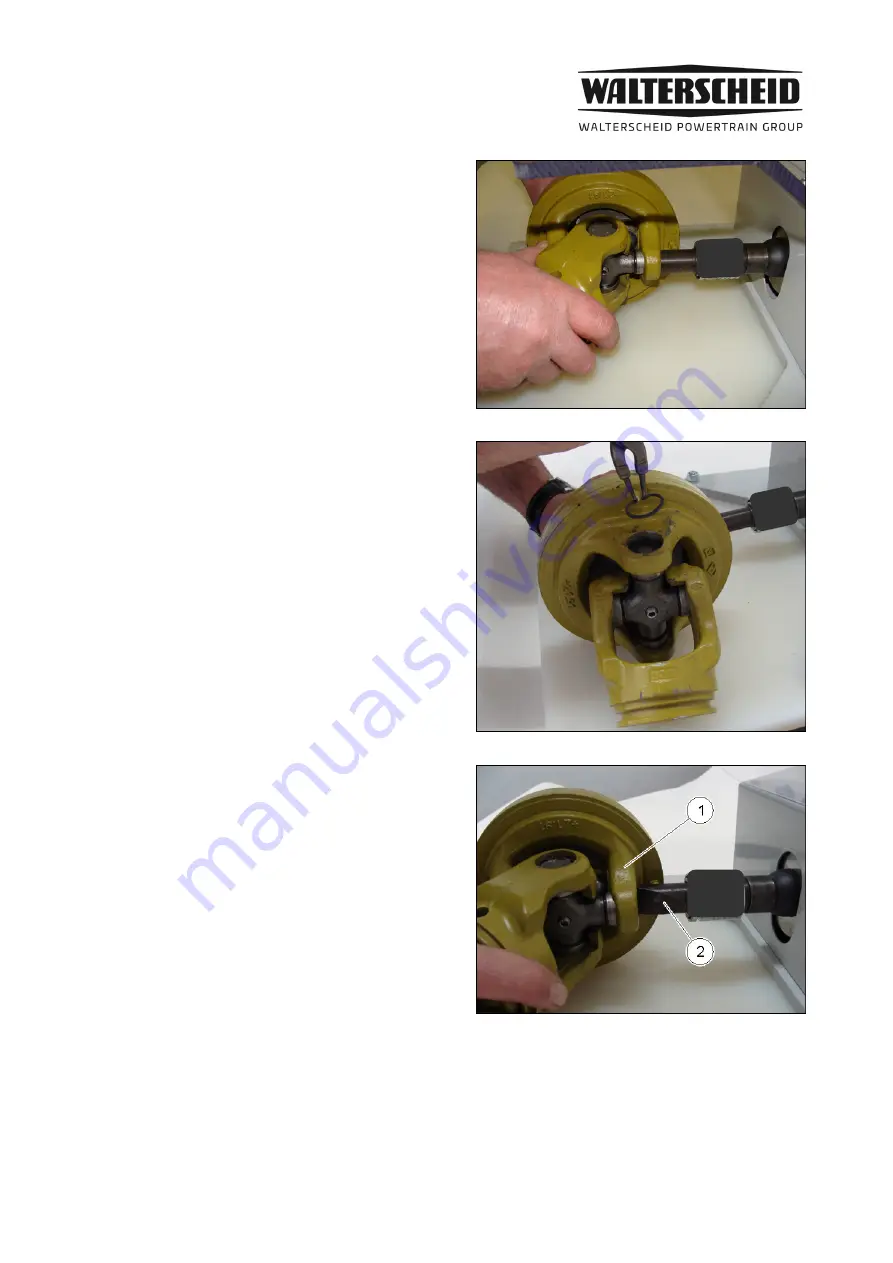
9. Drive the second bearing bush into the
yoke so far until the ring groove is
visible.
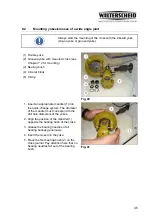
Fig. 45
10. Insert the circular blank and the second
circlip.
®
The yoke is mounted.
Fig. 46
11. Releasing the mounted cross/ joint:
•
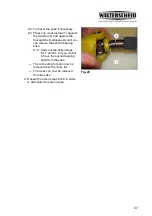
for this, press the pivot arm (1)
against the drift punch (2) for a
short time and operate the foot
switch simultaneously or
Fig. 47
Summary of Contents for SW41
Page 50: ...ERSATZTEILLISTE 50 10 Ersatzteilliste...
Page 53: ...NOTIZEN 53...
Page 54: ...NOTIZEN 54...
Page 55: ...55...
Page 56: ...NOTIZEN 56...
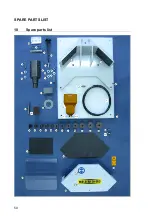
Page 106: ...SPARE PARTS LIST 50 10 Spare parts list...
Page 109: ...53...
Page 110: ...NOTES 54...
Page 111: ...55...
Page 112: ...NOTES 56...
Page 162: ...NOMENCLATURE DES PI CES D TACH ES 50 10 Nomenclature des pi ces d tach es...
Page 165: ...53...
Page 166: ...REMARQUES 54...
Page 167: ...55...
Page 168: ...REMARQUES 56...

