background image

39

38

Clean the spray gun 

• 

prior to each change of the spraying medium.

• 

at least once a week.

• 

as often as may be required by the spraying medium handled and the resultant 

degree of fouling.

Caution

Never immerse the spray gun in solvent or any other cleaning solution. The functio-

nal reliability and efficiency of the gun can otherwise not be guaranteed.

Caution

Do not use any hard, pointed or sharp-edged objects when cleaning the spray gun. 

Any damage of the precision-made parts are likely to affect your spraying results.

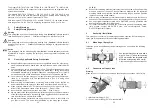
1.  Dismantle the spray gun in accordance with 

5.6 Retooling the Spray Gun.

2.  Use a soft brush together with a compatible cleaning sulotion to clean the air cap 

and nozzle.

3.  Clean the remaining parts and the spray gun body with a suitable cloth and 

cleaning solution.

4.  Apply a thin film of the appropriate grease to the:

• 

sealing collar of the piston

• 

O-ring of the piston

• 

material control needle

• 

needle spring

Make sure to use a non-acidic, non-resinogenic grease and a soft brush. The spray

gun is then reassembled in reverse order.

6.3  

Cleaning - Routine

The spray gun need not necessarily be dismantled for cleaning if and when the 

spraying medium is changed in regular intervals or upon termination of work (depen-

ding on the material used).

Notice

Clean and lubricate the spray gun frequently in accordance with Chapter


6.2 Cleaning - Complete

. This will ensure functional reliability of the spray gun.

The following requirements must be met before the routine cleaning work can be 

performed:

1.  The material tank must be clean and then be filled with a compatible cleaning 

solution. Material pressure has to be available at the spray gun. The cleaning 

solution should not be sprayed.

2.  Take the spray gun into operation (see 

5.2 Starting the Spray Gun

).

3.  Do not stop the spray gun until clear cleaning solution emerges from the nozzle.

The material supply of the series PILOT WA 7XX


 can be manually released so that 

it is not necessary to operate the complete spraying system.

All pressures should then be removed from the complete spraying system until the 

next operation.

Repairs / Replacements

Warning

Prior to any repairs / replacements: Make sure that the spray gun is in unpressurized 

condition, i.e. all air and material inputs must be shut off - if not, imminent risk of 

injury.

Notice

Please use the drawing at the beginning of these operating instructions to perform 

the following procedures.

7.1 

Replacement of defective Needle Packing

1.  Remove all pressures from the gun.

2.  Unscrew the 4 mounting screws in (item 6) from the front body in (item 7) (width 

over flats of hex. nut 3).

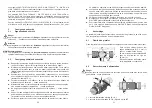
3.  Pull the front body in (item 7) off the piston casing in (item 18).

4.  Unsrew the packing screw into (item 15) from the front part in (item 7) (screw 

driver).

5.  Remove the packing spring in (item 14) (replace, if damaged) and the pressure 

ring in (item 13) from the threaded socket.

6.  Pull out the needle seal packing (item 12) with an auxilliary tool. Use a strong 

wire on which one end is bent making a small hook.

7.  Lubricate the new needle seal with non-acidic, non-resinogenic grease

8.  Install the new needle seal in the gun body.

Installation of the remaining parts is performed in reverse order.

Notice

Never reinstall a used needle seal packing (item 12) as otherwise the functional 

sealing reliability of the spray gun will suffer.

7.2 

Replacement of Nozzles, Needles, Springs and Seals

Dismantle the spray gun in accordance with Chapter

 5.6 Repalcement of Material 

Control Nozzle and Needle

, if the following components have to be replaced:

• 

Material Nozzle

• 

Pressure of the Piston

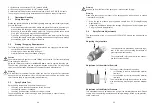
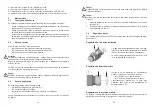
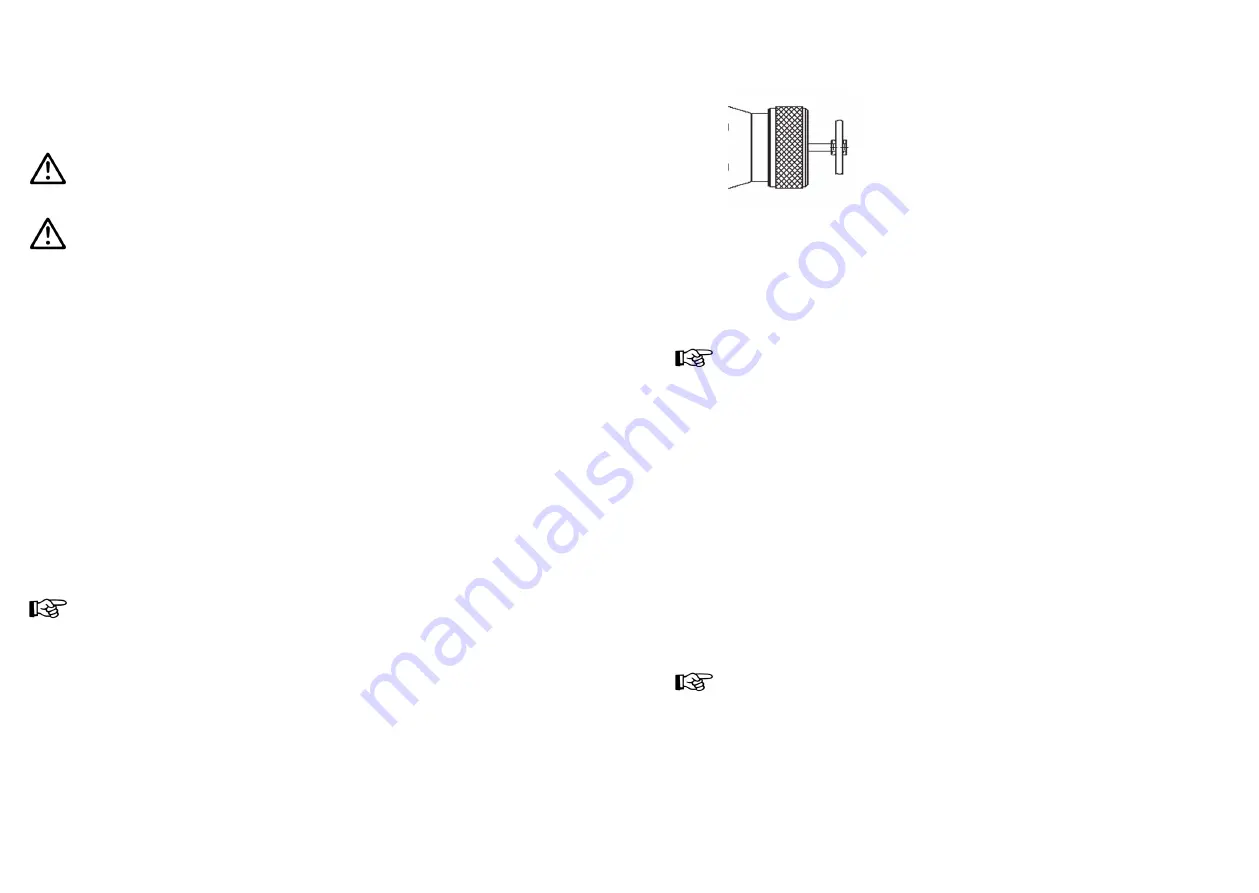
1.  Pull back the draw bar of the spray gun. The mate-

rial inlet is now open and both material duct and 

material nozzle will be cleaned.

2.  Do not let go of the drawbar until clear cleaning 

solution emerges from the nozzle.

Summary of Contents for WA 705

Page 1: ...ILOT WA 705 Automatische Spritzpistolen Automatic Spray Guns Pistolets de Pulv risation Automatiques Pistolas de Pulverizaci n Autom ticas Pistole a spruzzo automatiche Modelle Models Mod les Modelos...

Page 2: ...WA 705 Stand Januar 2010 27 26 25 24 23 22 21 20 19 5 6 7 8 10 9 11 12 13 14 15 17 16 18 28 30 29 ohne Innensteuerung without internal control sans commande int rieure sin control interno senza comand...

Page 3: ...Seite 6 23 Page 24 41 Page 42 59 P gina 60 77 Pagina 78 95...

Page 4: ...rie 2 Ger tebezeichnung II 2 G c T 5 Tech File Ref 2414 Bevollm chtigt mit der Zusammenstellung der technischen Unterlagen Nico Kowalski WALTHER Spritz und Lackiersysteme GmbH K rntner Str 18 30 D 423...

Page 5: ...0 101 01 003 1 V 00 101 01 003 30 Verschlussstopfen 1 V 20 540 40 003 entf llt 1 V 20 540 40 003 Ersatzteilliste WA 735 HVLP U WA 745 HVLPPLUS WA 755 HVLPPLUS U V 20 735 V 20 745 V 20 755 Pos Bezeichn...

Page 6: ...3 9 Arretierfeder 1 V 20 700 02 403 1 V 20 700 02 403 1 V 20 700 02 403 1 V 20 700 02 403 10 Gewindestift 1 V 20 310 01 503 1 V 20 310 01 503 1 V 20 310 01 503 1 V 20 310 01 503 11 O Ring 2 V 09 103 6...

Page 7: ...rf in explo sionsgef hrdeten Bereichen nur nach Ma gabe der zust ndigen Aufsichtsbeh rde eingesetzt werden Der zust ndigen Aufsichtsbeh rde bzw dem Betreiber obliegt die Festlegung der Explosionsgef h...

Page 8: ...pistole drucklos Verletzungsgefahr Halten Sie beim Verspritzen von Materialien keine H nde oder andere K rperteile vor die unter Druck stehende D se der Spritzpistole Verletzungsgefahr Richten Sie die...

Page 9: ...altet werden Die unter Druck stehenden Leitungen k nnen platzen und nahestehende Personen durch das ausstr mende Material verletzen 5 3 Spritzbildprobe erzeugen Eine Spritzbildprobe sollte immer dann...

Page 10: ...nschten Luftkopf auf den Pistolenvorderk rper 4 Schrauben Sie die Luftkopfmutter Pos 1 auf den Pistolenvorderk rper Materiald se und Materialnadel wechseln 1 Entfernen Sie den Luftkopf Pos 2 siehe 5...

Page 11: ...tzt Damit nicht die gesamte Spritzanlage in Betrieb gesetzt werden muss k nnen Sie die Materialzufuhr der PILOT WA 705 Baureihe auch von Hand entsperren Die gesamte Spritzanlage sollte nun bis zum n c...

Page 12: ...uft zu niedrig Steuerluftdruck erh hen auf min 4 5 bar Material tritt an der Leckagebohrung aus Nadelpackung ist undicht Packungsschraube ist lose siehe 7 1 Nadelpackung austauschen Packungsschraube P...

Page 13: ...202 787 0 Fax 49 0 202 787 2217 www walther pilot de e mail info walther pilot de Type Designation Automatic Spray Gun PILOT WA 705 Serie without internal control WA 705 Standard V 20 705 WA 715 U Sta...

Page 14: ...1 01 003 1 V 00 101 01 003 30 Blanking plug 1 V 20 540 40 003 not applicable 1 V 20 540 40 003 Listing of Replacement Parts WA 735 HVLP U WA 745 HVLPPLUS WA 755 HVLPPLUS U V 20 735 V 20 745 V 20 755 I...

Page 15: ...08 000 1 V 20 705 08 000 1 V 20 705 08 000 21 Piston Spring 1 V 20 606 11 000 1 V 20 606 11 000 1 V 20 606 11 000 1 V 20 606 11 000 22 Threaded Ring compl 1 V 20 700 09 000 1 V 20 700 09 000 1 V 20 70...

Page 16: ...t must be ruled out The equipment may be used in potentially explosive atmospheres only with the authorisation of the relevant supervisory authority The relevant supervisory authority or the operator...

Page 17: ...that the air and material feed to the spray gun have been de pressurised Risk of injury When spraying materials do not place your hands or other parts of the body infront of the pressurised nozzle or...

Page 18: ...the spray gun must be relieved of all pressures whenever work is terminated Lines left in pressurized condition could burst with their contents likely to injure anybody present nearby 5 3 Spray Patter...

Page 19: ...ir cap on the front 4 Screw the air cap retaining ring in item 1 onto the front Replacement of Material Control Nozzle and Needle 1 Remove the air control head item 2 see 5 6 Replacement of Air Contro...

Page 20: ...ray gun until clear cleaning solution emerges from the nozzle The material supply of the series PILOT WA 7XX can be manually released so that it is not necessary to operate the complete spraying syste...

Page 21: ...ing leaks Packing screw too loose see 7 1 Replacing Needle Packing Tighten packing screw item 15 in slightly with a screwdriver Spray jet pulsa ting or unsteady Level in material tank too low Top up m...

Page 22: ...e D nomination du mod le Pistolet automatique de pulv risation S rie PILOT WA 705 sans commande int rieure WA 705 mod le standard V 20 705 WA 715 U mod le standard circulating V 20 715 WA 725 HVLP mod...

Page 23: ...101 01 003 1 V 00 101 01 003 30 Bouchon de fermeture 1 V 20 540 40 003 supprim 1 V 20 540 40 003 Liste des pi ces de rechange WA 735 HVLP U WA 745 HVLPPLUS WA 755 HVLPPLUS U V 20 735 V 20 745 V 20 75...

Page 24: ...t de piston 1 V 20 606 11 000 1 V 20 606 11 000 1 V 20 606 11 000 1 V 20 606 11 000 22 douille compl 1 V 20 700 09 000 1 V 20 700 09 000 1 V 20 700 09 000 1 V 20 700 09 000 23 aiguille de mati re comp...

Page 25: ...osive qu en fonction des instructions des autorit s comp tentes La d termination du danger d explosion classification des zones incombe aux autorit s comp tentes ou l exploitant L exploitant devra abs...

Page 26: ...ou d entretien risque de blessure Maintenez la main ou toute autre partie du corps loign e de la buse sous pres sion du pistolet pendant l application risque de blessure Ne dirigez pas le pistolet ve...

Page 27: ...xplosion des conduits sous pression Risque de blessure 5 3 Essai d application Un essai d application est necessaire quand le pistolet est utilis pour la premi re fois une nouvelle mati re est utilis...

Page 28: ...t e sur le pistolet 4 Vissez l crou de t te air Pos 1 sur le corps avant du pistolet Remplacement de buse et d aiguille 1 Sortez la t te air Pos 2 voir remplacement de la t te air 5 6 2 D vissez et so...

Page 29: ...l agent nettoyant ressort parfaitement clair Afin d viter la mise en service du syst me complet de pulv risation il est possible aussi d ouvrir manuellement l alimentation mati re des mod les de la s...

Page 30: ...ez la pression d air de com mande min 4 5 bar La mati re fuit par le presse toupe La garniture d aiguille n est pas tanche Vis garniture pas assez serr Voir 7 1 remplacement de la garnitu re d aiguill...

Page 31: ...02 787 2217 www walther pilot de e mail info walther pilot de Denominaci n del modelo Pistolas de pulverizaci n autom ticas Serie PILOT WA 705 sin control interno WA 705 dise o est ndar V 20 705 WA 71...

Page 32: ...003 2 V 00 101 01 003 1 V 00 101 01 003 30 Tap n 1 V 20 540 40 003 no procede 1 V 20 540 40 003 Lista de piezas de recambio WA 735 HVLP U WA 745 HVLPPLUS WA 755 HVLPPLUS U V 20 735 V 20 745 V 20 755...

Page 33: ...V 20 705 08 000 1 V 20 705 08 000 21 Resorte de mbolo 1 V 20 606 11 000 1 V 20 606 11 000 1 V 20 606 11 000 1 V 20 606 11 000 22 Casquillo roscado compl 1 V 20 700 09 000 1 V 20 700 09 000 1 V 20 700...

Page 34: ...ades controladoras corres pondientes A las autoridades controladoras competentes o a la empresa explotadora les corresponde determinar el potencial explosivo clasificaci n de zonas La empresa explotad...

Page 35: ...as manos ni otras partes del cuerpo delante de la tobera de la pistola de pulverizaci n sometida a presi n Peligro de lesiones No dirija la pistola de pulverizaci n a personas ni animales Peligro de l...

Page 36: ...uctos que permanezcan bajo presi n podr an reventar y el material proyectado podr a lesionar a las personas de las inmediaciones 5 3 Crear prueba de diagrama de pulverizaci n Debe generarse siempre un...

Page 37: ...el cuerpo frontal de la pistola 2 Tire hacia abajo del cabezal de aire Pos 2 del cuerpo frontal de la pistola Pos 7 3 Coloque el cabezal de aire deseado en el cuerpo frontal de la pistola 4 Atornille...

Page 38: ...aro Para no tener que poner en marcha todo el equipo pulverizador tambi n puede bloquear manualmente la introducci n de material de la serie PILOT WA 705 Ahora deber quitarse la presi n de todo el equ...

Page 39: ...e material por el orificio de fuga La guarnici n de aguja es inestanca El tornillo de guarnici n est suelto v ase 7 1 Reemplazar guarnici n de aguja Apretar algo el tornillo de guarnici n Pos 15 con u...

Page 40: ...217 www walther pilot de e mail info walther pilot de Designazione del tipo Pistole a spruzzo automatiche Serie PILOT WA 705 senza comando interno WA 705 versione standard V 20 705 WA 715 U versione c...

Page 41: ...1 01 003 1 V 00 101 01 003 30 Tappo di chiusura 1 V 20 540 40 003 non montato 1 V 20 540 40 003 Elenco dei pezzi di ricambio WA 735 HVLP U WA 745 HVLPPLUS WA 755 HVLPPLUS U V 20 735 V 20 745 V 20 755...

Page 42: ...05 08 000 1 V 20 705 08 000 1 V 20 705 08 000 21 Molla pistone 1 V 20 606 11 000 1 V 20 606 11 000 1 V 20 606 11 000 1 V 20 606 11 000 22 Boccola filettata compl 1 V 20 700 09 000 1 V 20 700 09 000 1...

Page 43: ...i dell autorit di sor veglianza competente compito dell autorit di sorveglianza competente oppure dell azienda utiliz zatrice determinare le zone a rischio di esplosione L azienda utilizzatrice deve c...

Page 44: ...di materiale alla pistola a spruzzo pericolo di lesioni Durante la spruzzatura di materiali non mettere le mani o altre parti del corpo davanti all ugello sotto pressione della pistola a spruzzo peric...

Page 45: ...dalla pistola a spruzzo I tubi sotto pressione potrebbero scoppiare ed il materiale fuoriuscente potrebbe provocare lesioni alle persone nelle vicinanze 5 3 Eseguire una spruzzatura di prova consigli...

Page 46: ...della pistola 2 Sfilare il cappello aria pos 2 dal corpo anteriore della pistola pos 7 3 Inserire il cappello aria desiderato sul corpo posteriore della pistola 4 Avvitare il dado del cappello aria po...

Page 47: ...zatura possibile sbloc care manualmente l alimentazione del materiale della serie PILOT WA 705 consigliabile togliere la pressione all intero sistema di spruzzatura fino al prossimo utilizzo 7 Riparaz...

Page 48: ...la pressione dell aria com pressa ad almeno 4 5 bar Fuoriuscita di materiale al foro perdite Guarnizione dell ago non ermetica Vite della guarnizione allentata vedere 7 1 Sostituzione della guarnizion...

Page 49: ...kbeh lter Drucklose Beh lter R hrwerk Systeme Airless Ger te und Fl ssigkeitspumpen Materialumlaufsysteme Kombinierte Spritz und Trockenboxen Absaugsysteme mit Trockenabscheidung Absaugsysteme mit Nas...

Reviews: