34
35
5.5
Retooling of Spray Gun
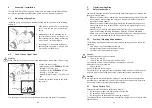
Combinations of air cap, material needle, designed to match specific
spraying media types and grades, form a unit - namely the nozzle insert assembly,
which must always be interchanged as a complete assembly to maintain the desi-
red spray- finish quality standard.
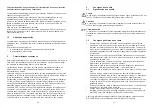
Warning
Prior to retooling: make sure that the spray gun is in unpressurized condition, i.e.
all air and material inputs must be shut off - if not, imminent Risk of Injury.
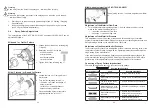
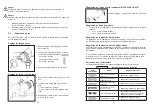
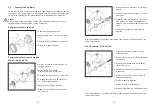
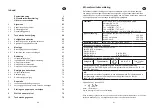
Replacement of Air Cap
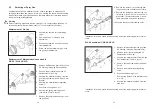
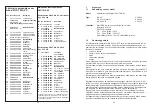
Replacement of Material Nozzle and Needle
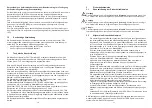
WA XV / WA XV-HVLP:
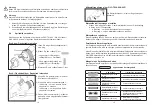
1. Unscrew the knurled air cap retaining
ring
.
2. Pull the air cap
off the gun front
attachment.
3. Position the required air cap an the gun
front attachment.
4. Screw the air cap retaining ring
onto
the gun front attachment.
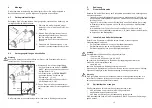
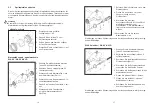
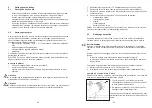
1. Remove all Pressures from the gun (see
5.2 Starting / Stopping Requirements
).
2. Remove the air control head (see
5.5
Replacement of Air Cap
).
3. Unscrew the material nozzle
from the
gun front attachment (use a Size 12 mm
wrench).
4. Unscrew the material Input regulating
screw
.
5. Pull the two spring pins
off.
6. Unscrew the spring retaining bush
(use a Size 27 mm wrench).
7. Remove the compression spring
from
the gun body.
Installation of the new nozzle insert assembly and of the remaining parts in reverse
order.
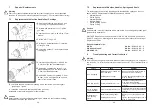
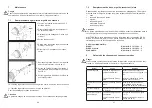
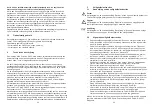
WA XV needle-pull / WA XV-HVLP:
Installation of the new nozzle insert assembly and of the remaining parts in reverse
order.
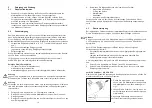
8. Remove the piston
very carefully from
the gun body (use a suitable pair of pliers).
9. Remove the piston end nute from the con-
trol piston
(use Size 13 mm and 22 mm
wrenches). The material needle
is now
freely accessible and can be pulled out.
10. Unscrew the two needle retaining nuts
.
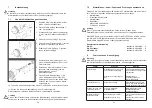
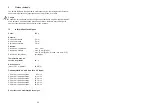
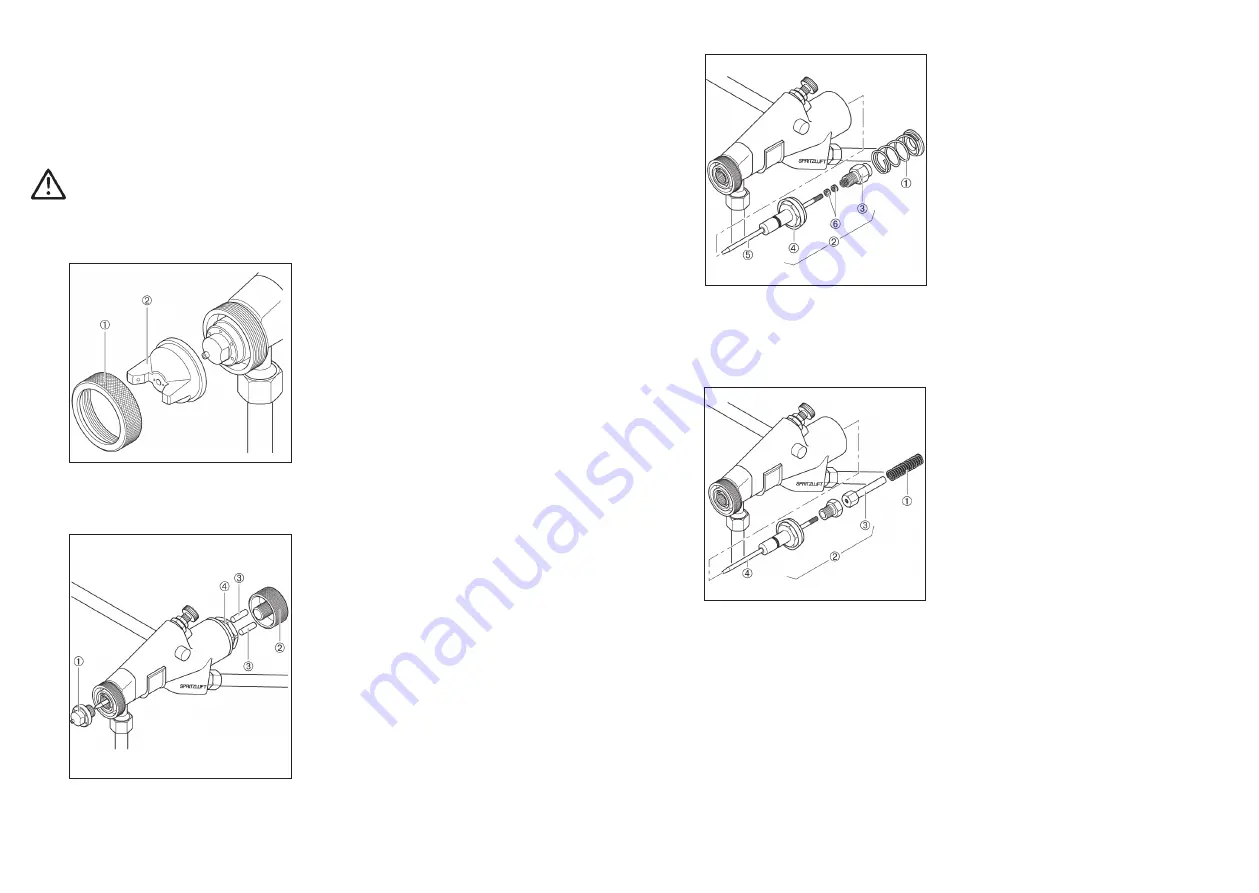
1. Remove all pressures from the gun (see
5.2 Starting / Stopping Requirements
).
2. Remove the air control head (see
5.5
Replacement of Air Cap)
.
3. Unscrew the material nozzle from the gun
front attachment (12 mm wrench).
4. Remove the cap screw and pull the was-
her off.
5. Remove the material input regulating
screw.
6. Pull the needle spring
out.
7. Pull the stop piston
plus material need-
le
out.
8. Unscrew the material needle
from the
stop pin
.

