38
39
7
Repairs / Replacements
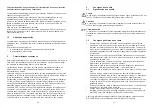
Warning
Prior to any repairs/replacements: Make sure that the spray gun is in unpressurised
condition, i.e. all air and material inputs must be shut off - if not, imminent Risk of Injury.
7.1
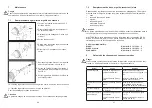
Replacement of defective Needle Seal Packings
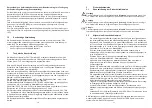
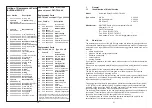
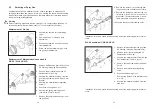
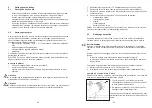
10. Lubricate the new needle seal packing with a non-acidic, non-resinogenic
grease type / grade.
11. Install the new needle seal packing in the gun body.
Installation of the remaining parts in reverse order.
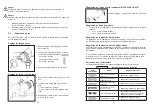
Caution
Never reinstall a used needle seal packing as, otherwise, the functional sealing
reliability of the spray gun will suffer.
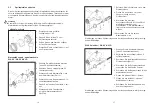
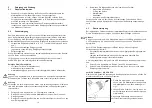
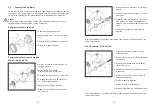
1. Remove all pressures from the gun -see
5.2 Starting / Stopping Requirements
.
2. Pull the white protective cover
off the
gun body.
3. Unscrew the hex. nut
with a Size 17 mm
wrench.
4. Pull the "USIT" ring
off.
5. Pull the gun front attachment
carefully
off the gun body.
6. Remove the gasket
- and replace same
if damaged.
7. Unscrew the packing seal
with a Size
11 mm from the gun front attachment.
8. Remove the compression spring
(re-
place if damaged) and the counter bush
from the threaded socket.
9. Remove the needle seal packing
from
its seat - use a strong wire with one end
bent to form a small hook.
7.2
Replacement of Nozzles, Needles, Springs and Seals
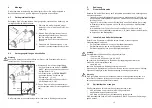
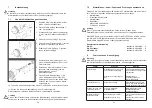
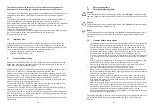
For replacement of any of the following parts dismantle the spray gun in accor-
dance with
5.5 Replacement of Material Nozzle and Needle
:
•
Material Nozzle
•
Piston Spring
•
Material Needle*
•
Needle Spring*
•
Piston Sealing Collar*
•
Piston O-Ring*
Caution
Parts marked * must be lubricated with a non-acidic, non-resinogenic grease type /
grade prior to installation.
WALTHER Repair kits are also available for WA XV, WA XV needle-pull and WA
XV-HVLP spray guns. Wearing parts are also shown (in boldface) in the Listing of
Replacement Parts.
Repair kit-material side:
WA XV:
Art. No.: V 16 115 03 . . 3
WA XV needle pull:
Art. No.: V 16 116 03 . . 3
WA XV-HVLP:
Art. No.: V 16 117 03 . . 3
8
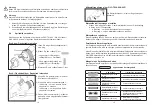
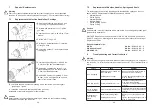
Troubleshooting and Corrective Action
Warning
Prior to any servicing and repair work: Make sure that the spray gun is in unpressuri-
zed condition, i.e. all air and material inputs must be shut off - if not, imminent Risk of
Injury.
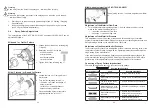
Fault
Cause
Remedy
Gun is dripping
Material nozzle or needle fou-
led or damaged
Packing gland too tight
Remove see 5.5 Material Nozzle or
Needle and clean or replace
Loosen packing gland slightly use a
Size 11 wrench
Gun fails to open
Control air pressure too low
Increase control air pressure to
max. 8 bar (see operating
Instructions of plant systems manuf-
acturer)
Spray jet pulsa-
ting or unsteady
Level in material tank too low
Top-up material level (see operating
Instructions of plant systems manuf-
acturer)
Material leaks
from packing
gland
Needle seal packing leaks
Packing gland to loose
Replace see 7.1 Needle Seal pak-
king
Tighten packing gland slightly use a
Size 11 mm wrench

