

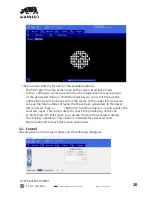
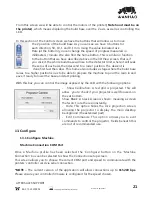


15. Connecting Software to Duplicator 7
You can connect to your 3d printer with the ‘Connect’ toolbar item.
ƻĶsǣssŘǣȖNjsǼÌǼɴŸȖ˅NjsƼNjŸƼsNjĶɴOŸŘʩ¶ȖNjs_ɴŸȖNjŎOÌÞŘsƼNjŸʩĶsǣɠsĶĶǣ
setting up the correct COM port before connecting.
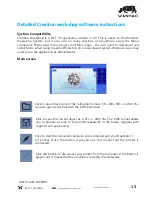
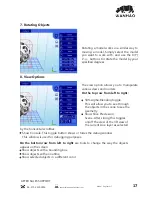
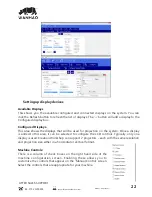
14. Slicing a Model
ŷŘOsɴŸȖÌɚsĶŸ_s_ŸŘsŸNjŎŸNjsŎŸ_sĶǣʰOŸŘʩ¶ȖNjs_ɴŸȖNjŎOÌÞŘsƼNjŸʩĶsʰ
Ř_OŸŘʩ¶ȖNjs_ɴŸȖNjEȖÞĶ_˓ǣĶÞOÞضƼNjŸʩĶsʰɴŸȖOŘǣĶÞOsŎŸ_sĶʳ
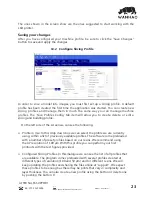
Choose the Slice Icon from the toolbar to bring up the Slicing Screen.
ɳŸȖOŘOÌضsǼÌsOȖNjNjsŘǼĶɴǣsĶsOǼs_ǣĶÞOÞضƼNjŸʩĶsǼŸȖǣsʳ
Click the ‘Slice’ button to begin slicing. You can stop slicing by pressing the
˄NŘOsĶ˅EȖǼǼŸŘʳݯɴŸȖNjǣĶÞOÞضƼNjŸʩĶsÞǣOŸŘʩ¶ȖNjs_ǼŸsɮƼŸNjǼÞŎ¶sǣʰƼNjŸ¶Njsǣǣ
bar will appear here. Otherwise, just the gcode for the scene will be generated
and the images will be rendered during build-time.
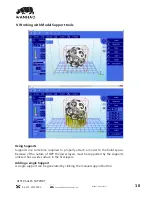
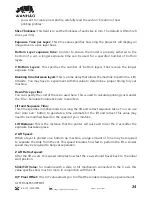
Build Direction:
Top down or Bottom up. This value determines which direction the Lift
occurs. For a bottom up machine, this is used to peel the model from the bottom of the
build vat, sometimes in conjunction with a tilt/slide. For a Top-down machine, this makes the
lift operation dip into the resin.
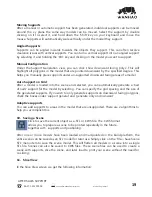
Image Slice Export Options
ǻÌÞǣĶĶŸɠǣɴŸȖǼŸOŸŘǼNjŸĶÌŸɠǼÌs¶sŘsNjǼs_ÞŎ¶sǣĶÞOsǣŘ_¶OŸ_sʩĶsǣNjsǣɚs_ʳɳŸȖ
ÌɚsǼÌsŸƼǼÞŸŘŸ¯sɮƼŸNjǼÞضǼŸʉÞƼʩĶsŸNjǼŸǣȖE_ÞNjsOǼŸNjɴɠÌsŘǼÌs˄rɮƼŸNjǼÝŎ¶sǣŘ_
GCode’ button is checked. If this is left unchecked, slices and gcode will still be generated,
but not saved to disk.
AFTER SALES SUPPORT
86-571-23290996
support@wanhao3dprinter.com
Model : Duplicator 7
25


