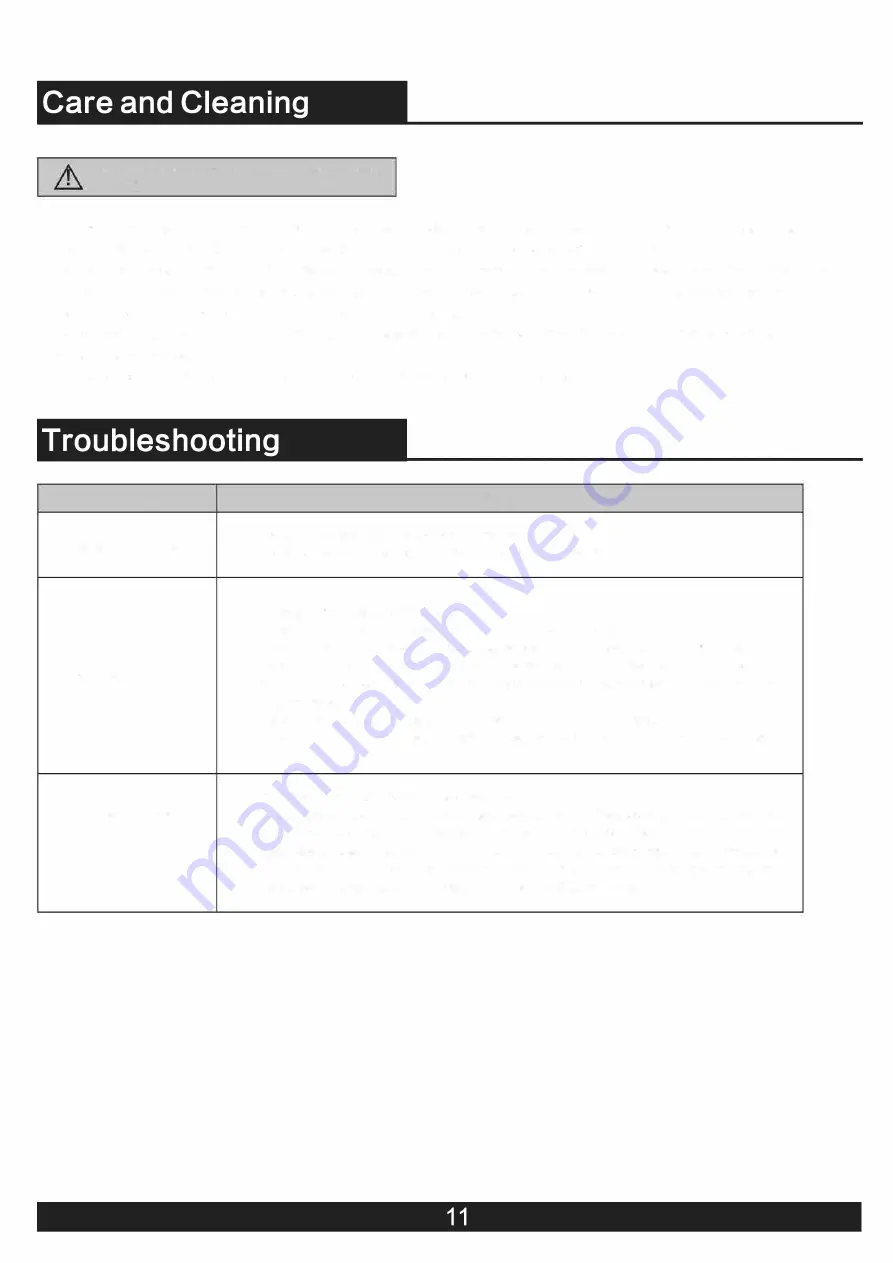
WARN
I NG:Make sure the power is off before cleaning
your fan.
□
Because of the fan's natural movement, some connections may become loose.Check the support connections,brackets,and blade
attachments twice a year. Make sure they are secure. It is not necessary to remove the fan from the celling.
□
Clean your fan periodically to help maintain its new appearance over the years. Do not use water when cleaning, as this could damage
the motor or the wood, or possibly cause an electrical shock. Use only a soft brush or lint-free cloth to avoid scratching the finish. The
plathing is sealed with a lacquer to minimize discoloration or tarnishing.
□
You can apply a light coat of furniture polish to the wood for additional protection and enhanced beauty. Cover small scratches with a
light application of shoe polish.
D You do not need to oil your fan. The motor has permanently-lubricated sealed ball bearings.
Problem
Solutlon
□
Check the main and branch circuit fuses or breakers.
The fan willn not start.
□
Check the line wire connections to the fan and switch wire connections in the switch housing.
□
Ensure all motor housing screws are snug.
□
Ensure the screws that attach the fan blade bracket to the motor hub are tight.
□
Ensure the wire nut connetions are not ratting against each other or the interior wall of the switch housing.
The fan willn not start.
□
Allow a 24-hour "breaking in" period. Most noises associated with a new fan disappear during this time.
□
If you are using the Ceiling Fan light kit,ensure the screws securing the glassware are tight.Check that the light
□
bulbs are also secure.
□
Ensure the canopy is a short distance from the ceiling.It should not touch the ceiling.
□
Ensure your outlet box is secure and rubber isolator pads wereused between the mounting plate and outlet box.
□
Check that all blade and blade arm screws are secure.
The fan wobbles.
□
Most fan wobble problems are caused when blade levels are unequal.Check this level by selecting a point on the
□
ceiling above the tip of one of the blades.Measure from a point on the center of each blade to the point on the
□
ceiling.Measure this distance.Rotate the fan until the next blade is positioned for measurement.Repeat for each
□
blade.Any measurement deviation should be within 1/8 in. Run the fan for ten minutes.If the fan continues to
□
wobble please contact Customer Service and a balancing kit will be sent to you a


