


7
2018114_b•en•2019-10-01
We reserve the right to carry out improvements.
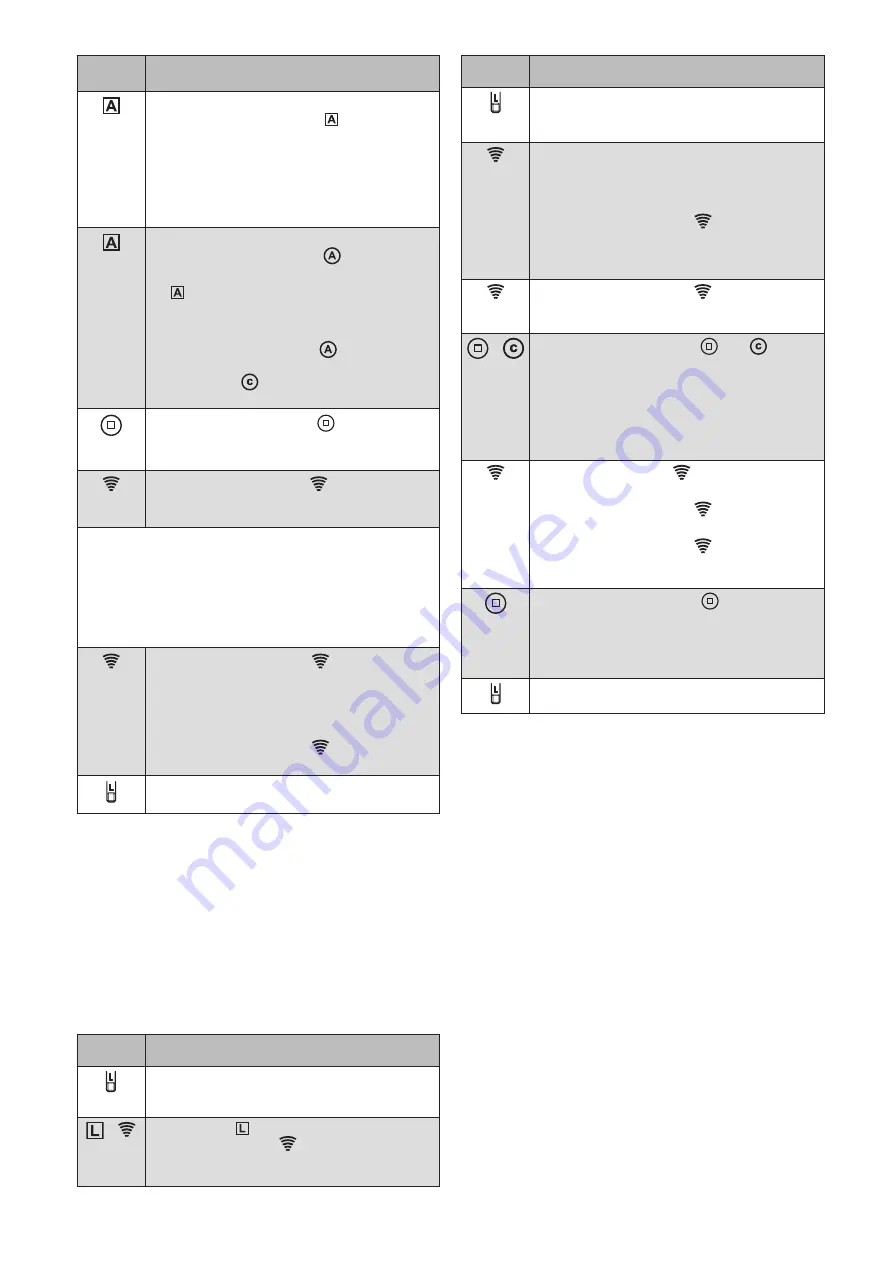
Button/
display
Cction/result
Depending on the frequency with which
the control function LED
flashes, the
corresponding product type is displayed:
1 x GREEN: Awning
2 x GREEN: Roller shutter
3 x GREEN: External venetian blind
4 x GREEN: Light
5 x GREEN: Window
To check which product type was set,
press the control button
.
The flashing of the control function LED
indicates which product type was
selected.
IUTCCE
O
If the desired receiver is not
waving after the
button has
been pressed, a brief press of
the
button switches to the next
receiver found during the scan.
Press the STOP button
.
The appropriate product type is now
assigned to the receiver.
The transmission LED
lights up for 2
seconds.
GREEN This confirms the assignment.
IUTCCE
O
The first receiver that is learned into the WMS
Wall-mounted transmitter basic defines the
channel type.
If an external venetian blind is
learned in as the receiver first, the channel
type is defined as an external venetian blind
channel and only external venetian blinds can
be learned in.
The transmission LED
flashes
GREEN: The scan process is now
repeated automatically until
no more new devices are
found.
The transmission LED
lights up.
ORANGE:
The scan is ended.
Briefly press the learn button to leave the
learn mode.
CExample 6:
Delete learned-in products from the WMS Wall-
mounted transmitter basic and the network
You can remove the learned-in products completely from
the WMS Wall-mounted transmitter basic and the network.
First, scanning is repeated (see example 5 on page 6)
to identify the learned-in devices.
IUTCCE
O
Devices that do not need to be deleted must be
de-energised.
As soon as the transmission LED lights up orange, you
can start the deletion process.
Button/
display
Cction/result
Press the learn button on the WMS Wall-
mounted transmitter basic for approx.
5 seconds.
+
The L LED
lights up green; the
transmission LED
flashes. For several
seconds, the WMS Wall-mounted transmitter
basic scans the range for receivers.
Button/
display
Cction/result
By pressing the learn button again, the
process can be aborted.
The L LED goes out.
If, while scanning, the WMS Wall-mounted
transmitter basic finds a target device
(receiver, transmitter, sensor) that has already
been learned in:
The transmission LED
lights up.
GREEN:
Lights up continuously for
2 seconds
Then scanning continues.
The transmission LED
lights up for
2 seconds.
ORANGE
Scanning stops.
+
Press the
STOP button
and
simultaneously.
The delete command is sent to all learned-
in receivers.
Those receivers that are still learned-in wave
when they are deleted from the WMS Wall-
mounted transmitter basic and the network.
The transmission LED
indicates the result
of the deletion process:
The transmission LED
flashes
GREEN: The devices are deleted.
The transmission LED
flashes
RED:
Not all target devices have
been deleted.
Press the STOP button
.
The deletion command is sent repeatedly
to find receivers that were not within
the radio range during the first deletion
command and to delete them as well.
Briefly press the learn button to leave the
learn mode.
IUTCCE
O
When you delete a receiver from the network,
it can no longer be operated via other
transmitters. It must be relearned into a
network.
IUTCCE
O
It only makes sense to delete products via
the WMS Wall-mounted transmitter basic in
smaller networks (two to three awnings or roller
shutters). In more complex networks and when
routing tables are used, a WMS hand-held
transmitter comfort or a central control unit
should be used for deletion.


