7
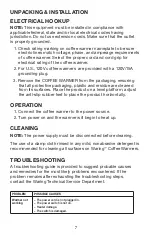
UNPACKING & INSTALLATION
ELECTRICAL HOOKUP
NOTE:
This equipment must be installed in compliance with
applicable federal, state and/or local electrical codes having
jurisdiction. Do not use extension cords. Make sure that the outlet
is properly grounded.
1. Check rating marking on coffee warmer nameplate to be sure
electric lines match voltage, phase, and amperage requirements
of coffee warmer. Select the proper cord and cord grip for
electrical rating of the coffee warmer.
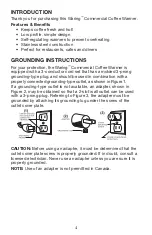
2. For U.S., 120V coffee warmers are provided with a 120V/15A
grounding plug.
3. Remove the COFFEE WARMER from the packaging, ensuring
that all protective packaging, plastic and residue are cleaned
from its surfaces. Place the product on a level platform, adjust
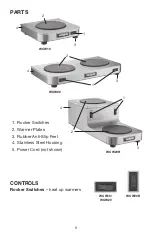
the anti-slip rubber feet to place the product horizontally.
OPERATION
1. Connect the coffee warmer to the power source.
2. Turn power on and the warmer will begin to heat up.
CLEANING
NOTE:
The power supply must be disconnected before cleaning.
The use of a damp cloth rinsed in any mild, nonabrasive detergent is
recommended for cleaning all surfaces on Waring
™
Coffee Warmers.
TROUBLESHOOTING
A troubleshooting guide is provided to suggest probable causes
and remedies for the most likely problems encountered. If the
problem remains after exhausting the troubleshooting steps,
contact the Waring Technical Service Department.
PROBLEM
POSSIBLE CAUSES
Warmer not
working
– The power cord is not plugged in.
– The power switch is not on.
– Heater damage.
– The switch is damaged.
Summary of Contents for WCW10
Page 23: ...23 ...


