40
warmhaus.co.uk
4.4. Calibration
4.4.1. Auto Calibration
ATTENTION:
This procedure must only be carried by a competent
Gas Safe registered engineer and if in Ireland an RGI (Registered
Gas Installer)
Make sure there is no demand on the boiler before starting the auto
calibration and the front cover is fitted!
Step 1:
Press the reset and CH – buttons together and wait for the approval
circle to complete, TS will be displayed on the LHS of the boiler LCD and
01 on the RHS. Press the CH + button until the number on the RHS reads
14, you will then have 00 displayed in the middle of the screen. Press the
DHW + button until you reach 05 and then press the reset button until the
approval circle completes.
Step 2:
Press the reset and CH – buttons together and wait for the approval
circle to complete, the boiler should now be in the standby mode, then
press the reset and mode buttons together and wait until the approval
circle is complete then let go and within 3 seconds press the CH – button
firmly.
Step 3:
The boiler will now enter the test mode and will carry out several
functions, when the boiler is ready for adjustment it will display P00 and
a setpoint number e.g. 35, at this stage you can insert your FGA into the
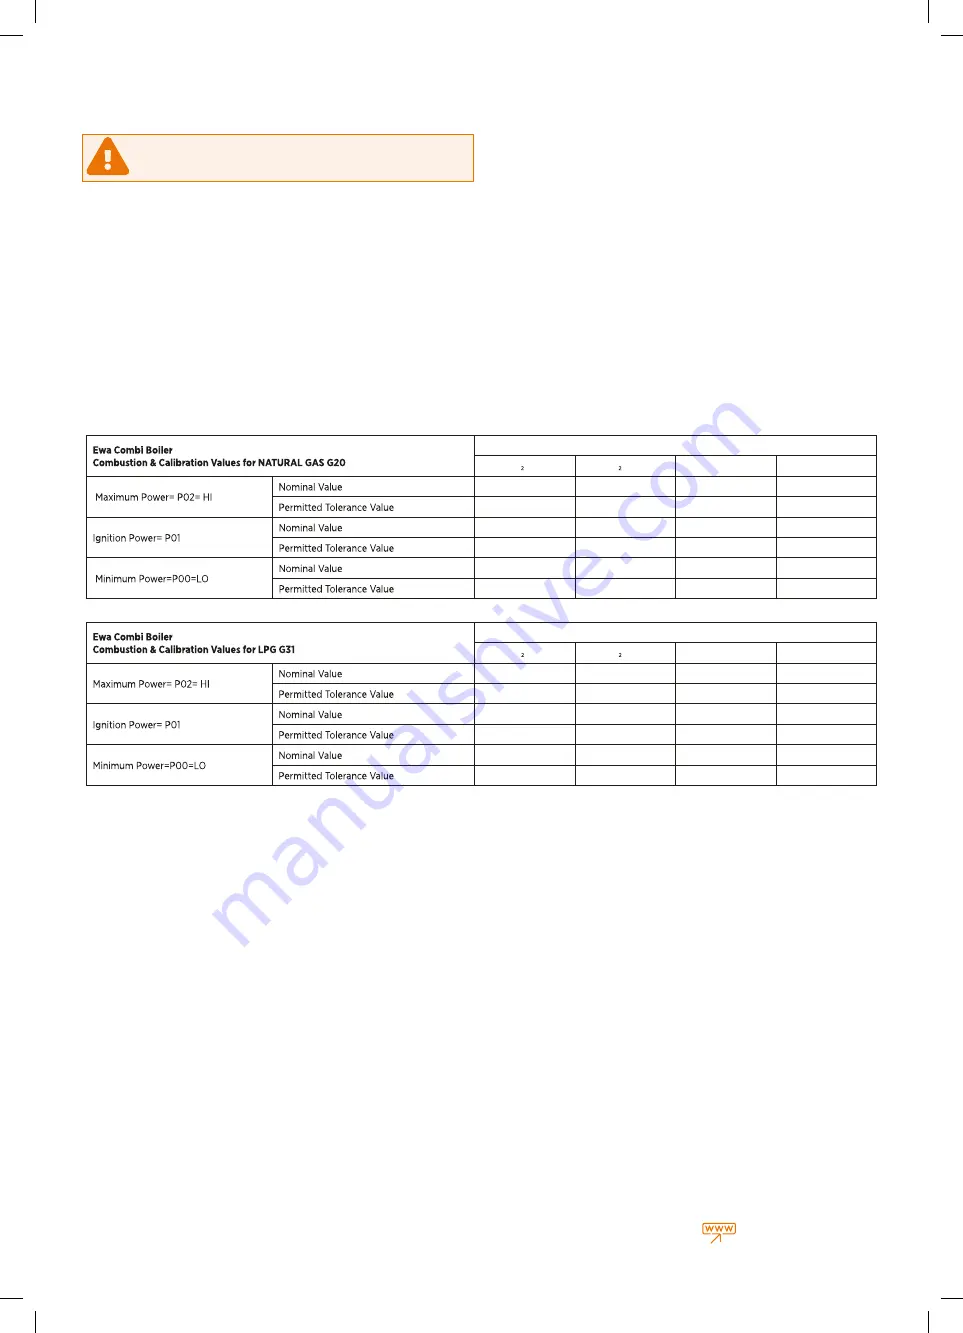
boiler and wait to stabilize then using the table below check to see if the
CO2 or O2 is within the tolerances stated.
Step 4:
If the readings are out of the tolerance then adjust the setpoint
using the DHW + or – buttons to increase or decrease the setpoint number
to change the CO2 or O2 values, once the readings are within the tolerance
press the CH + button and remove the FGA, the boiler will now make some
tests and when it is ready for adjustment it will display P01 and a setpoint
number.
Step 5:
Again as above insert your FGA and check the readings to see
if they are within tolerance, if they require adjustment please follow the
above procedure and when the readings are within the tolerance press the
CH + button and remove the FGA.
Step 6:
The boiler will now carry out some tests and when it is ready for
adjustment it will display P02 and again a setpoint number, now insert your
FGA and check the readings are within tolerance in the below table, follow
the instructions in Step 4 to adjust the readings.
Step 7:
When the readings are ok press the Mode button to exit the AUTO
calibration mode and the boiler will return back to the standby display.
Natural Gas - G 20 (20 mbar)
CO (%)
O (%)
CO (ppm)
NO
x
(ppm)
9.0
5.1
105
26
8.8 - 9.2
4.7 - 5.2
90 –120
24-27
9.0
5.1
40
17
8.8 - 9.2
4.7 - 5.2
35 - 50
13-19
9.0
5.1
3
13
8.8 - 9.2
4.7 - 5.2
0-10
12-15
LPG - G 31 (37 mbar)
CO (%)
O (%)
CO (ppm)
NO
x
(ppm)
10.4
5.3
160
15
10.0 - 10.5
5.0 - 5.9
120-170
14-25
10.4
5.2
65
15
10.5 - 10.0
5.0 - 5.9
45—80
10-20
10.3
5.3
6
13
10.0 - 10.5
5.0 - 5.9
0-10
8-15
Summary of Contents for EWA 2525C
Page 1: ...CONDENSING COMBI BOILERS INSTALLATION SERVICE MANUAL EWA 2525C 25 kW EWA 2530C 30 kW...
Page 2: ......
Page 3: ...3 warmhaus co uk...
Page 57: ...57 warmhaus co uk...

