Installation step 4
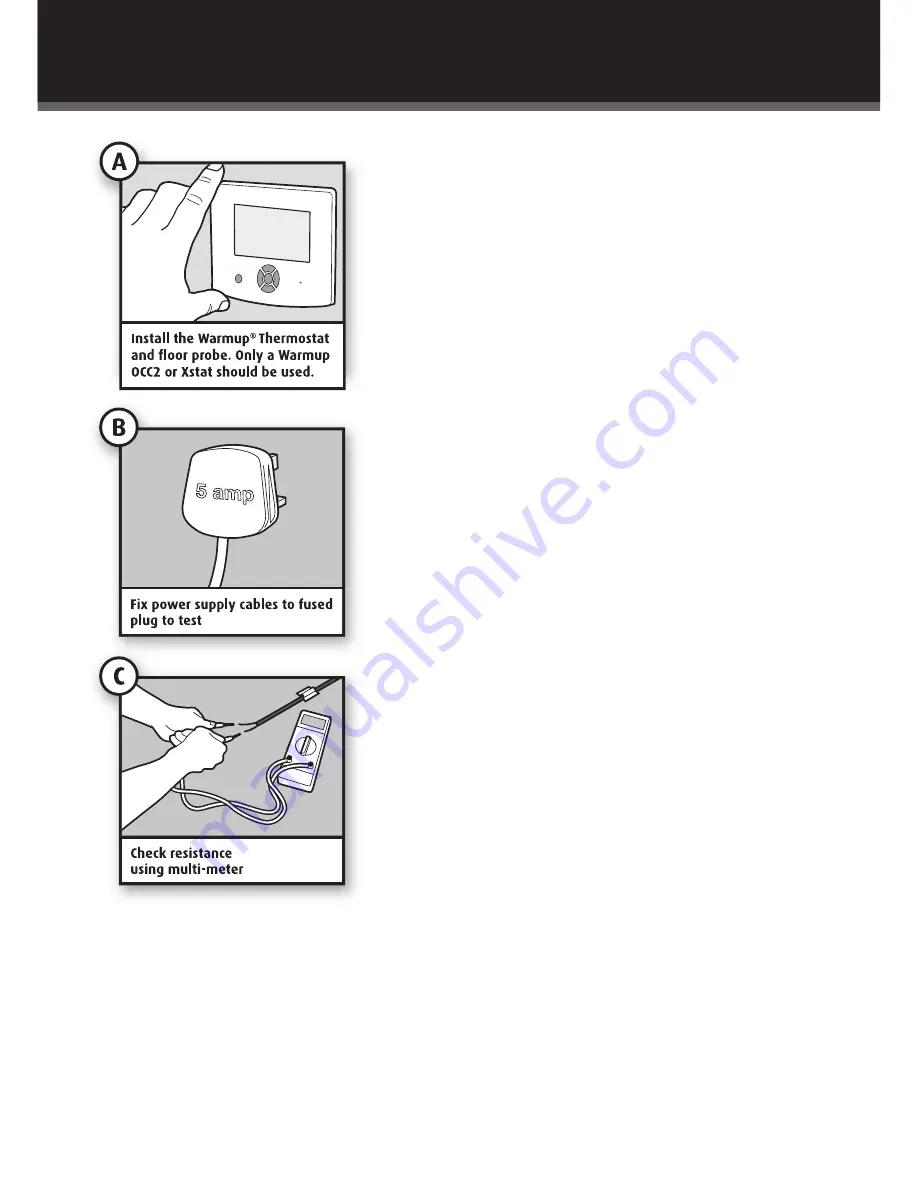
Install the Warmup
®
Thermostat
and floor probe.
Instructions for the fitting of the Warmup Thermostat
can be found inside the thermostat box.
The power cable consists of conductors coloured brown
(live), blue (neutral) and green/yellow (earth). These
should be connected in accordance with current wring
regulations. For testing purposes, the brown and blue
wires should be connected to a multimeter to obtain a
resistance reading BEFORE any connections are made to
the electrical supply.
Please review the information on page 5 before proceeding.
Install Warmup
®
Thermostat and floor probe.
Test the heater*
Before tiling, ensure that the heater is working properly.
Temporarily wire
each
heater to a 5 amp fused plug via
an RCD, in accordance with normal wiring regulations.
Run each heater for approximately 10 minutes to ensure
that the element heats up and is warm to the touch.
In larger installations, where more than one heater is
fitted, repeat the procedure for each heater.
Do not leave the heater on for more than 30 minutes.
Completely disconnect the heater prior to and during tiling.
If possible, during tiling use a multi-meter set to 200 ohms
to check the resistance on the heater to ensure that there
is a circuit.
At 20 degrees C, the DWS300 heater should read
approximately 176 ohms, the DWS400 heater should read
approximately 136 ohms, the DWS600 heater should read
approximately 88 ohms, and the DWS800 heater should
read approximately 64 ohms.
A +/-5% ohm reading tolerance is allowed under
manufacturing guidelines.
If the heater is not working call the technical helpline
on 0845 345 2288.
At this stage
DO NOT TILE
if the heater is not working.
*DO NOT
use a continuity tester to test the heaters.
14
NOTE:
DO NOT
WIRE TO MAINS WHILE
HEATING ELEMENT IS STILL ON
THE REEL.
Summary of Contents for DWS300
Page 16: ...Notes 16 ...
Page 17: ......


