background image

WARN INDUSTRIES  *  WINCH

11

OPERATING INSTRUCTIONS

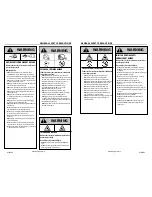
WARNING

Never

 engage or 

disengage clutch 
if winch is under 
load, winch rope is 
in tension or drum is 
moving.

WARNING

Never

 operate 

winch with less 
than 10 wraps of 
rope around the 
drum.  Rope could 
come loose from 
the drum, as the 
rope attachment 
to the drum is not 
designed to hold 
a load.

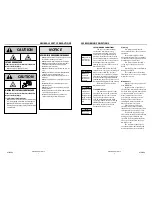
NOTICE

Do Not power-out 
rope more than 30 
ft. without allowing 
the winch to cool for 
20 minutes before 
powering rope 
back in.  Instead, 
place the clutch in 
freespool and pull 
the rope off  by hand. 

FIRST TIME OPERATING 
INSTRUCTIONS

In this section, we’ll show you the 

first time operating instructions for 
effective basic winch ing.  For complete 
winch operation and techniques read 
the Basic Guide to Winching Techniques 
found online at

 http://www.warn.com/

corporate/literaturerequest.shtml.

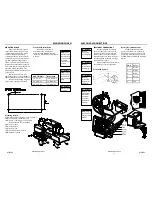
Remote Control Switch

The winch is controlled by the hand 

held remote control.  The remote control 
provides control of the power-out (forward) 
or power-in (reverse) rotation of the 
spooling drum

.

Do not leave the remote plugged 

into the winch when not in use. Leaving 
the remote plugged in, may result in 
a dangerous condition and/or battery 
drain.

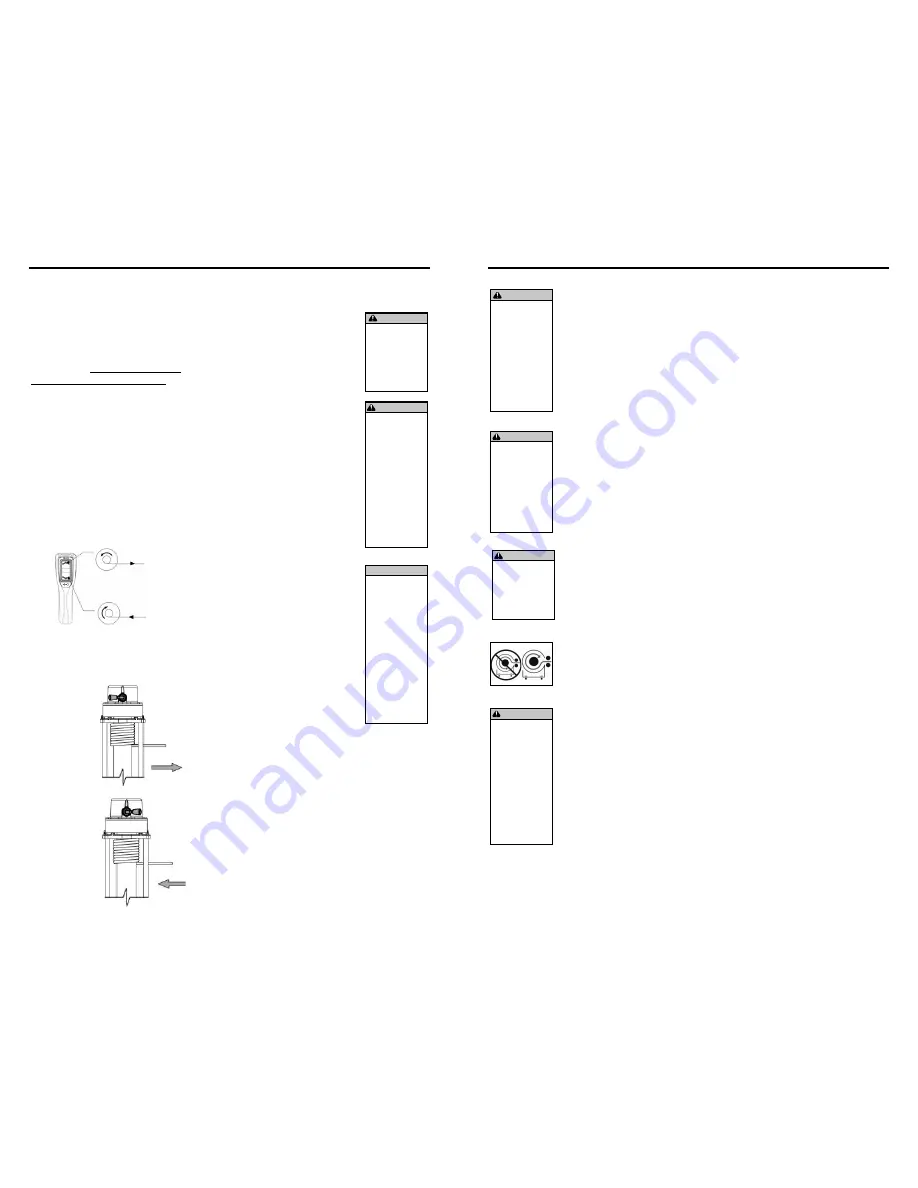
Clutch Operation:

When the clutch is engaged, the gear 

train is coupled to the winch drum and 
power can be transferred from the winch 

Disengaged:

Engaged:

Vertical/Horizontal Remote:

motor. When the clutch is disengaged 
the drum is in the freespool position and 
the gear train and winch rope drum are 
uncoupled allowing the drum to rotate 
freely.  

The clutch lever, located on the winch 

housing opposite the motor, controls 
the clutch position. To prevent damage, 
always fully engage or fully disengage 
the clutch lever.

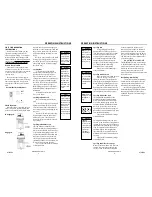
Spooling Out

Freespooling is generally the 

quickest and easiest way to spool out 
wire rope. Before freespooling wire 
rope out from the winch, power out 
enough rope to remove any tension the 
wire rope might be under. Disengage 
the clutch. Then freespool by manually 
spooling out enough wire rope for 
the winching operation. See 

The Basic 

Guide to Winching Techniques

 for more 

information.

Always leave at least 5 wraps of 

rope on the drum. 

Spooling In Under Load

Never exceed winch’s rated line 

pull.

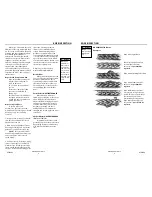
Power-in the wire rope evenly and 

tightly on the drum. This prevents the 
outer wire wraps from sinking into the 
inner wraps, binding, and damaging the 
wire rope.

Avoid shock loads when spooling, 

by pulsing the control switch to take 
up wire rope slack. Shock loads can 
momentarily far exceed the winch and 
rope ratings.

Spooling In Under No Load

Spooling with an Assistant: 

Have the 

assistant hold the hook strap putting as 
much constant tension on the wire rope 
as possible. While keeping tension, the 
assistant should walk toward the winch 
while you operate the control switch 
spooling in the wire rope. Release the 
switch when the hook is a minimum of 6 
ft. (2 m) from the fairlead opening.

Spool in the remainder for storage 

as directed below.

IN

OUT

WARN INDUSTRIES  *  WINCH

12

OPERATING INSTRUCTIONS

Spooling Out

Freespooling is generally the 

quickest and easiest way to spool out 
rope. Before freespooling rope out from 
the winch, power out enough rope to 
remove any tension the rope might 
be under. Disengage the clutch. Then 
freespool by manually spooling out 
enough rope for the winching operation. 
See 

The Basic Guide to Winching 

Techniques

 for more information.

Always leave at least 10 wraps of 

rope on the drum. 

Spooling In Under Load

Never exceed winch’s rated line pull.
Power-in the rope evenly and 

tightly on the drum. This prevents the 
outer wraps from sinking into the inner 
wraps, binding, and damaging the rope.

Avoid shock loads when spooling, 

by pulsing the control switch to take up 
rope slack. Shock loads can momentarily 
far exceed the winch and rope ratings.

Spooling In Under No Load

Spooling with an Assistant: 

Have the 

assistant hold the hook strap putting 
as much constant tension on the rope 
as possible. While keeping tension, the 
assistant should walk toward the winch 
while you operate the control switch 
spooling in the rope. Release the switch 
when the hook is a minimum of 6 ft. (2 m) 
from the fairlead opening.

Spool in the remainder for storage 

as directed below.

Spooling Alone: 

Arrange the rope to be 

spooled so it will not kink or tangle when 
spooled. Be sure any rope on the drum is 
tightly and evenly layered. Spool enough 
rope to complete the next full layer on 
the drum. Tighten and straighten the 
layer.


Repeat process until the hook is a


minimum of 6 ft. (2 m) from the fairlead 
opening.

Spool in the remainder for storage 

as directed below.

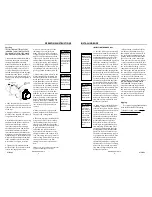
Spooling Remainder for Storage

When the hook is within 6 ft. (2 m) of the 
fairlead, disconnect the hook from the 
anchor or load. Hold onto the supplied 

WARNING

Always

 keep hands 

clear of winch rope, 
hook loop, hook and 
fairlead opening 
during installation, 
operation, and when 
spooling in or out.

WARNING

Always

 use 

supplied hook strap 
whenever spooling 
winch rope in or out, 
during installation 
or operation to 
avoid injury to 
hands and   ngers.

WARNING

Always

 wear heavy 

leather gloves when 
handling winch 
rope. 

WARNING

Never

 touch winch 

rope or hook while 
someone else is at 
the control switch 
or during winching 
operation.

hook strap and hold tension on the 
winch rope. Slowly power-in the winch 
by “pulsing” the power-in switch on the 
remote control until the hook is within 3 
ft. (1 m)  of the fairlead. Stop winching in 
and attach the hook to a suitable anchor 
point on the vehicle. 

DO NOT POWER THE HOOK INTO 

THE FAIRLEAD. This could cause damage 
to the fairlead. Once the hook is suitably 
attached to the vehicle, power-in the 
remaining slack in the winch rope by 
“pulsing” the power-in switch on the 
remote control until there is minimal slack 
in the winch rope.

Overloading/Overheating

This winch is rated for intermittent 

duty. When the motor approaches stall 
speed, very rapid heat buildup occurs 
which may cause motor damage. 

Double-line rigging (see 

The Basic 

Guide to Winching Techniques

) will reduce 

the amperage draw, and reduce heat 
buildup in the motor. This allows longer 
continual use.

87970A2

87970A2

Summary of Contents for MID-FRAME series

Page 1: ...ustries Inc 12900 S E Capps Road Clackamas OR USA 97015 8903 1 503 722 1200 FAX 1 503 722 3000 www warn com Customer Service Service Clients 1 800 543 9276 2016 Warn Industries Inc WARN the WARN logo...

Page 2: ...English 1 Fran ais 17 Espa ol 33 Deutsch 49 Svenska 65 87970A2 87970A2...

Page 3: ...ques Provides a basic understanding of the winch and teaches basics of proper winching techniques It is a valuable resource to help winch safely and efficiently Product Specification and Performance D...

Page 4: ...tofullyreadthe Instructionsand or OperationsGuide and or Basic Guide to WinchingTechniques inordertounderstandyourwinchand itsoperations found online athttp www warn com corporate literaturerequest s...

Page 5: ...ct Always spool therope ontothe drumin the direction speci edbythe winch warning label on thewinchand or documentation Thisis required fortheautomatic brake ifso equipped to function properly Always s...

Page 6: ...operator if the rope fails when under load Operate winch from the fully extended remote control cord length whenever possible The operator must always be at least 8 ft 2 44 m from the winch while ope...

Page 7: ...ntinglocation that is su ciently strong to withstand the maximum pullingcapacity of your winch WARNING Alwayscomplete the winchinstallation andattach thehook before installing the wiring Plate Thickne...

Page 8: ...WARN INDUSTRIES WINCH 12 OPERATING INSTRUCTIONS Spooling Out Freespooling is generally the quickest and easiest way to spool out rope Before freespooling rope out from the winch power out enough rope...

Page 9: ...etic rope Damage to the winch may result Rope Rope Washer 1 4 20 x 1 2 Button Head Bolt Rope Washer Rope WARN INDUSTRIES WINCH 14 INSTALLING ROPE WARNING Never operate winch withless than 10 wraps of...

Page 10: ...m the drum as the rope attachment to thedrum is not designedto hold a load If the rope is damaged remove it from service immediately and replace it with undamaged rope Broken or cut strands reduce the...

Page 11: ...sion globale du treuil et vous enseigne les techniques de treuillage Il s agit d une ressource utile qui favorise l utilisation efficace et s re du treuil Caract ristiques du produit et donn es de per...

Page 12: ...n de comprendre letreuilet son fonctionnement trouv s en ligne http www warn com corporate literaturerequest shtml Ne jamaisexc der la capacit nominale dutreuilouduc ble d acier Un c blage double ave...

Page 13: ...joursenroulerlec blesurletambourdanslesenssp ci parl tiquetted avertissementappos esurle treuiloula documentationdutreuil Celaestn cessairepourquelefrein automatique lecas ch ant fonctionnecorrectemen...

Page 14: ...que le c ble ne frappe l op rateur en cas de rupture sous charge Autant que possible utiliser le treuil avec le c ble de la t l commande compl tement d ploy Celui ci doit toujours demeurer une distanc...

Page 15: ...elle d arr t 9 525 mm quantit 4 3 Boulon cat gorie 3 8 16 X 1 1 4 de long X 4 Couple de 30 35 pieds livres 41 47 Nm 4 crou de blocage 1 2 13 5 Rondelle plate 1 2 po 6 crou carr 3 8 16 7 Boulon t te bo...

Page 16: ...inutesavant derecommencer l enroulement Utiliserplut t l embrayageen d roulementlibre en tirantle c ble lamain ENTR E SORTIE AVERTISSEMENT AVERTISSEMENT commander la position de l embrayage Pour viter...

Page 17: ...s de 30 CTI 24 XDC m de c ble synth tique 3 8po Le treuilpourrait tre endommag AVERTISSEMENT AVERTISSEMENT C ble Rondelle de c ble 1 4 20 x 1 2 po Boulon t te bouton C ble WARN INDUSTRIES WINCH 30 INS...

Page 18: ...service et de le remplacer par un c ble intact r f rence WARN Des torons cass s ou coup s nuisent la solidit du c ble sur toute sa longueur pas seulement l endroit endommag En r gle g n rale il convi...

Page 19: ...ento b sico del cabrestante y ense a las t cnicas apropiadas y fundamentales de su uso Es una fuente valiosa para ayudar a utilizar el cabestrante de forma segura y eficiente Especificaciones del prod...

Page 20: ...nderel funcionamiento yla manipulaci ndelcabrestante que se encuentran enl neaenhttp www warn com corporate literaturerequest shtml Nuncaexcedalacapacidadnominaldelcabrestantenidelcable delcabrestante...

Page 21: ...pulareinstalarel producto Enrolleydesenrolle siempre el cablealtamborenladirecci n especi cadaenlaetiquetadeadvertenciadelcabrestanteo enla documentaci n Estoesnecesariopara elfuncionamiento correcto...

Page 22: ...ble accione el cabrestante desde la longitud total del cable del control remoto El usuario debe situarse siempre a 2 44 m 8 pies por lo menos del cabrestante Esto evitar que se enganche con la gu a y...

Page 23: ...cabeza de bot n de 1 2 13x2 pulg 8 Gu a de aluminio Patr n de los pernos de montaje ADVERTENCIA Nuncautilice pernos queseandemasiado largos ADVERTENCIA Elija siempre una ubicaci n de montaje que sea...

Page 24: ...iento ADVERTENCIA Nuncaaccione elcabrestante si nohay al menos 10vueltasde cable alrededordel tambor Elcable podr asoltarse del tambor yaque el acoplamiento del cable altamborno est construido para so...

Page 25: ...e control o si el cabrestante est en funcionamiento AVISO Nuncainstale m s de 100 CTI 80 XDC pies de cable sint ticode 3 8pulg Puede da ar elcabrestante Cable Arandela del cable Perno de cabeza de bot...

Page 26: ...til del cable almacene siempre el cable en un lugar oscuro y seco Antes de utilizar el cable consulte el manual siguiente Si el cable est da ado deje de utilizarlo inmediatamente y sustit yalo por un...

Page 27: ...chtlinien zur Windentechnik Vermitteln ein grundlegendes Verst ndnis der Funktionsweise Ihrer Winde und ordnungsgem er Windentechnik Eine wertvolle Ressource f r sicheren und effizienten Windenbetrieb...

Page 28: ...shandbuch lesen und oder Richtlinien zurWindentechnik umdieWinde und seineOperationenzuverstehen nden Sieonline beihttp www warn com corporate literaturerequest shtml NiemalsdieNennkapazit tderWindebz...

Page 29: ...ettderWindeund oderindenUnterlagenangegebenenRichtungaufdieTrommel spulen Diese Ma nahmeistf rdieordnungsgem eFunktionder Automatikbremse wennvorhanden unerl sslich ImmerdasWindenseilentsprechenddenRo...

Page 30: ...as Seil in Richtung des Benutzers zur ckschnellt und ihn tri t wenn es unter Belastung rei t Nutzen Sie beim Betrieb der Winde m glichst die gesamte Reichweite der Fernsteuerung Der Benutzer muss beim...

Page 31: ...u lange Schrauben verwenden ACHTUNG Immereine Befestigungsstelle w hlen diefest genugist um dermaximalen Nennleistungder Windestandhaltenzu k nnen ACHTUNG Immerdie Windeninstallation abschlie en und d...

Page 32: ...Sch den vermieden werden ACHTUNG NiemalsKupplung bei belasteter Winde gespanntem Windenseil oder sich bewegender Seiltrommelein oder ausrasten lassen ACHTUNG NiemalsdieWinde mitwenigerals 5Seilwicklu...

Page 33: ...as Seil unter Last in den unteren Lagen eingeklemmt wird 10 Achten Sie darauf dass jede Lage sauber aufgewickelt wird umeine Besch digung des Seils zu verhindern 11 bergeben Sie dem Fahrzeugf hrer die...

Page 34: ...er durchtrennte Str nge verringern die Tragf higkeit des Seils ber die gesamte L nge nicht nur im Bereich des Schadens Als Faustregel gilt dass ein Seil mit 12 Str ngen au er Betrieb zu nehmen ist wen...

Page 35: ...2 ANVISNINGAR Montera vinschen 73 Elektriska anslutningar 74 Bruksanvisning 75 76 Installera linan 77 78 Lininspektion 79 80 Warn Industries Inc 12900 SE Capps Road Clackamas OR 97015 USA Kundservice...

Page 36: ...onsGuide och ellerGrundl ggande guide tillVinschtekniker f rattf rst din vinsch och dess verksamhet nnsonline p http www warn com corporate literaturerequest shtml verskridaldrig vinschens ellerlinans...

Page 37: ...lningoch lyftteknikellerska a hj lpn r duhanterar och installerar produkten Spolaalltidp linanp trummanidenriktningsomspeci cerasp varningsetikettenp vinschenoch elleridokumentationen Detta kr vsf rat...

Page 38: ...polande riggning eller n rvinschen inte anv nds S KRA ARBETSF RH LLANDEN Den som vinschar skall alltid arbeta fr n en s ker plats d last dras De s kra omr dena r 1 Vinkelr tt mot linan 2 inuti fordone...

Page 39: ...ium M nster f r monteringsbultar FARA Anv ndaldrigbultar som r f rl nga FARA Anv ndalltid en monteringsplats som rtillr ckligtstarkf r att motst vinschens maximala dragkraft FARA Genomf r alltid insta...

Page 40: ...chmotorn D kopplingen r urkopplad st r den i fril ge Transmission och vinschtrumma r inte hopkopplade och trumman kan rotera fritt Kopplingsspaken som finns p vinschk pan mitt emot motorn kontrollerar...

Page 41: ...inarunt trumman Linan kan lossa fr n trummaneftersom linans inf stning i trummaninte rutformad f r att h llaen last ur fordonet med last p vinschlinan Det r absolut n dv ndigt att sp nna linan f r att...

Page 42: ...anvisning Om linan r skadad ta omedelbart bort den och byt ut den mot oskadad lina WARN Trasiga eller skadade kardeler minskar linans styrka utefter hela dess l ngd inte bara i de skadade omr dena Som...

Reviews: