
©2018 Warn Industries, Inc. WARN® and the WARN logo are trademarks of Warn Industries Inc.
7
101799A0
I N S T A L L A T I O N I N S T R U C T I O N S
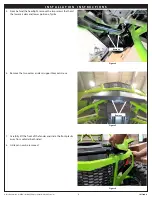
Figure 4
Figure 5
Figure 6
Short M8
Hardware
Lower fairlead
bracket
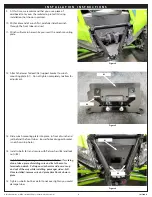
16. Install lower winch mounting hardware (use the shorter
of the M8 hardware found in winch kit) to secure winch to
winch mounting plate. ONLY install the lower winch bolts at
this time.
NOTE: The short bolts use lower mounting holes and the
longer bolts use upper mounting holes.
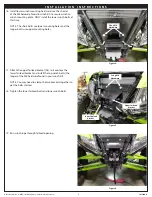
17. Attach the upper fairlead bracket (A3) so it overlaps the
lower fairlead bracket and install the top winch bolts (the
longer of the M8 hardware found in your winch kit).
NOTE: You may need to clamp the two brackets together to
get the bolts started.
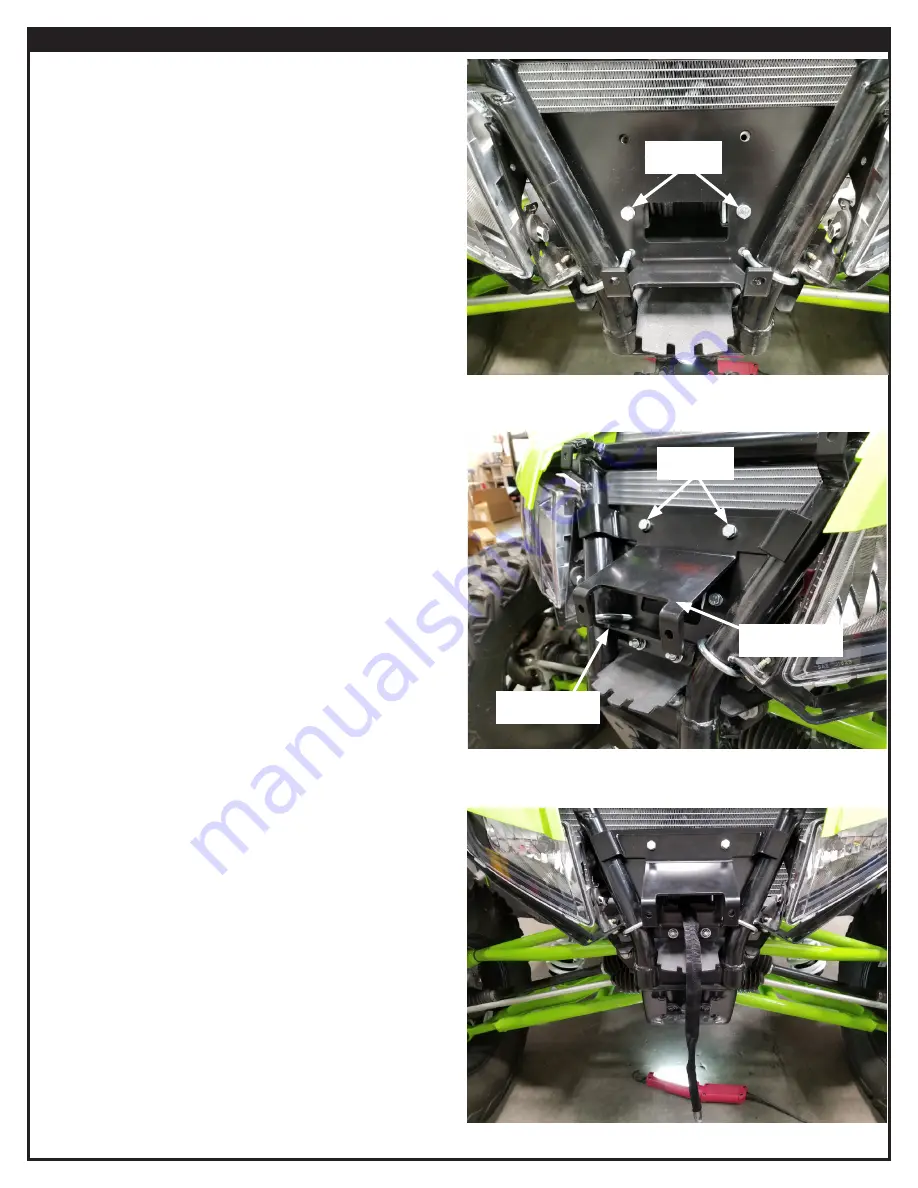
18. Tighten the lower fairlead bolts and lower winch bolts.
19. Run winch rope through fairlead opening.
Upper fairlead
bracket
Long M8
Hardware