©2021 Warn Industries, Inc.WARN® and the WARN logo are trademarks of Warn Industries Inc.
3
107945A0
P A R T S L I S T
ITEM
PN
DESCRIPTION
QTY
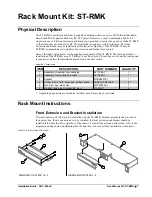
A1
107915
PLOW MOUNT
1
A2
99747
PLOW FLANGE
1
A3
107916
TERMINATION BRACKET
1
A4
82466
TERMINATION STRAP
1
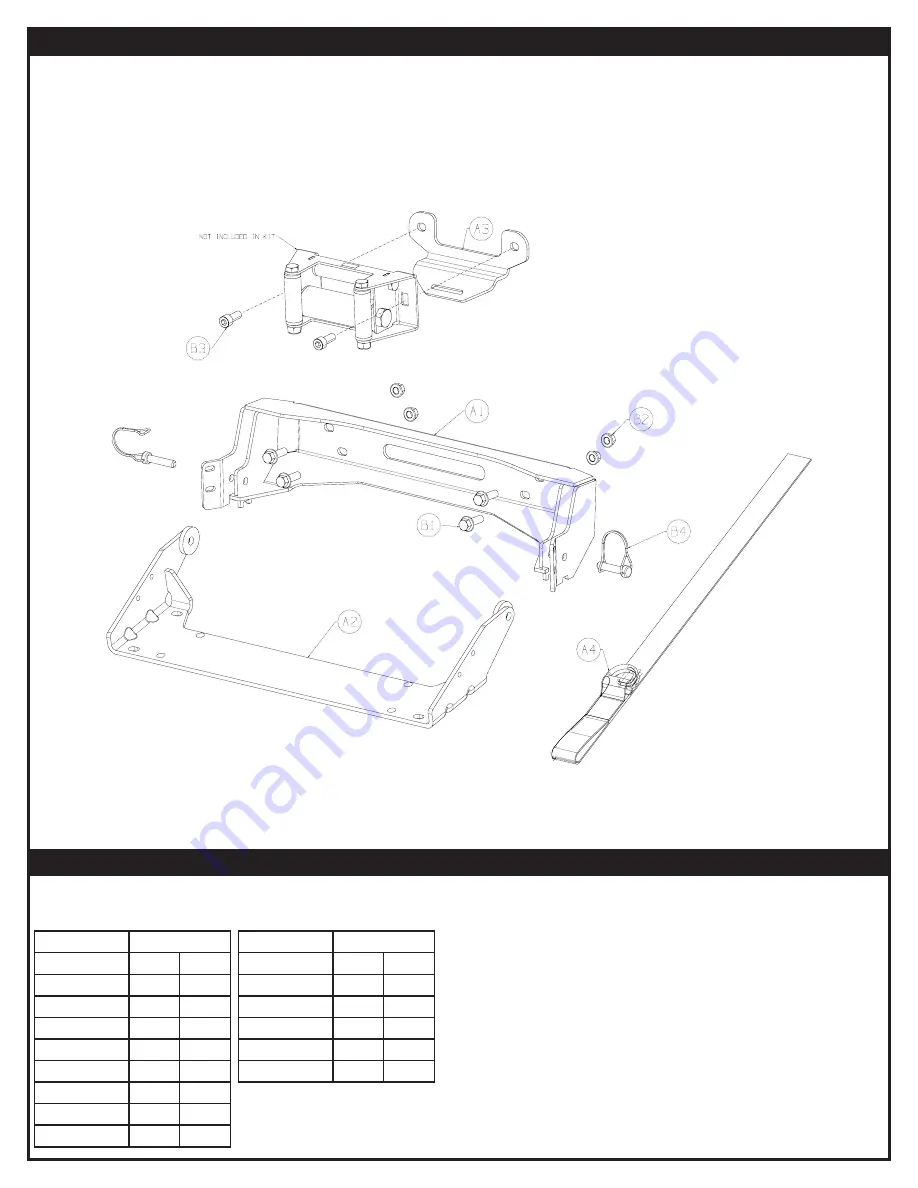
T O R Q U E S P E C I F I C A T I O N S
Please use the recommended torque specifications when assembling this product unless otherwise specified in the
instructions.
FASTENER SIZE
FASTENER TORQUE
lb-ft
(N.m)
1/4"
8
(11)
5/16"
17
(23)
3/8"
30
(40)
7/16”
48
(66)
1/2"
74
(100)
9/16”
106
(144)
5/8"
148
(200)
3/4”
269
(364)
FASTENER SIZE
FASTENER TORQUE
lb-ft
(N.m)
M4
(2)
3
M5
(4.5)
6
M6
(7.5)
10
M8
(18)
25
M10
(37)
50
ITEM
PN
DESCRIPTION
QTY
B1
99257
M10 X 30MM HEX BOLT
4
B2
99267
M10 HEX FLANGE HEAD NUT
4
B3
103749
M10 X 25MM SOCKET HEAD BOLT 2
B4
35136
PLOW PIN W/ SAFETY BAIL
2