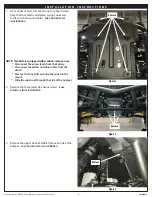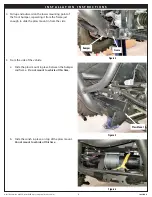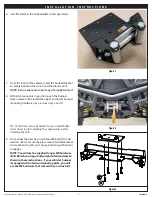
©2021 Warn Industries, Inc.WARN® and the WARN logo are trademarks of Warn Industries Inc.
7
108376A0
I N S T A L L A T I O N I N S T R U C T I O N S
CARELESS INSTALLATION AND OPERATION CAN RESULT IN SERIOUS INJURY OR EQUIPMENT DAMAGE. READ AND UNDERSTAND ALL SAFETY
PRECAUTIONS AND OPERATING INSTRUCTIONS BEFORE INSTALLING AND OPERATING THIS PRODUCT.
M A I N T E N A N C E / C A R E
• Inspect all metal parts on the plow, plow mount, and related hardware prior to each use. Replace all parts that appear
rusted or deformed.
• Inspect all nuts and bolts on the plow, plow mount, and related hardware prior to each use. Tighten all nuts and bolts
that appear to be loose. Stripped, fractured, or bent bolts or nuts must be replaced.
• Check all cables prior to use. Replace cables that are worn or frayed.
• Check all moving and rotating parts. Remove debris that may inhibit the part from moving freely.
• See Warn Plow Operators Guide for more information.
10. Reinstall the lower plastic skid plate and hardware to
vehicle and bumper (
review previous step 1
).
11. Remove the rubber band from winch rope loop and
attach the winch hook to the rope loop.
If you did not have a previously installed winch, you
may now complete the winch wiring portion of your
winch installation by following your winch installation
instructions.
If you had a previously installed winch, reconnect the
yellow and blue cables to the winch and the power leads
to the battery.
12. Install termination strap (A3) to termination bracket to
front of bumper.
13. Install plow flange (A2) to plow mount using included
retaining pins (B3). Refer to exploded view on page 3.
14. Turn winch clutch to engage and spool in winch rope
until hook sits snug at mouth of fairlead.
15. Complete your plow installation per your plow system
installation instructions.
16. Tighten ALL hardware per torque specifications on
page 3.
Figure 10
Figure 11


