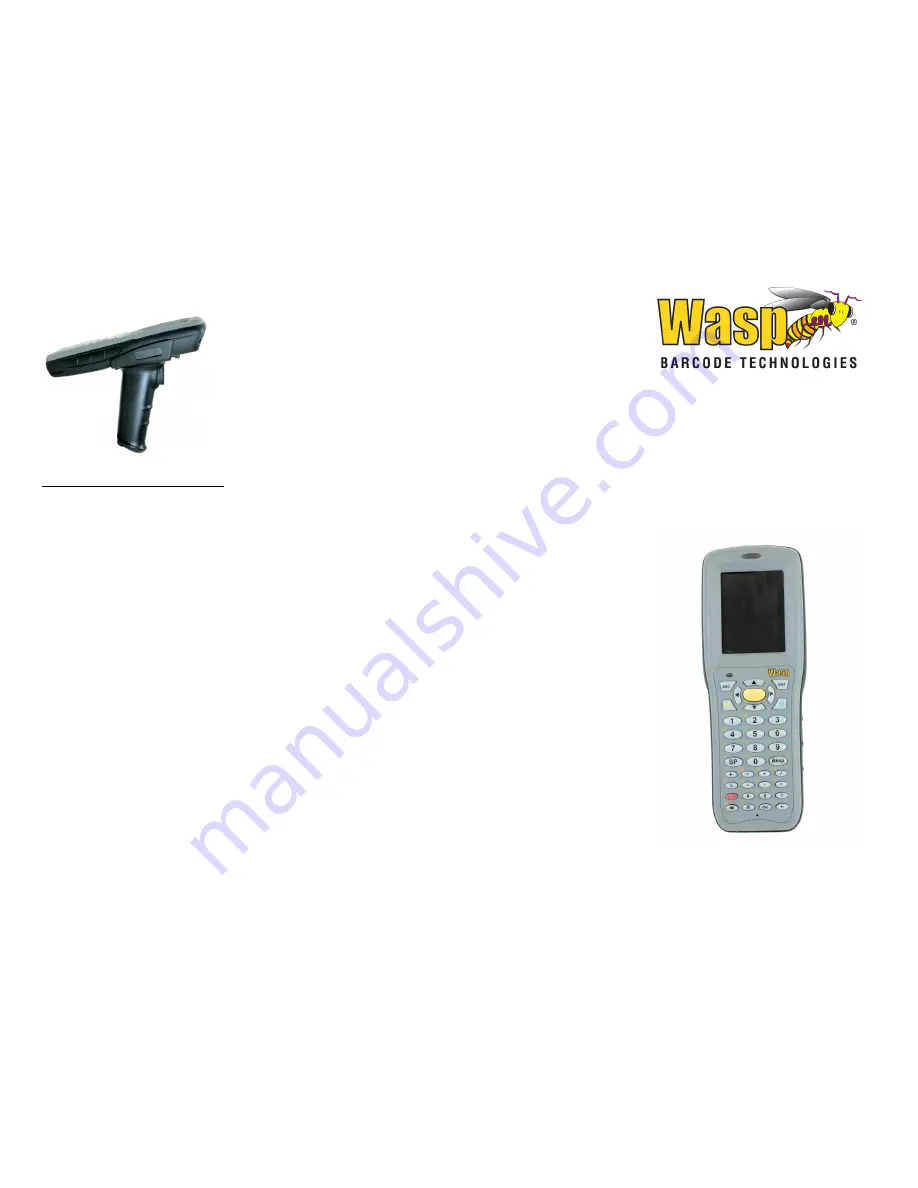
Position and snap the grip into place on
the unit as shown.
Attach the grip using the screws.
Failure to screw the grip into the unit
may cause damage to the unit.
7. Stylus
If you do not have a Pistol Grip, the stylus
and stylus holder can be attached to the
hand strap on the bottom of the unit by
separating the Velcro halves of the holder
and wrapping it around the strap.
Attach the stylus retainer cord to the
bottom of the stylus by pressing one of the
end loops through the hole in the stylus
and then pass the other end of the cord
through that loop.
If you do not have a pistol grip, attach the
other end of the cord to the hand strap in
the same way. If you do have a pistol grip,
attach the other end of the cord to the hole
in the bottom of the pistol grip. We
recommend you
always use the stylus
retainer cord
to avoid loosing the small
stylus.
8. Power on the 3200
The small red button above the W on the
unit is the power button. Press the button
the power on the unit.
After powering on the unit, follow the
WDT3200 onscreen prompts to set up the
unit and set the time zone. The correct
time zone is very important. Based on the
time zone you set, the date and time will
be synced with the PC each time the unit
is connected and synced.
9. Install ActiveSync software
Using the included Microsoft ActiveSync
CD, install ActiveSync. Follow the
onscreen prompts in the installer.
If you purchased any integrated Wasp
software, you should install that software
after ActiveSync is installed.
Vista does not require ActiveSync.
10. Other Accessories and Parts
There is a SD memory slot on the front of
the scanner above the scanning window. It
is for extra memory only up to 1GB.
11. Start the Scanner
This feature is enabled by default. If you
need to manually turn it on, follow the
instructions below:
From the start menu go to
Settings
, then
"
Control Panel
". Double click on "
Scanner
Settings
" to open the "
Scanner Control
Panel
". Then click on the third tab titled "
To
Kpd
", select the checkbox labeled "
Start
Scan2Key When Exit
" and then click the
OK
button to close the form. Close the
control panel and now you are ready to
scan.
WDT3200
Quick Start
Guide
© 2007 Wasp Barcode Technologies


