Dartwood and Wasserstein are trademarks of Dropcases Ltd.
For more information, please visit:
www.wasserstein-home.com
or contact us at:
contact@wasserstein-home.com
Made in China
Troubleshooting
Specifications
Output Power:
Product Size:
Weight:
Material:
DC 6V/1.5A
7.87 x 3.93 x 7.48 inches
3.3 lbs
Pl Metal
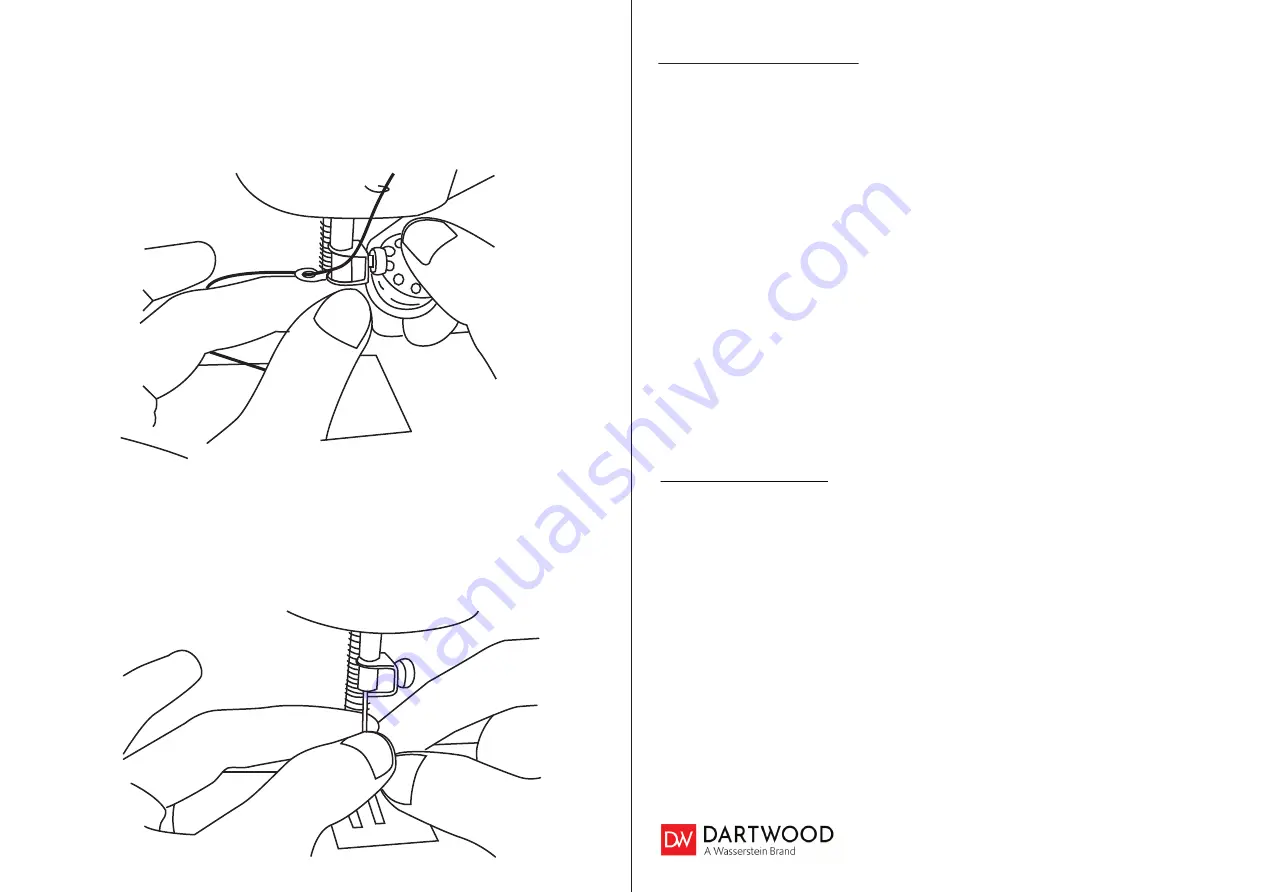
2.
Loosen the needle clamp screw (O) by turning it
counterclockwise. You may need to use a short flat head
screwdriver or the sides of the metal bobbin or small pliers.
Remove the needle (R), pulling down away from the
needle clamp (P).
3.
Place the new needle with the flat side facing in against
the needle clamp (P). Push the needle up gently as far as it
will go, and against the needle clamp (P). Tighten the
needle clamp screw (O) while holding the needle (R) in
place.
No electric power
•
Possible reasons: There is a problem with the external
power supply, or it's incorrectly plugged.
•
Solution: Check on the external power supply and/or
check/replace the plug.
Broken threads
•
Possible reasons: The reasons can be due to the fact that
the line button is rigid, or the sewing thread or fabric is too
thick or too hard. It also can be due to the fact that an
incorrect or a broken needle is in use.
•
Solution: To resolve the break, make sure to relax the line
button, replace the bobbin, replace the original machine
needle and tighten the thimble screw or ensure the use of
compatible fabric.